
Paper mache letters are great because they're lightweight and hollow, are three-dimensional, and can either stand on their own or stick to a wall with just a little tacky putty.
Not to mention, you can paint them, Mod Podge them, glitterize them, or basically whatever you want!
I got my paper mache letters at Paper Source.
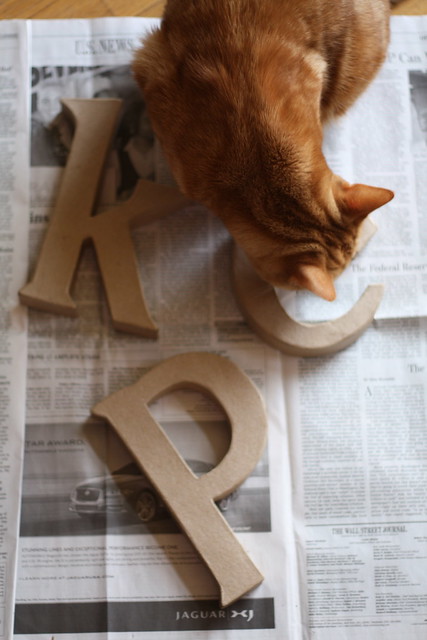
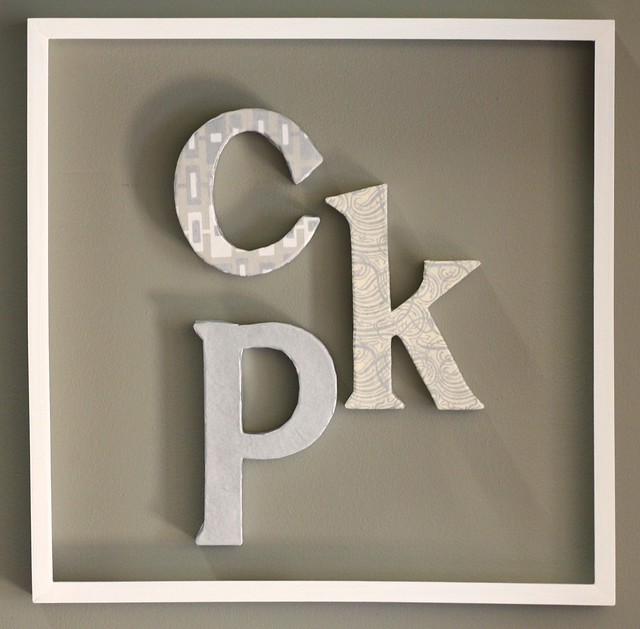
I decided to get a lower case c and k (me and the hubs) and an upper case P (last name). I also picked up some pretty cream and silver papers while I was there!
Now here's where the Mod Podging comes in. For these letters, I wanted them entirely covered as seamlessly as possible. And as you know when working with paper and curves and corners, that's pretty difficult.
I started by cutting a rectangle just bigger than my letter. I brushed Mod Podge directly onto the paper mache letter, then flipped it upside down and pushed it down onto the paper. I then used my fingers to work out all the bubbles, and trimmed around the letter so there was approximately 1/2 inch around the whole thing. Then, at every curve, corner, and crevice, I cut a slit in the paper.
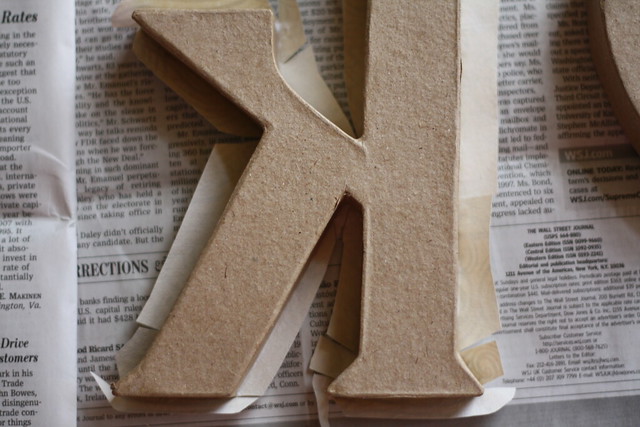
The more slits, the better. This way, when you Mod Podge the sides down, they will lay perfectly and the front will be seamless.

Once you've done the front, cut a long strip of paper to go around the sides and cover all the slits and folded over parts from the front piece. Make sure this piece is wider than the side, because just like the front, you will adhere it and cut slits all in the edges to make it fold over the back. This way, when it's on the wall, it will look like it perfectly wraps around the whole letter.
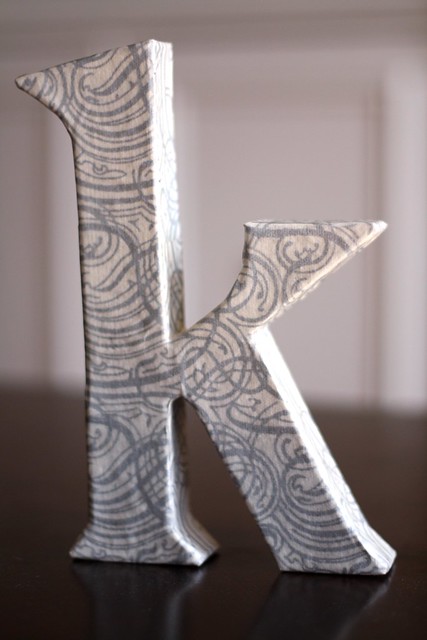
Once it's dry, add another coat of Mod Podge to the top to seal it all. Then hang on the wall with a little tacky putty, and enjoy!

added another one of your projects to my tumblr! i'm going to do the monogram letters like this in a gallery wall at our new place!
ReplyDeleteooooh pretty! love it :)
ReplyDeleteThanks for this - I just mod podged some letters and couldn't get the paper to lay flat. Thanks for the tip about all the slits.
ReplyDeleteDanielle
Isn't it fun when you've got someone (kitty) more interested in what your photographing than the fact that you're actually trying to take a picture...my "someone is 2.5 years old and says the cutesy things, so I cant get too upset. :). Plus, sometimes it results in a cool shot like yours!
ReplyDeleteoohh they look perfect!!! love the paper you used!
ReplyDeleteThey look great. Did you get the paper @ Paper Source too? I like it and I always need an excuse to go there HA!
ReplyDeleteLove them...I have done some wooden ones with scrapbook paper....these turned out nice.
ReplyDeleteLove them! They look fabulous! Thanks for linking these up too!
ReplyDeleteThese look fantastic! Love the papers you used.
ReplyDeleteThese look great! I really like the layout of your letters, as well!
ReplyDeleteI love this! Especially the way you hung them on the wall. It's so simple and striking!
ReplyDeleteI'm a new follower from SITs, a day late, LOL! I hope you had a great SITs Day!