Wednesday, April 28, 2010

Shredded Pork Flautas

Let me start by saying that this is one of my favorite things we have made lately. Adapted from a dish Chris' mom makes all the time, these turned out amazing. In fact, I wish I had one magically in front of me right now.

Chris' mom does these with shredded chicken, and really you can use any filler you want. I think the way we did the pork though added a ton of flavor and was a great variation. I think we'll try it next time with yet another filler!

Pork Flautas

Start with a pork shoulder. Ours was probably about 2 lbs, bone in. A little one, but there's only two of us. We then rubbed it all over in:

Pork Flautas (22)


Chipotle Powder
Cumin
Taco Seasoning
Salt
Pullman Pork Seasoning (a local spice shop blend, it's salty and garlicky and peppery)
Pepper

Basically, you want to get some good spicy mexican flavors going.

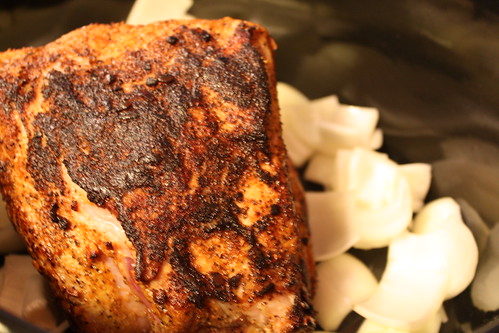
Then put some oil in a pan, heat to smoking, and give the shoulder a nice crusty sear on all sides.

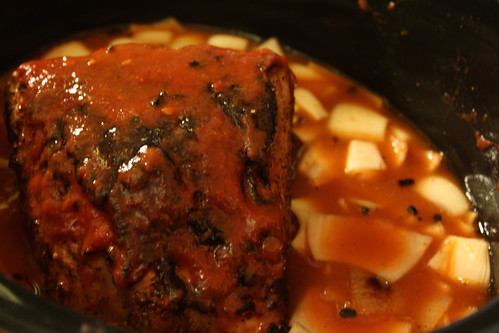
Next, place it in your crock pot surrounded with 1/2 an onion in large chunks.

Pork Flautas (6)


With the remaining oil and brown bits in the pan, throw in the other half of the onion and some garlic. Cook them until they start to soften.

Here's where we're going to make the liquid to put in the crock pot!

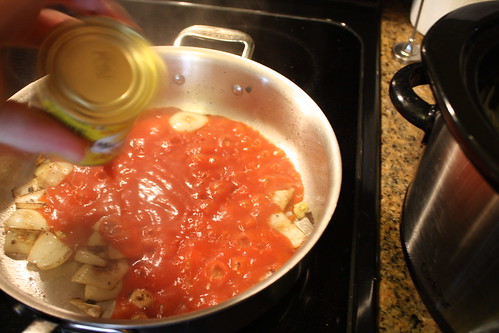
Add 1 can of El Pato Tomato Sauce.

Pork Flautas (2)


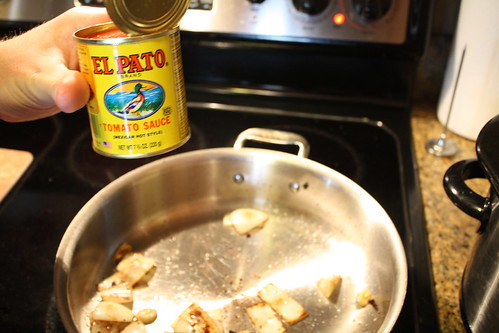
Unlike the pork seasoning, this can actually be purchased in Safeway/Dominicks/Tom Thumbs. You'll likely find it in the Mexican/Hispanic food section. This is a great spicy tomato sauce that kicks up the flavor in many Mexican foods.

Pork Flautas (3)


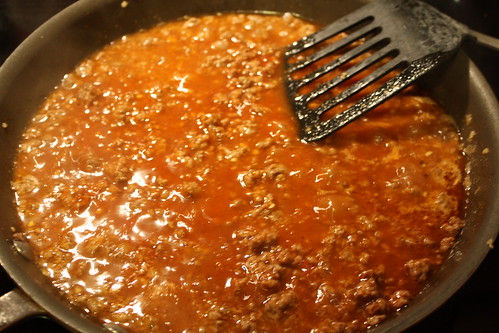
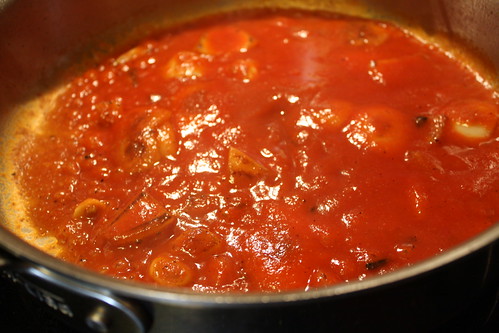
Bring that to a simmer, stirring to get all the brown bits from searing the pork up off the bottom of the pan.

Pork Flautas (7)


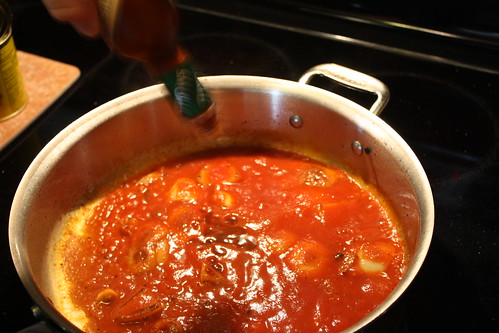
We also threw a little Chipotle Tabasco Sauce in, because we're addicted to the stuff, and hey, Chipotle is at least a Mexican flavor! (I told you we use it in everything.)

Pork Flautas (9)


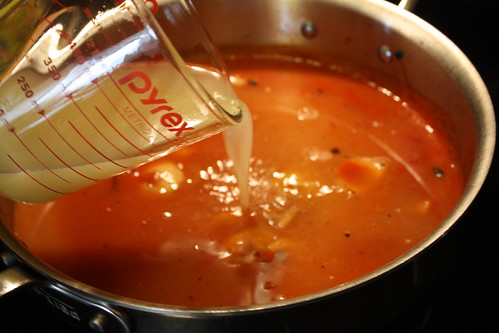
Finally, we added about 2 cups of chicken stock, and brought it all to a boil.

Pork Flautas (15)


Once it reaches a boil, kill the heat and pour it in the crock pot. Now, this is a very important note. DO NOT pour the liquid directly on top of the pork. It will ruin the delicious seared crust on the outside. Either ladle the liquid in, or very carefully pour it around the pork. We did put a little of the El Pato sauce on the top of the pork, but that was just the El Pato sauce by itself, not the runny liquid mixture.

Pork Flautas (20)


Now, put the top on, turn it on low, and wait patiently for at least 6 hours.

After 3 hours, you can start "basting" the pork, by just ladling some of the cooking liquid over it. Do this about every hour for the last few hours.

Pork Flautas (30)


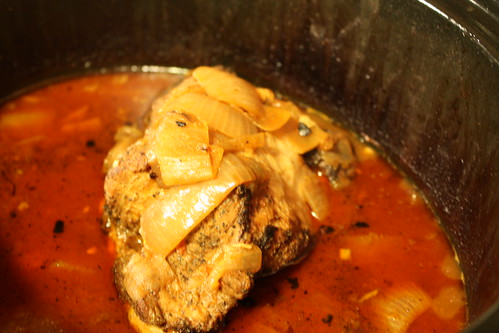
I'd like to note that although the picture above looks like a completely cooked pork shoulder, it's not done yet. It may be cooked through, but it's not done becoming delicious pulled pork yet. Leave it in. You'll know when it's ready because it will no longer look like a pork shoulder because it will have naturally begun to shred itself out of mouth-watering tenderness. Trust me on this one.

When it's actually ready to be taken out, it will look like this:

Pork Flautas (37)


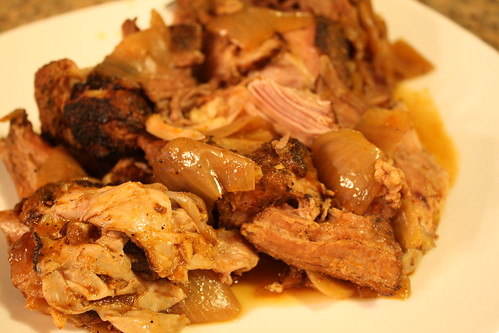
I promise you I in no way attempted to shred this at all. All I did was take off the top, and this is what the pork had done to itself. So I took a large slotted spoon and pulled it all out.

Next, start actually shredding it. You can remove the big bits of fat and the bone, but what is left should be mostly all meat. This is what I had left when I removed bad bits and kept the meat:

Pork Flautas (42)


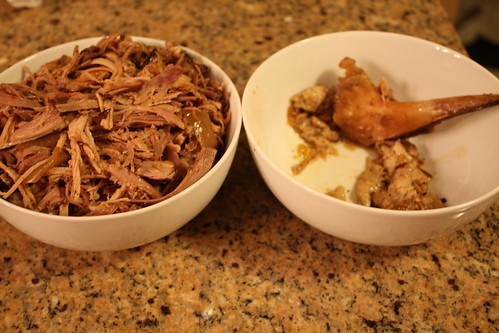
That is a LOT of meat, and very little throw-away.

Ok, now on to the fun part!

Quite unfortunately, I have no pictures of the fun part, because it involves very hot oil and quick, focused attention.

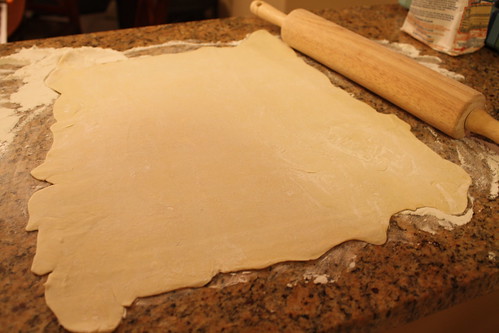
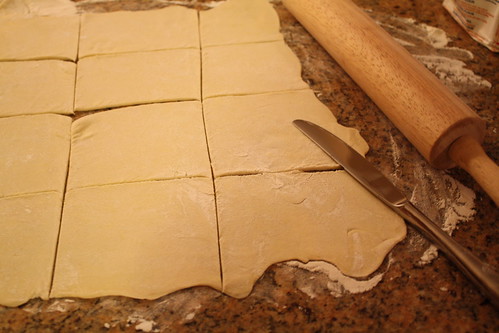
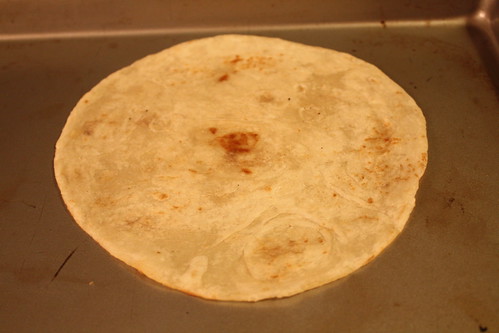
Get some flour tortillas (the medium or small size). Add some canola or peanut oil to a pan, 1/4 inch deep. Heat until it begins to smoke slightly. Now, put a tortilla in the oil until it puffs. This will take all of 3-4 seconds. With tongs, flip it over, until it puffs again, and remove and place on a plate with a paper towel on it. Repeat until you have lightly fried all of your tortillas, placing a paper towel between each one on the plate as you go.

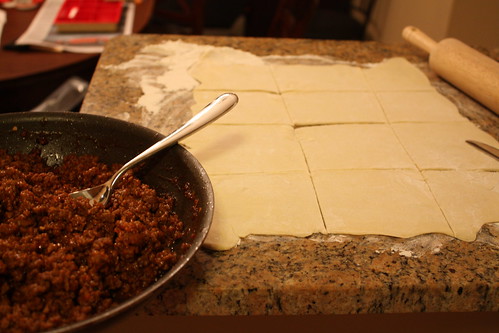
Once you're done, bring them over to your meat.

Pork Flautas (43)


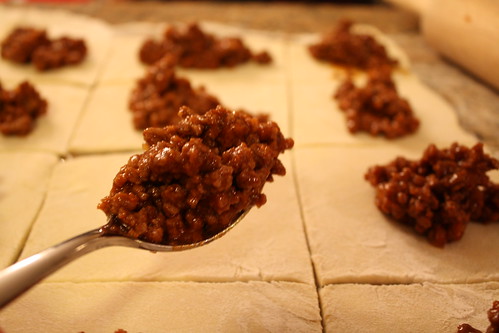
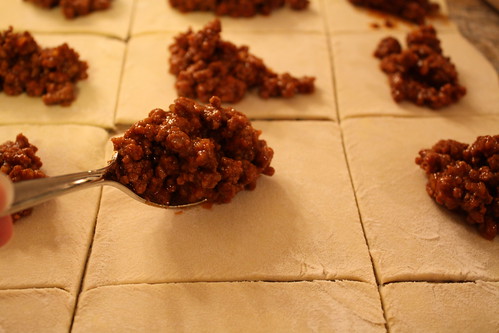
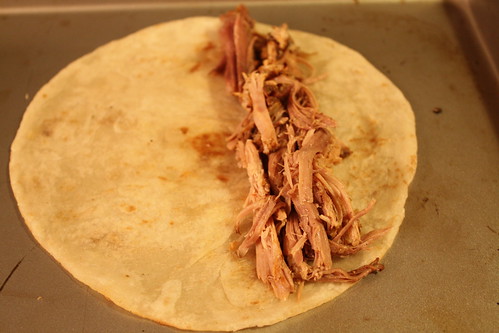
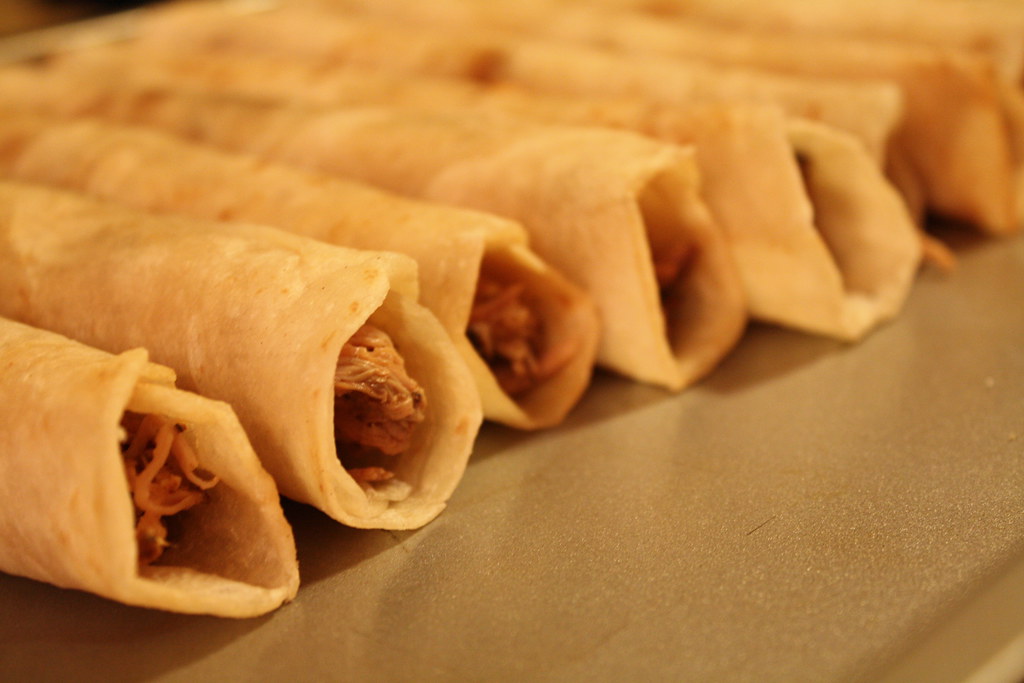
Now place a row of meat toward one side of the tortilla. Since we're rolling these up, don't put the meat in the middle, otherwise you'll have a weird folded/rolled flauta.

Pork Flautas (44)


Begin to roll it all up...

Pork Flautas (51)

Pork Flautas (64)


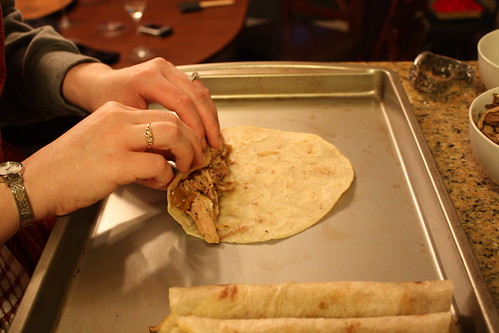
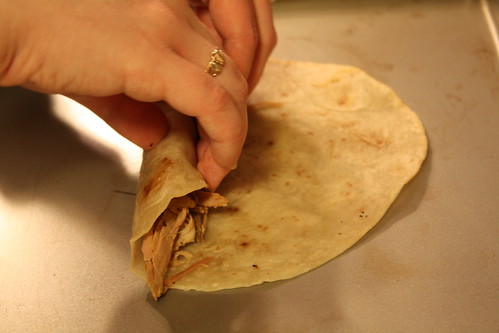
Do it for all the tortillas, or all the meat, whichever you run out of first!

Pork Flautas (68)

Pork Flautas (67)


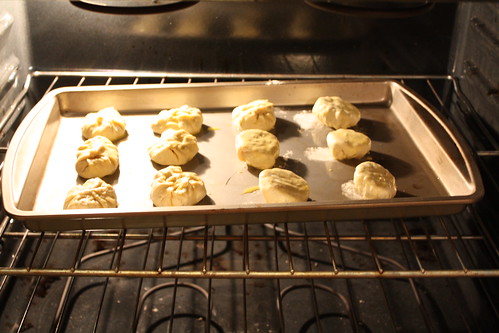
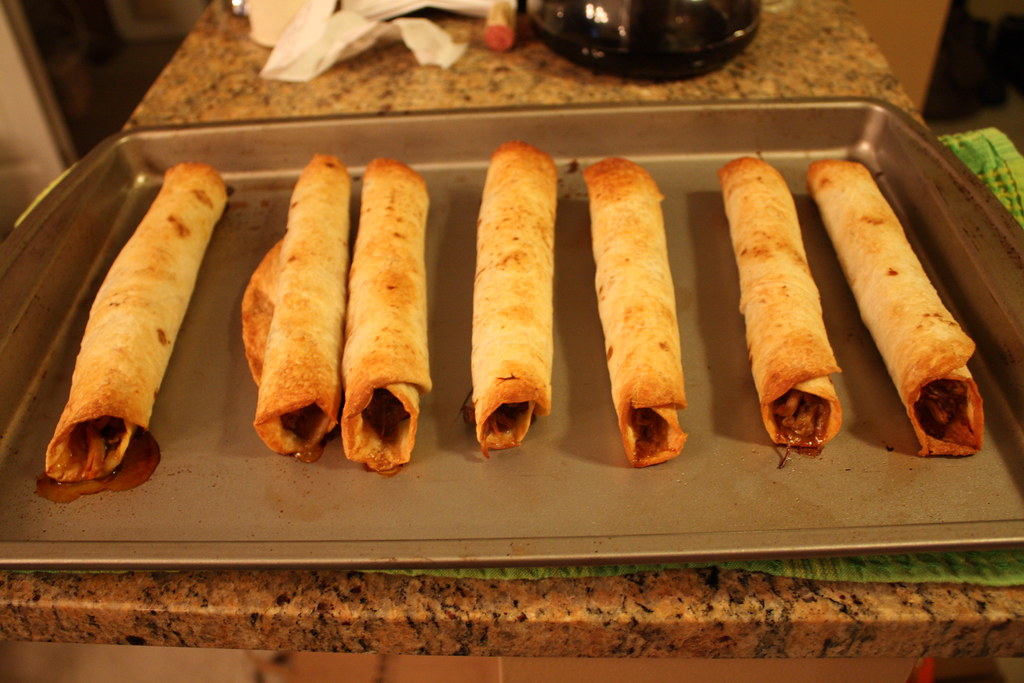
Place them in a preheated 400 degree oven spread out on a baking sheet.

Pork Flautas (75)


You will cook them until they brown on the outside, about 10-15 minutes.

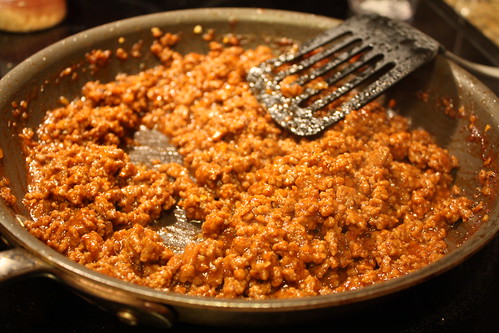
While they are cooking, start to make a sauce.

Start with a basic enchilada sauce mix (powder and water). Then add some of the cooking liquid left over from the pork in the crock pot. Throw whatever else you want in there too, like more Chipotle Tabasco Sauce, salt, pepper, cumin, etc. I think we added all of those!

Pork Flautas (70)


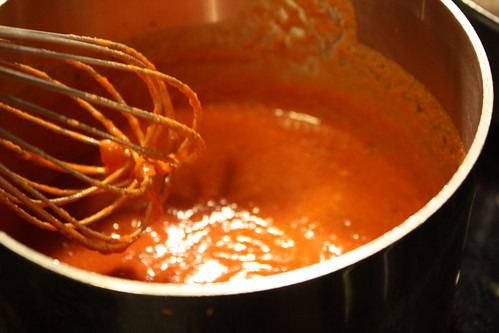
Bring it to a light boil. About the time you're done with this, the flautas should be done. Take them out of the oven, and they should look like this:

Pork Flautas (76)

Pork Flautas (77)


Now put some on a plate, cover them in the sauce, add whatever side you want (we added a little rice), and you're done!
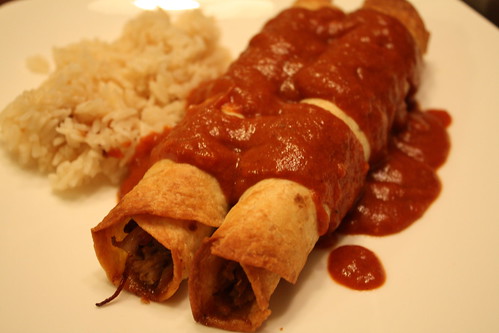
Pork Flautas (82)

Pork Flautas (87)


Sooooo good...

I'd like to point out that if you make a ton of these, you can freeze them after rolling them up, but before cooking. We cooked too many, but we also froze some. If you bake them and have leftovers, they'll be good for another day or two if you heat them up in the toaster oven. If you freeze them unbaked, they will last a very long time and you can take them out and throw them in the oven/toaster oven when you need a quick meal. Delicious!

Sunday, April 25, 2010

A new layout! And some tasty puffs.

You may notice quite a change here to FW&MP. This weekend, my computer-savvy brother was a huge help and a bundle of patience with me as he redid my blog. The old look was a bit dark and busy, and I wanted something brighter and cleaner to go with the mood of this blog. So over two days, we put our heads together and shared screens via Skype to arrive at what you see today!

So, in celebration of the new look, I have three new posts today; one on food, one on wine, and one on Mod Podge! This one will act as the food post, so once you read this, I encourage you to keep reading down to the two other posts.

Hope you like the new look!

Now on to the food!

Sloppy Joe Puffs

I really like to make things up when I cook. Rarely, in fact, never, do I follow a recipe to a T. If I even use a recipe at all, I play with different flavors, and change ingredients for texture, taste, or just plain because I don't have the right ingredient in my fridge.

That being said, sometimes recipes are born out of ingredients that need to be used.

Our freezer had been housing a single sheet of puff pastry since last November when we hosted Thanksgiving.

Sloppy Joe Puffs (35)


This lonely dough has been bugging me for a while, since I have never really used puff pastry before except to make a baked brie. And while baked bries are amazing and wonderful and make me weep with joy, my darling husband doesn't eat cheese and I probably shouldn't take down one of those alone.

So, I looked through my three standby recipe websites (Foodnetwork.com, Epicurious, and Allrecipes.com), and you know what you get when you just type in "Puff Pastry?" Beef wellington and chicken pot pie. I didn't have beef and I don't like chicken pot pie. We're off to a good start here.

Then I came across this recipe by Paula Deen. It is supposed to be a little burger of sorts, cooked then wrapped in puff pastry and baked. But the beef patty also has ketchup and mustard in it, and that sounded an awful like the beginnings of a sloppy joe to me. Lightbulb! Sloppy Joe Puffs!

Start by removing the puff pastry from the packaging and set it on the counter to thaw.

Sloppy Joe Meat Ingredients:

1 lb ground beef
2 t salt
3/4 C ketchup
1 C water
Minced onion to taste
2-3 t chili powder
1-2 T spicy brown mustard
3-4 T brown sugar
1-2 t Chipotle Tabasco Sauce (told you I use it in everything!)
Pepper to taste

Sloppy Joe Puffs (8)


Start by browning the ground beef. Once it is all the way cooked, remove the excess fat.

Sloppy Joe Puffs (9)


Next, add all the ingredients together. Honestly, at this point I do it by look and taste, less by measuring. So if it looks too light, add more ketchup. If it's too tomatoey, add chili powder/mustard/brown sugar. You get the idea. It will be soupy because of the water, it'll look like this:

Sloppy Joe Puffs (12)


Bring it up to a boil, then turn down to medium to maintain a simmer.

Sloppy Joe Puffs (14)


It will take about 15-20 min to finally look like sloppy joe meat.

Sloppy Joe Puffs (17)


Remove it from the heat and place it to the side to cool down a bit.

Now, on to the puff pastry!

Start by preheating the oven to 400 degrees.

Put a little flour on your surface.

Sloppy Joe Puffs (19)


Take out your puff pastry, and roll it out with a floured rolling pin.

Sloppy Joe Puffs (20)


Then take a butter knife and slice it into squares.

Sloppy Joe Puffs (21)


Grab your cooled sloppy joe meat...

Sloppy Joe Puffs (22)


...and start filling!

Sloppy Joe Puffs (23)


Make sure not to overfill, or it'll puncture through the dough.

Sloppy Joe Puffs (24)


Now pull all the edges up and pinch them together to make a little sealed pillow.

Sloppy Joe Puffs (25)


Sloppy Joe Puffs (26)


Now place them all on a lightly greased cookie sheet.

Sloppy Joe Puffs (27)


Then brush an egg wash on the seal of the puffs. The egg wash consists of 1 egg and 1 tsp water.

Sloppy Joe Puffs (31)

Sloppy Joe Puffs (32)


Now here's the part I really wasn't sure on. I wasn't sure if I should leave them seal up or seal down, so I just did half up half down!

Sloppy Joe Puffs (33)


For the ones that flipped over, I brushed the egg wash on the tops of those.

Then stick it in the oven.

Sloppy Joe Puffs (34)


Bake them until they are crispy and brown, about 15 minutes.

Sloppy Joe Puffs (41)


And the verdict on whether to do seal side up or down?

Seal up:

Sloppy Joe Puffs (42)


Seal down:

Sloppy Joe Puffs (39)


...not much of a difference. They both work!

I gotta say, they were pretty good!

Sloppy Joe Puffs (64)


Experimenting is always fun, do it sometime! You may end up surprising yourself!

Jewelry Organizer Tray, Take 2

Back in January, I showed a Jewelry Organizer Tray that I made with a cheap desk organizer, some paper, and some Mod Podge. Since the tray came as a set of two, I knew I needed to make another!

Jewelry Organizer Tray, Take 2

For the last tray I made, it was very simple. Since the white of the plastic went well with the brighter colors of the paper, I was fine leaving it exposed. This meant that the project was very simple; all I did was cut some squares for the bottom of the sections, and some strips for around the tray and lining the very top. Pretty easy.

This time, I knew I had some darker papers I wanted to use, and thus wanted to cover all the white. Since the walls of the compartments were interesting shapes, this was difficult. I had to start with little pieces, and lots of patience:

Jewelry organizer v2 (1)

Jewelry organizer v2 (2)

Jewelry organizer v2 (3)

Jewelry organizer v2 (4)


It was important to get all the sides/walls completely covered, including up around the top, before putting down any of the squares in the bottom or lining the outside.

Jewelry organizer v2 (5)


This whole thing took a very long time. Since I rarely have very long to sit down and craft, I did it in stages over a few days. The good thing about this type of project though is that you can come and go very easily.

Once that was all done, I took a pretty crinkled gold paper and wrapped the sides in it.

Jewelry organizer v2 (6)


Finally, the easiest part was cutting out the squares and Mod Podging them in. Then I let it dry, and was all done!

Jewelry organizer v2 (7)


I really have no idea what I'm going to do with another jewelry tray though... Maybe it will find another use, like to hold nails and screws? Who knows!