Wednesday, September 28, 2011

Homemade Granola

I'm pretty much a yogurt and granola addict. I eat it literally every day when I get to work, and absolutely love it. So of course, I love to make my own granola. It's kind of like making your own trail mix - you get to add random ingredients to give it your own twist! I definitely recommend trying this before you buy another bag of the pre-made stuff!


Homemade Granola

8 cups rolled oats
Any add-ins that suit your fancy (I used dried blueberries, dried cranberries, crushed almonds, crushed hazelnuts, and crushed peanuts)
1 1/2 teaspoons salt
1/2 cup brown sugar
1/4 cup maple syrup
3/4 cup honey
1/2 cup vegetable oil
1 tablespoon vanilla extract

Mix all the ingredients together in a bowl until thoroughly combined.

IMG_1842


Pour onto a sheet pan lined with parchment paper. Cook at 350 degrees for approximately 45 minutes, stirring occasionally, until the granola is browned.

IMG_1856


Remove from heat and let cool completely before breaking apart and storing. Enjoy with yogurt, milk, or plain as a healthy snack!

Tuesday, September 13, 2011

Summer Reading List :: My Life from Scratch

I know we're into September already, so many of us have our eyes on fall, but it's 85 and sunny out so I'm going to keep on trekking with the Summer Reading Series.

The next book on the list is My Life from Scratch by Gesine Bullock-Prado.


Though you may not recognize the author's name, you may recognize a part of it: Bullock. That's right, this book is written by Sandra Bullock's sister, Gesine.

This book is a charming account of how Gesine escaped the miserable life of Hollywood movie-making drama and ran off to the back-woods of Vermont to open a bakery. It's raw and real, and filled with pastry-goodness. She spends her time trying to teach her little town about the love and care of good pastry, and how much better it is for your palette and your soul to have a fresh-baked croissant over a mass-produced Twinkie.

I absolutely loved this book, and especially loved when her beloved sister, "Sandy" (as she calls her), pops up from time to time and rolls up her sleeves to help get work done.

Check it out, I know you'll love it!

Tuesday, September 6, 2011

The No-Cost Cat Bed

This was a fantastically productive weekend. We ran a ton of much-needed errands, and then came home and tackled some major projects. First, we cleared out our entire pantry, added new shelving, and put it all back in. It looks better than I could have imagined!

Then, we attacked our bedroom. We completely shuffled everything in the room around, including the outrageously heavy armoire that we were actually incapable of lifting to move. It was an impressive series of lifting and falling and lifting and bouncing the top off the bed to get it to the other side of the room, but now we're completely maximizing the space and it looks awesome.

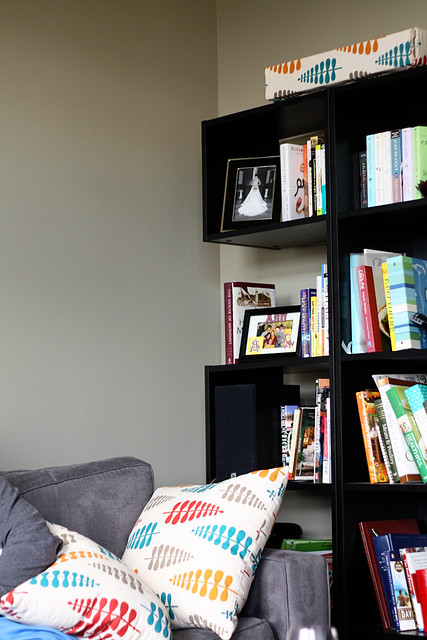
And since we were on a roll, we decided to make Simon a little cat bed. He always sleeps on the top of our bookcase in the living room, but it's so hard and he has a tendency to nearly fall off when he's in deep sleep.

With the intention of using only scraps and other things we had lying around, we got to work on the new no-cost cat bed.

First, we needed a frame for the shape of the bed. Luckily, when we cleared out the pantry, we found ourselves the proud owners of some useless wood doors.

IMG_1800


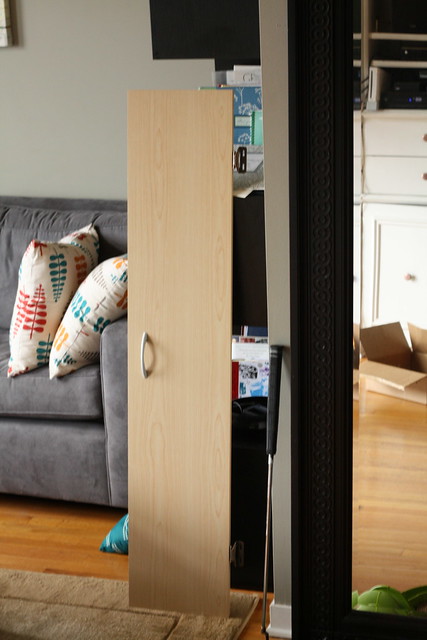
Conveniently, they were exactly the width of the bookcase!

So I employed my very handy husband to cut a base and four sides out of the scrap door.

IMG_1802


(please ignore the tears in the screen... courtesy of Simon trying to claw through to get at the birds... wait, why did we make him a custom bed?)

Anyway, back to the project. I added some leftover batting from when I made my new comforter to the base.

box in progress


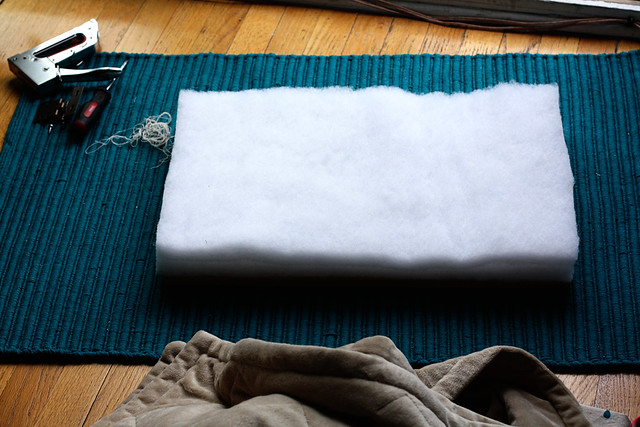
I then cut apart a soft old blanket for the base, and used trusty Sheila the staple gun to staple down the fabric. I used leftover fabric from my new pillows to then cover the sides so that it would fit in in the living room. Finally, I nailed the sides on and it was done!

edited finished box


It looks great on our bookcase, and ties in so nicely with the pillows. And not to mention, Simon loves it!

edited box on bookcase