Jewelry Organizer Tray, Take 2
For the last tray I made, it was very simple. Since the white of the plastic went well with the brighter colors of the paper, I was fine leaving it exposed. This meant that the project was very simple; all I did was cut some squares for the bottom of the sections, and some strips for around the tray and lining the very top. Pretty easy.
This time, I knew I had some darker papers I wanted to use, and thus wanted to cover all the white. Since the walls of the compartments were interesting shapes, this was difficult. I had to start with little pieces, and lots of patience:
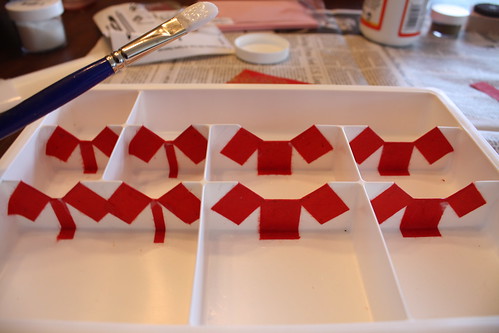
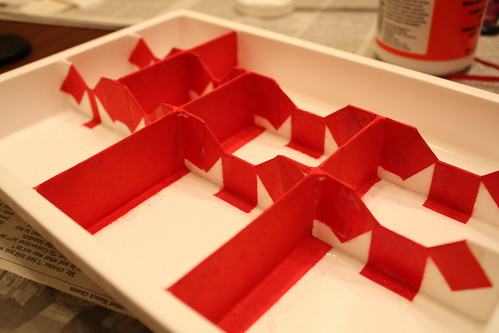
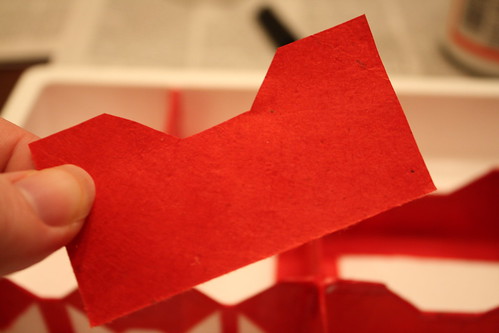

It was important to get all the sides/walls completely covered, including up around the top, before putting down any of the squares in the bottom or lining the outside.
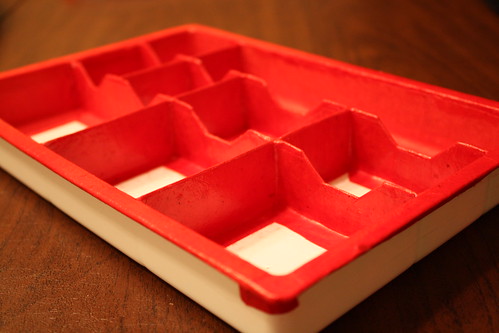
This whole thing took a very long time. Since I rarely have very long to sit down and craft, I did it in stages over a few days. The good thing about this type of project though is that you can come and go very easily.
Once that was all done, I took a pretty crinkled gold paper and wrapped the sides in it.
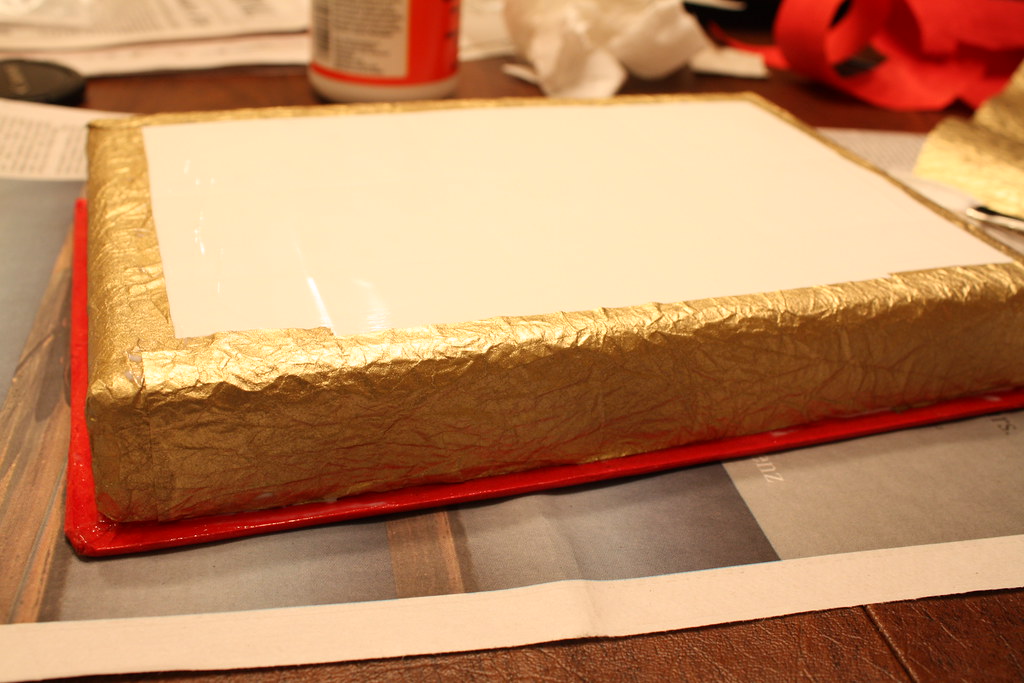
Finally, the easiest part was cutting out the squares and Mod Podging them in. Then I let it dry, and was all done!
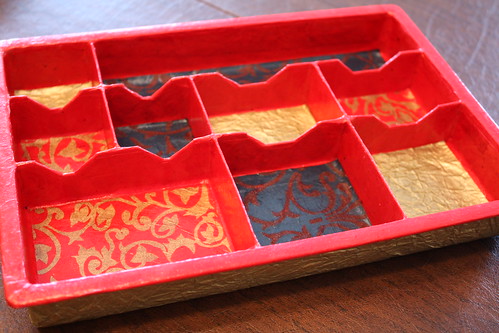
I really have no idea what I'm going to do with another jewelry tray though... Maybe it will find another use, like to hold nails and screws? Who knows!


Hey girl - this is so cute - I'm posting on Facebook!
ReplyDeleteSo cute! Way too cute for nails and screws!
ReplyDeleteSuper cute!!!!! Thanks so much for linking up and gettin' crafty on hump day :)
ReplyDeleteWow.. What a cool collection of office things.. I loved it.. I wanted to buy Desk Organizer Tray but was confused on what to buy. Thanks for sharing. Keep exploring.
ReplyDelete