Wednesday, March 16, 2011

DIY Magazine Holder

Ever since we married and moved in together, there has been a growing stack of magazines on the back of the toilet. And ever since we married and moved in together, it has bugged me. This past weekend, I finally decided I had had enough; those magazines needed a home!

Sure, I could probably pick one up at The Container Store for about $10, but where's the fun in that?


DIY Magazine Holder
made from a 12-pack box

Things you need:

1 12-pack beer/soda bottle box (not cans)
Scissors
Packaging Tape
Mod Podge
Brush
Pretty Paper


Grab your box.
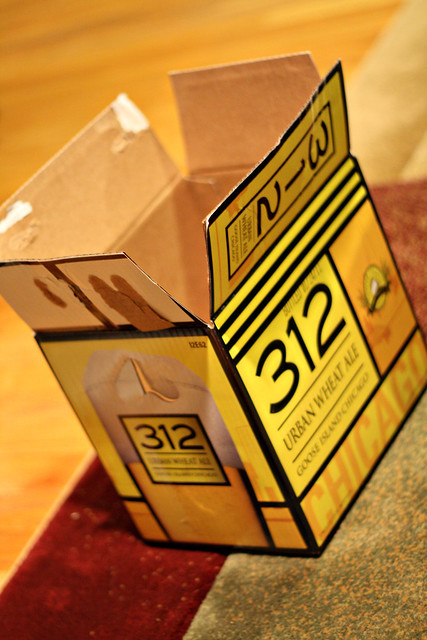
Magazine 1


Cut off the flaps, and cut it in half at the sides (the short ends).
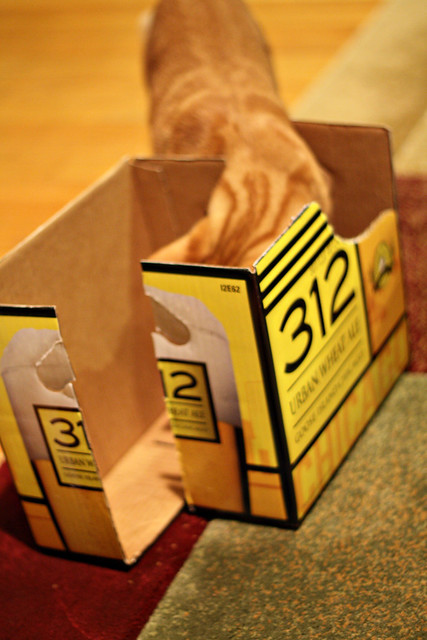
Magazine 2


Slide one side into the other (you'll be surprised at how easily they fit in together) and use the packaging tape to secure the sides and bottom together. Also cut an angled curve off of one side to allow for viewing the magazines.
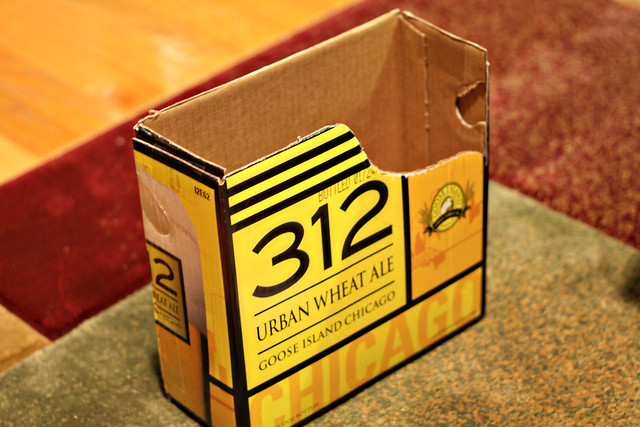
Magazine 3


Now grab some paper for the outside. For this project, I prefer the really large pieces of paper that can be wrapped all the way around for continuous coverage, but if you were doing a collage or mish-mash of paper, then size doesn't matter.
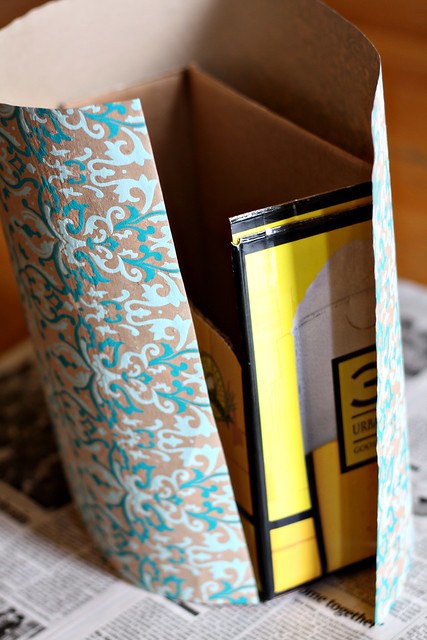
Magazine 4


Apply Mod Podge to one side of the cardboard holder, and press the paper down, working to get out all the bubbles.
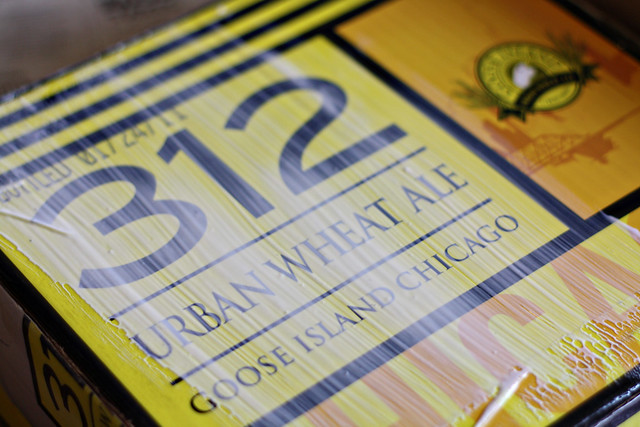
Magazine 5


Work your way around the box until it is completely covered. Trim the ends of the paper so you can fold them down into the inside and underside of the box, and Mod Podge down.
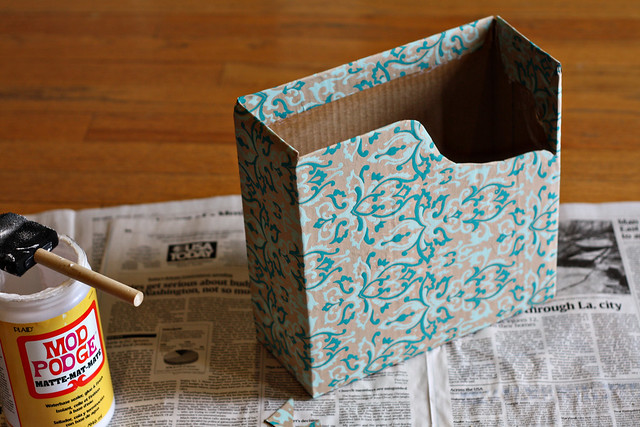
Magazine 6


Now grab another complementing paper, and Mod Podge it to the inside of the box. This will cover up the ends of the outside paper, and will give a nice contrast to the inside. Since this will have magazines in it all the time, you don't have to go all the way to the bottom with the inside paper. Just halfway down or so will be fine since no one will see much further down than the top anyway.
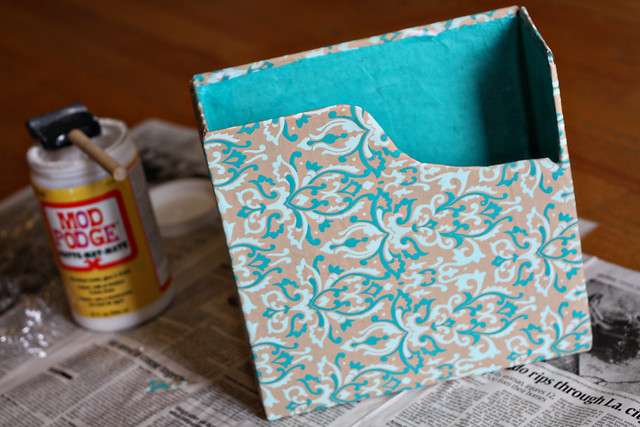
Magazine 7


Finally, apply a topcoat of Mod Podge to the inside and the outside to seal the paper. You may have to do this in batches otherwise it will be hard to find a way for it to dry without it sticking to something!

Once it's dry, slide the magazines in, and enjoy!
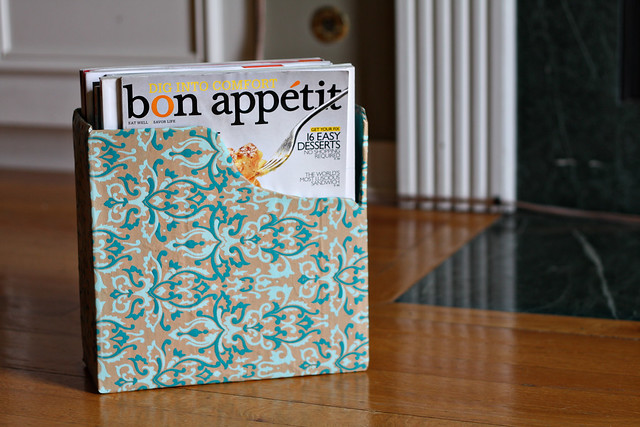
Magazine 9


Visit thecsiproject.com

Monday, March 14, 2011

Honey Ginger Shrimp

Last week, I was so lucky to have my friend A.J. in town. This is the same A.J. who gave me the portable photo studio :) He was here on business, but was able to book his return flight for the next day so that he could come over and visit that night!

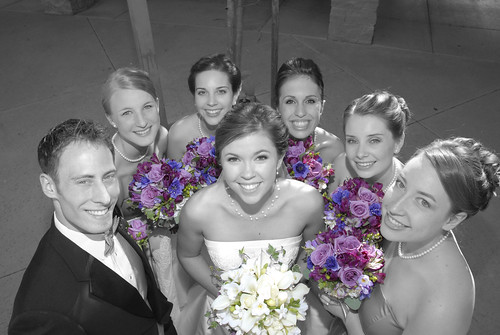
Now to give a little background, A.J. is such a good friend, in fact, that he stood on my side of the wedding party, as my bridesman.

KM & CP wedding day 047


And no, this was not at all influenced by that horrible Patrick Dempsey movie.

Anywho, I don't get to see him much since we live in separate states, but on the rare occasion he's in town, it's always a treat!

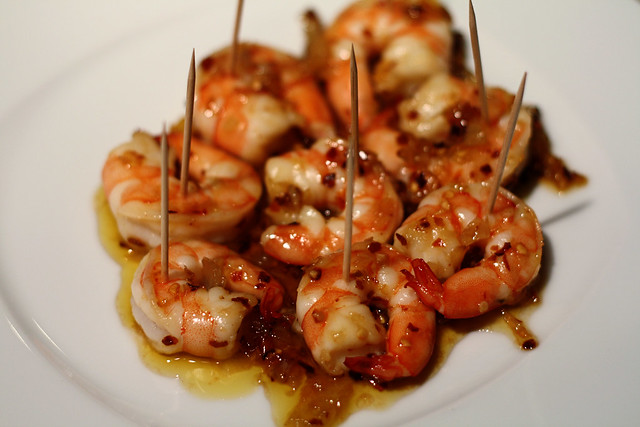
For this visit, we decided to stay in and cook a little, since his sales job often keeps him on the road. Upon looking in the freezer and seeing that I had shrimp, he quickly got super excited to do a recipe he's had a couple times before!


Honey Ginger Shrimp
adapted from Allrecipes

2 tablespoons olive oil
1 tablespoon red pepper flakes
2 cloves garlic
1/4 yellow onion, chopped
1 teaspoon freshly minced ginger
1 teaspoon honey
1 pound medium shrimp - peeled and deveined
salt and pepper to taste

Heat the olive oil and red pepper flakes in a large skillet over medium heat. Add the onions, garlic, ginger and honey; cook and stir until fragrant. Add the shrimp, and cook for 5 minutes, stirring as needed, until shrimp are pink and opaque. Serve immediately.

AJs shrimp

Thursday, March 10, 2011

Birthday Week Giveaway Winners!

Wasn't last week fun? I sure had a blast reading through some of your comments, from touching to downright hilarious! And now to the best part, the WINNERS!

birthday giveaway winners


Between the 6 giveaways, we had a total of 468 comments! WOW!

All winners were chosen randomly courtesy of random.org. If you would like to see a screenshot of all the randomness, click here (gotta keep me honest!)

Now let's get down to business!


The winner of the Craftee McGee giveaway is...


Annie from Eat. Dream. Repeat.!

winner 1


The winner of the Paint Me A Picture Giveaway is...


Danielle from Take Heart!

winner 2


The winner of the Mod Podge Giveaway is...


Wendy from Project Create!

winner 3


The winner of the Oh Sweet Joy Giveaway is...


Heather from Small Town Living!

winner 4


The winner of the Hiya Luv Giveaway is...


Sara B. of Yes, Teacher!

winner 5


And finally, the winner of the CSN $50 giftcard is...


Marissa of Cam&Rissa!

winner 6


All winners please shoot me an email at foodwineandmodpodge dot gmail dot com to claim your prizes! And thanks everyone for coming by last week to celebrate my birthday with me!

Monday, March 7, 2011

Date Night :: Scallops

Sometimes, Chris and I find ourselves wanting to get a little more adventurous in the kitchen, and decide to get some really good ingredients and stay in for the night. This past weekend, we found ourselves at Whole Foods, and they had some gorgeous scallops. So we snagged some up and went home to cook!

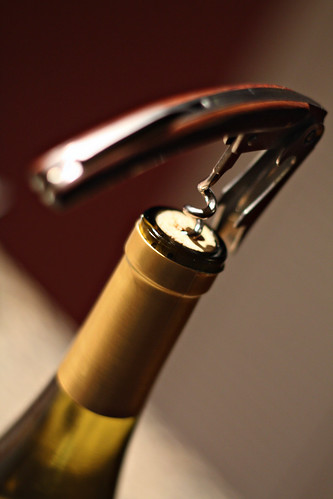
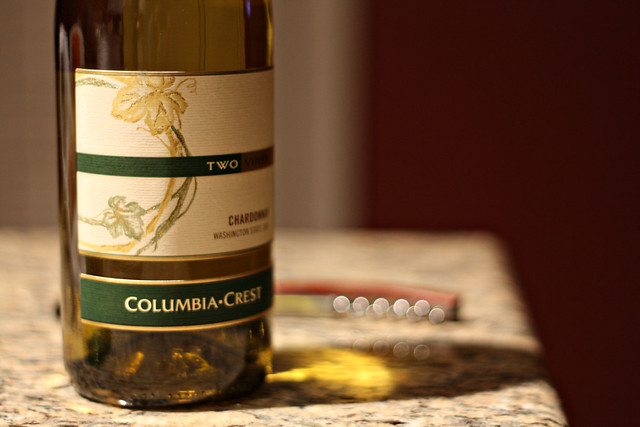
A couple things to talk about though before jumping into the recipe. First of all, the recipe calls for a cup of white wine. By no means should you use the best wine you can find (unless you really want to make this an unusually expensive dinner...) but when cooking, a good rule is not to use any wine you wouldn't drink to accompany the meal. Our favorite wine to use for cooking is Columbia Crest Two Vines Chardonnay. It's got good flavor, makes a great Tuesday-night bottle of wine, and is perfect for cooking.

blog Scallops 2


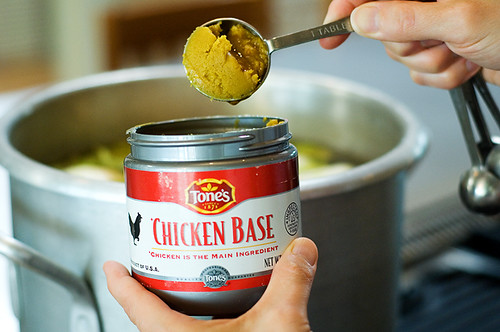
The next note I want to make is in regards to one other ingredient below: chicken base. Chicken base is a condensed paste that when added to water, creates chicken stock. I personally like it better than bouillon because bouillon is PACKED with sodium, but base is not. Also the first ingredient in base is chicken, which is more than I can say for those salty cubes. It can't be found everywhere, but I've seen it more and more places like spice shops and specialty food stores lately.

Also, Pioneer Woman uses it, so if you don't want to take my word for it, we can all take hers.


Pioneer Woman


Scallops with White Wine Sauce
we made this up

1 tbs olive oil
2 medium shallots
1 medium yellow onion
1 celery rib
1 cup white wine (chardonnay)
1 pinch red pepper flakes
1 pinch white pepper
2 tsp chicken base
Lemon to finish


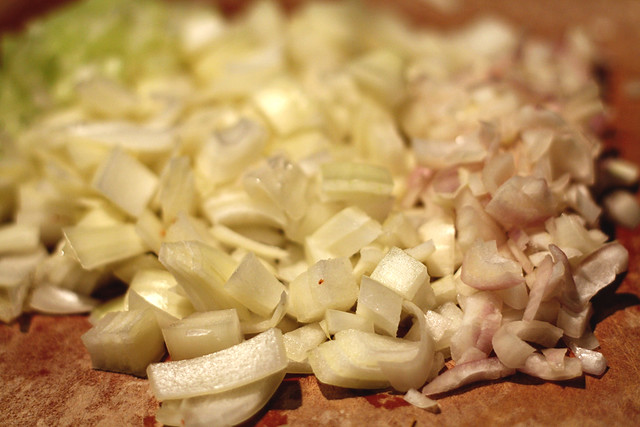
Dice the shallots, onion, and celery.

blog Scallops 1


Heat the oil in a pan, and then toss in the shallots, onion, and celery. Cook for 3-5 minutes, until they soften.

Add wine, red pepper flakes, white pepper, and chicken base.

blog Scallops 3


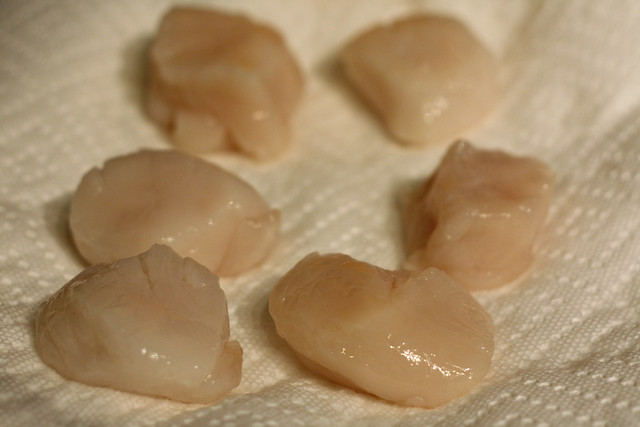
Bring it to a light simmer, and then turn your attention to the scallops. Rinse them and pat them dry with a paper towel. Wet scallops (or wet any meat for that matter) will not brown nicely.

blog Scallops 4


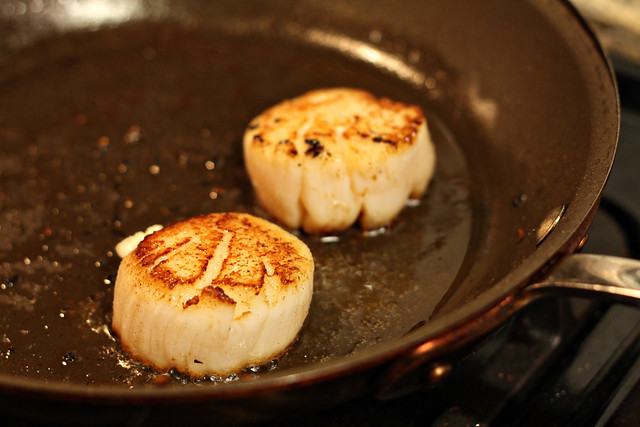
Get another non-stick pan and add some oil, bring to medium-high heat. Once the oil is hot, set the scallops in. Cook them, undisturbed, for 2-3 minutes, then flip.

blog Scallops 5


Leave the scallops in the pan until they are brown on both sides and start to break apart slightly along the edge. Do not overcook them, or they'll be little rubbery discs.

Move the scallops over into your white wine sauce pan, squeeze a lemon slice over top, and serve!

blog Scallops 7


Don't forget, today's the last day of the Craftee McGee and Paint Me A Picture giveaways!