Thursday, September 30, 2010

A Review, a Recipe, and a GIVEAWAY!

That's right, it's time for my first giveaway!

I'm so happy to share with you this awesome product I picked out from Cookware.com, a CSN Store.

But before we get to the giveaway, I have to introduce you to this little gadget so you can get to know each other!
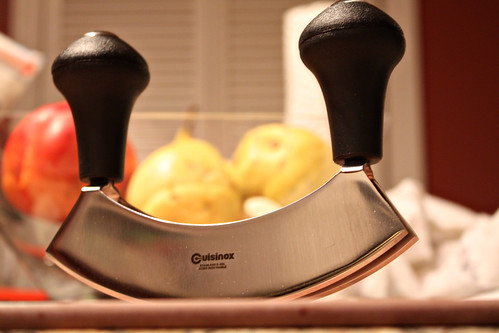
herb chopper 1


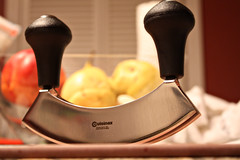
This shiny little tool is a double-bladed herb chopper.

Oooooooh.

Ahhhhhh.


I picked this tool mostly because I chop a lot of herbs, and I always find it hard to really mince them well. I've tried the roll and chop technique, but after the first initial roll, it's hard to roughly chop past that without getting the herb all over your hands. I loved that this has two blades, and is rounded so you can easily maneuver around the heap of herbs without having to constantly reposition them.

When I first opened the box, I must say, I was surprised at how sharp this thing is! I mean, it is sort of a type of knife, but I knew right then it was going to do some serious chopping!

For my first experience with the chopper, I grabbed some cilantro for a marinade.
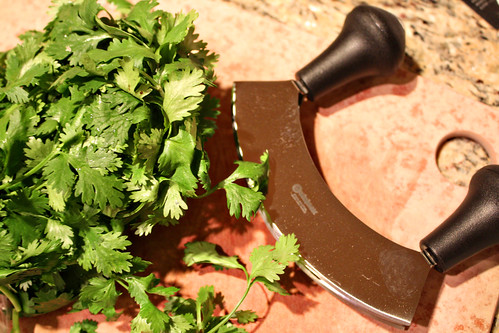
herb chopper 2


And in just a few quick rocks back and forth...

herb chopper 3


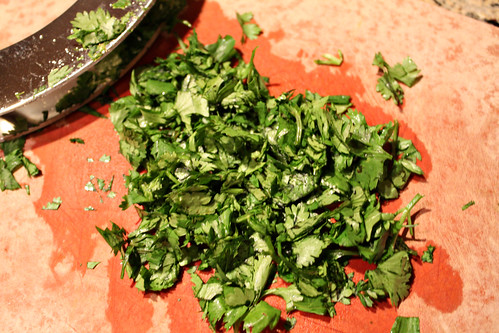
...it looked like this!

herb chopper 4


So easy! And cleanup was a breeze, I just rinsed it off and dried it. Since we're only dealing with herbs, there was no need to worry about cleaning it thoroughly.

And now on to what I did with those herbs!

I threw them in a ziplock with chicken breasts and this:
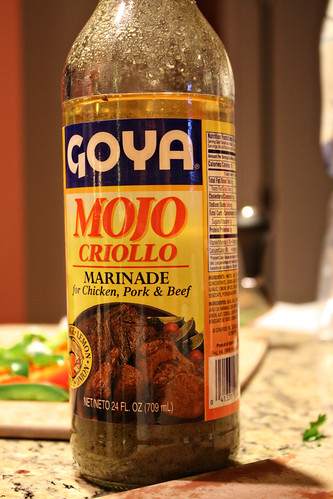
Goya Mojo


This is one of my favorite marinades for chicken. So much flavor! And letting the cilantro marinade with it all really lets out all the great flavor it brings.
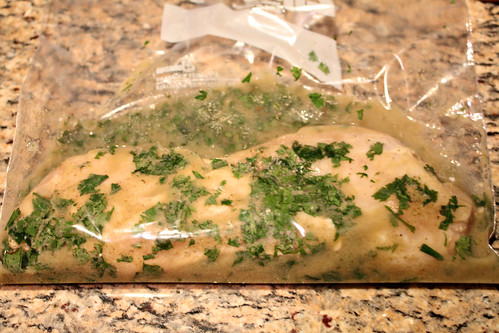
marinating


I let this marinate overnight to get all the wonderful flavors to seep into the chicken.

The next day, I got out the chicken, Chris started the grill, and I started to make some pseudo-Mexican rice. I say pseudo because I didn't have any sort of a recipe, sort of just threw ingredients into the rice cooker!

I started with some red onion...
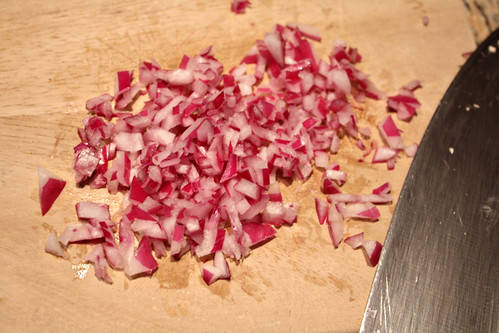
rice 1


And some cilantro, which I chopped with my Cuisinox herb chopper, of course!
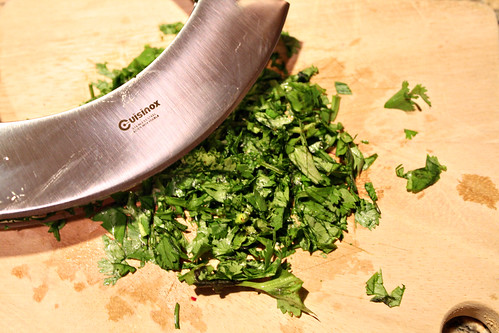
rice 2


I put it all in the rice cooker with some rice, some Chipotle Tabasco Sauce, some generic red taco sauce, and salt and pepper.

rice 3


I threw some water in, turned on the rice cooker, and when it was done, plated it up with the chicken! Super easy!

finished meal


Very tasty meal, and there were so few steps! Not to mention my handy-dandy new Cuisinox herb chopper made it even easier!

How would you like to add one of these to your kitchen?? Well you can! The wonderful people at CSN Stores have given me the opportunity to give one away to one of my fabulous readers!

**The Giveaway**


The giveaway for this Cuisinox Double-Bladed Herb Chopper starts right now (yes, right now!) and goes through Sunday, October 3rd, Midnight CST.

To enter, comment on this post and tell me what was the best meal you made in the past month. Easy peasy!

For extra entries, blog about the giveaway, post it on Facebook, tweet it, or any other way of sharing it with others! Then come back here and leave me a new comment for each extra entry.

To be eligible to win, you must be a follower of Food, Wine, & Mod Podge, and a resident of the US or Canada.

I will announce the randomly-selected winner on Monday, October 4th, so keep a watch out for it!
herb chopper 1


Good luck!

Tuesday, September 28, 2010

A Crafty Chair Makeover

What a fun weekend this was!

I started it off by learning some new tricks and crafts at the Chicago Craft Social, and I got to meet some great new friends!

Then, I followed it up with a weekend of some great projects with a wonderful, helpful, and I must say patient friend.

So, let's kick off this post with one very fun project, and a recap of what I started with:

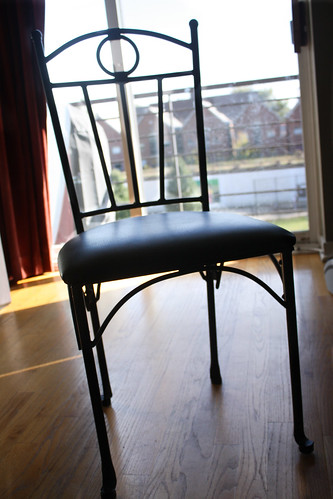
edited chair


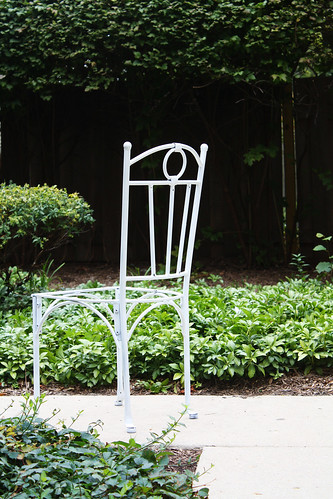
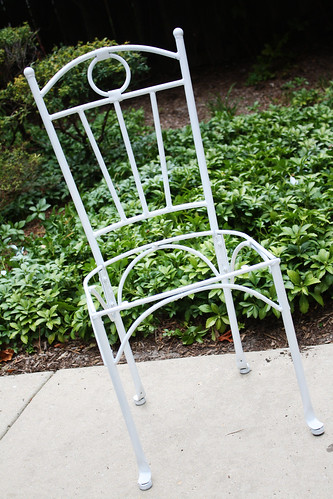
Remember this black chair I shared with you last post? This chair was destined to become my craft chair, to go with my new craft desk. But the all-black was just not nearly creative enough for a craft chair, so I had to give it a makeover!

I started by removing the seat cushion (which was only attached by 5 screws) and began to spray paint it.

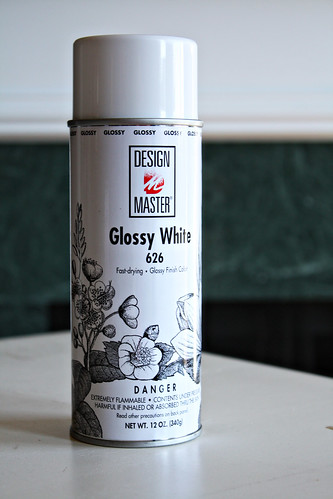
edited Spray Paint

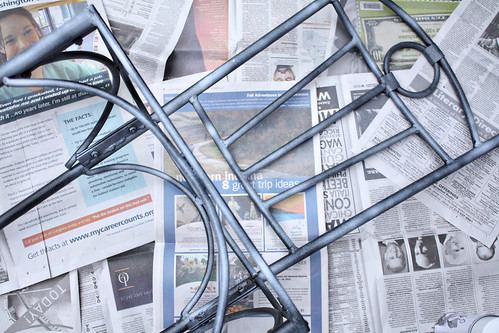
Chair mid spray paint


We were very careful to do very light layers of spray paint, and allow time to dry between coats. Since I started with a metal surface, I wanted to make sure not to cake on the paint and thus give it the chance to chip off later.

After a lot of patience, we were here!

Chair sprayed back

Chair sprayed front


We were SO LUCKY - the single can of spray paint we had was exactly the amount of spray paint we needed. Even a little less would've resulted in some patchy spots!

We then moved indoors and began to recover the chair.

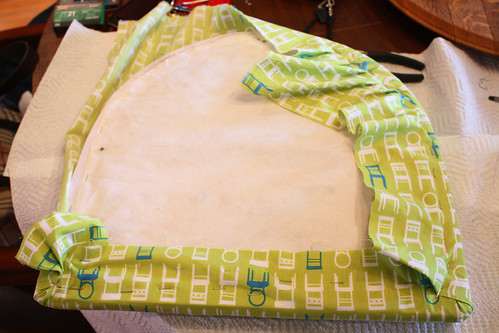
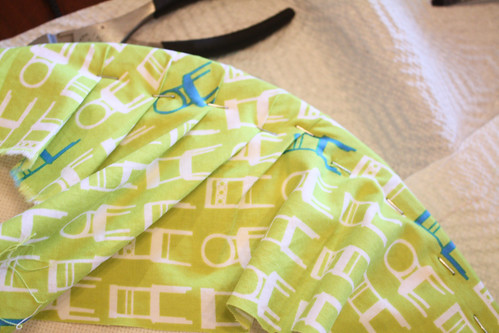
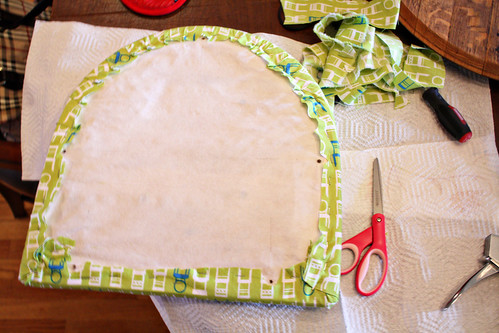
We started by removing the black faux leather fabric that was currently on the chair. Then, we cut a square of this fabulous Robert Kaufman fabric, and began to staple away!

Chair recovering 2Chair recovering


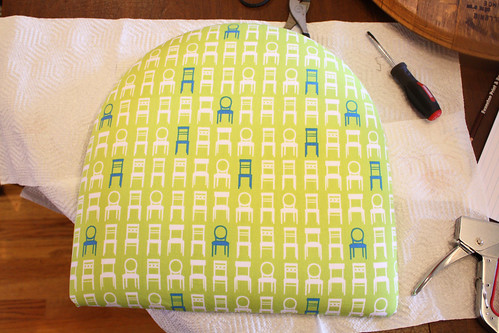
When all the staples were in, we trimmed the fabric to be closer to the staples, and to expose the screw holes.

Chair recovering 3


Finished!

Chair recovering 4


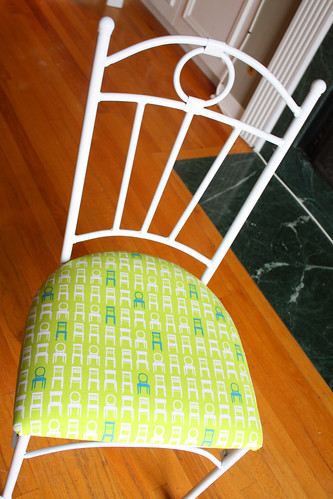
Then, all it took was screwing it back on, and the chair was done!

Chair final 2


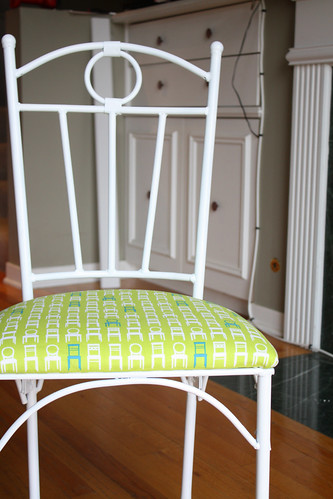
I absolutely love my new craft chair. Now I can't wait to tackle the craft desk redo so that the chair has somewhere to live!

Chair final 1

Friday, September 24, 2010

A crafty weekend ahead!

I have been looking forward to this weekend for so long!

Darn moving really put a damper in my crafting over the past couple months. It's just so hard to find time to do anything fun when there are boxes to pack and unpack!

But this weekend, I'm pullin' out all the projects I've been wanting to do, and tackling them head on!

I'm kicking off my crafty weekend with a stop at the Chicago Craft Social tonight, woo! What a great way to start the weekend! I'm so excited to meet some other crafty ladies and learn some new tricks!


Then, I've got so many projects lined up, I'm going to have to kick it into high gear to get them all done! In the meantime, I'm going to give you a sneak peak of some of my newly acquired items...

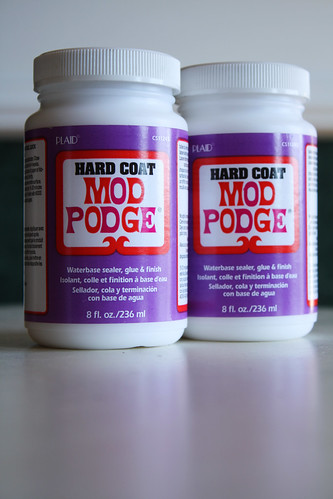
edited Mod Podge Hard Coat


Of course, had to start with a pic of my new Mod Podge - Mod Podge Hard Coat! I've never used it before, but I think it'll be great for something I have up my sleeve.

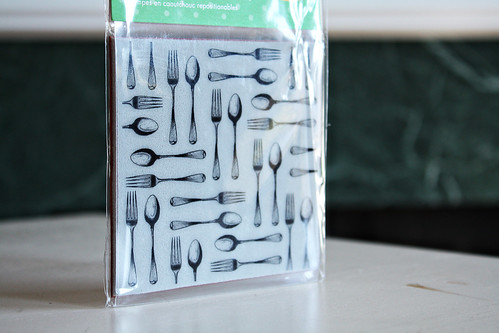
edited Stamp


A stamp...

edited Spray Paint


Fun fact: did you know that it is illegal for retailers to sell spray paint in Chicago? That's right! I imagine it's to help cut down on the graffiti. Regardless, that makes me treasure spray paint even more just because I have to pay for shipping to get it!

edited Frames


Frames from Salvation Army. Still need more, but will have to go back again soon! I bet you can guess where these are going!

And now, finally, the creme de la creme...

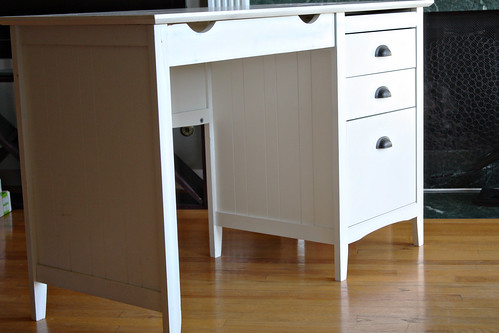
edited desk side


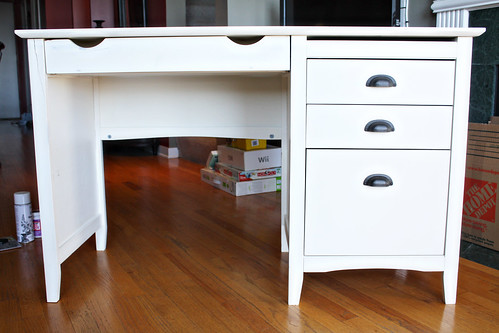
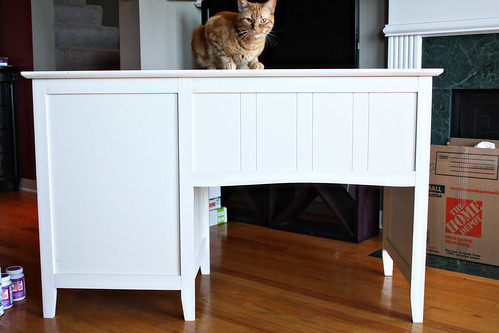
Isn't she a beauty??? I found this baby at Salvation Army as well. For the past few weeks, I've been scouring craigslist looking for a desk to be my very own craft desk! And lo and behold, there it was when I walked into the Salvation Army!

edited desk front

edited new desk back


I just love the detailing on the side and back panels!

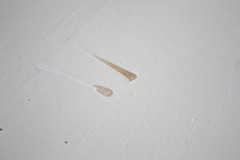
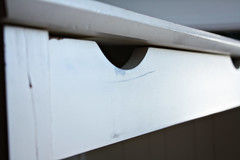
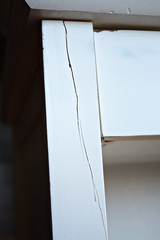
Don't get me wrong -- she was cheap and at the salvation army for a reason.

edited ding 1edited ding 2edited ding 3


But just a little fixing up and a new coat of paint should do the trick!

And of course, you can't have a craft desk without a craft chair...

edited chair


This all-black lovely is going to undergo quite the transformation this weekend!

Can't wait! Stay posted!

Tuesday, September 21, 2010

1921 Dom Perignon

Remember this post I did a while back explaining why it's important to store wine properly?

Well, I was watching Pawn Stars on The History Channel the other night, and saw a real life example of why this is truly so important!

If you're not familiar with Pawn Stars, I recommend you start watching it! It follows a Pawn Shop in Las Vegas, but it's on History Channel, so you know it gets some cool and unique items, such as revolutionary war muskets, Elvis guitars, and pirate treasure chests.


However, in this particular episode, a man brought in a bottle of 1921 Dom Perignon champagne.


Most people have heard of Dom Perignon, as it's mainly associated with the best of the best. We all know it's pretty gosh-darn expensive, and that most people will never have the pleasure of partaking of it. Add the fact that it's from 1921? Gee that's old! Must be worth a ton!

But as the wine expert they bring in reveals, 1921 isn't just any old year... it is the first year. 1921 was the first vintage year of Dom Perignon champagne, and it is widely considered to be the best year. Ever.

The bottle was intact, the label was pristine!

The guy who brought it in was, well, stoked, to say the least.

But then the wine expert broke the news.

Because this bottle had been stored standing up for all those years, instead of lying down keeping the cork moist, and in a climate-controlled environment, the wine was essentially swill. He held up the bottle and you could see the liquid inside was brown, cloudy, and full of sediment floating everywhere.

Had it been stored properly, it would've been good for $8,000-$10,000. Because it had been stored standing up in a liquor cabinet, the only thing it was good for was a novelty bottle/label, and he could maybe get $1000 if he was lucky and found the right collector who would want it just for show.

The man was visibly upset, angry that he had stored it upright with good intentions, assuming that it was the correct way to keep a bottle of wine. But it just goes to show, the more you know, the more valuable you are!