Thursday, November 11, 2010

Fall Rewind: Mod Podged Fall Leaves in Frames

Thanksgiving is only two weeks away – yikes!

Thanks to my trip abroad for work, I’m – shall we say – a little less than prepared for Thanksgiving. And oh my, I’m hosting it this year! Luckily it’s a nice small group of family, but since it’s the first event in the new home, I think I should get to planning and decorating!

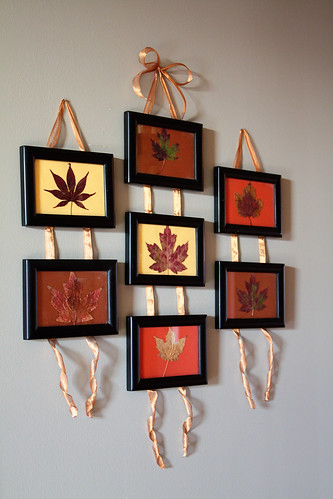
This past weekend, I pulled out the new placemats and napkins I bought (thanks Marshall’s!), put my fall leaves lazy susan cover on my lazy susan, and then hung one of my favorite crafts from last year:

edited Fall Leaves in Frames (3)


Aren’t these beautiful? You can check out the original post on them here, but I warn you, I didn’t have my darling DSLR back then so the pictures just don’t do it justice. But it’s a really quick and easy craft to throw together if you, like me, are only just now beginning to think of Thanksgiving!

edited Fall Leaves in Frames (2)


And don’t you like how well all the colors go together? So now my dining room area is decorated…. Time to move on to the rest of the house!

Monday, November 8, 2010

Roasted Chickpeas

...but first, I'd like to announce the winner of the Mod Podge Starter Pack Giveaway!!

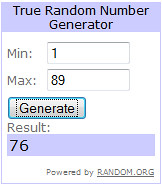
According to Random.org, our handy-dandy random number generator, the winner of the giveaway, out of 89 comments, is....
Giveaway MP Starter Pack


Comment number 76, Stefanie!

Stefanie said...

"Happy Blogaversary! I am so happy I found your blog (thru Mod Podge Rocks). I am definitely going to be a follower of your blog now. Food, Wine and Mod Podge are 3 of my FAVORITE things! I am most excited to try the Sparkle Mod Podge. My daughter was telling me this morning that she wants some glitter on the shirt she put on today."

Congratulations, Stefanie!! Shoot me an email to claim your Mod Podge!


Now, on to the recipe!

I saw a roasted chickpea recipe in a magazine recently, and thought it sounded like a great idea. I once had fried chickpeas that were crunchy and delightful, so roasting sounded like a good healthy alternative. Although I didn't follow the recipe in the magazine at all, I used it as a guide for how long to cook the chickpeas.

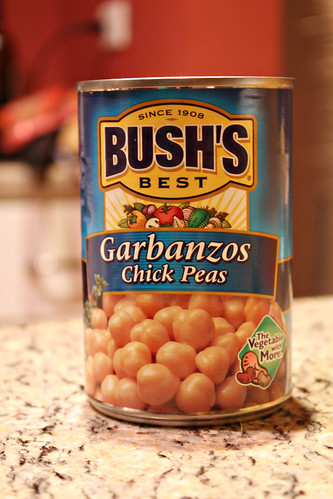
I started with a can of chickpeas.
edited Roasted Chickpeas (1)


Or wait, garbanzo beans?

Yup, for those of you out there not familiar with these lovely little legumes, chickpeas = garbanzo beans. So pick up whichever one, they're the same!

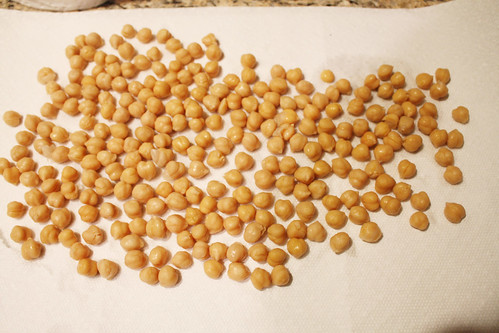
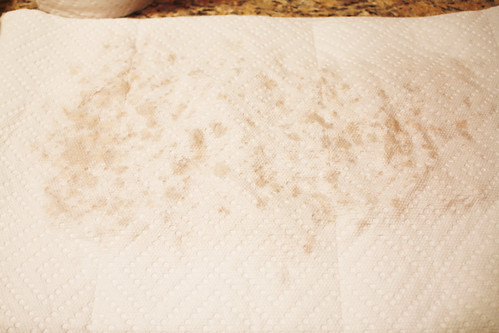
I poured the can into a strainer to drain all the liquid, then poured them out on paper towels to dry.
edited Roasted Chickpeas (2)


The dryer the chickpeas are, the more crisp they will get in the oven.
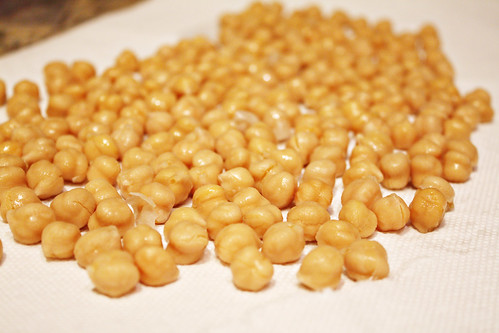
edited Roasted Chickpeas (3)
edited Roasted Chickpeas (4)


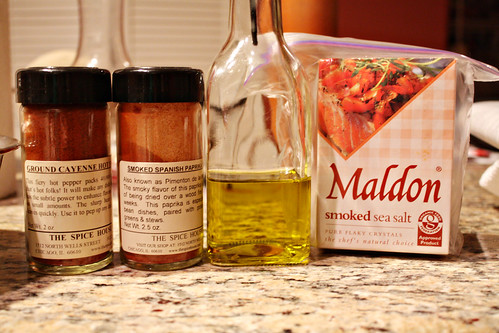
Then I got out my seasonings.

edited Roasted Chickpeas (5)


I decided to use cayenne pepper for heat, smoked paprika for smokiness, and smoked sea salt for saltiness. Then of course, olive oil. This would be great with a myriad of different flavors though, anywhere from plain salt and pepper, to curry powder, to cinnamon and sugar. Try it any way you like!

I mixed all the spices and the oil in a bowl together with the chickpeas.
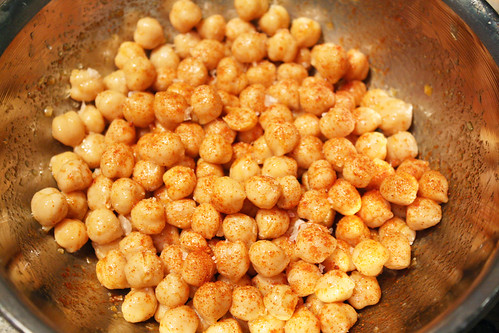
edited Roasted Chickpeas (6)


Once they were nicely coated, I spread them out in a baking pan, and put them in a 400 degree oven.
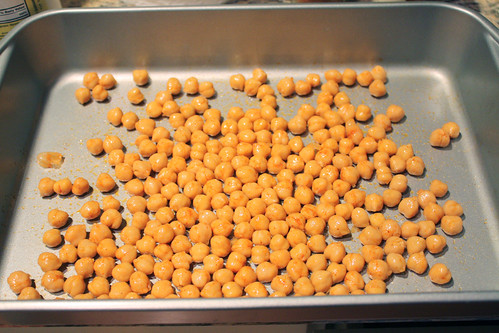
edited Roasted Chickpeas (8)


Shaking the chickpeas around approximately every 10 minutes, I left them in the oven for 35-40 minutes, until they were crispy and golden all over.
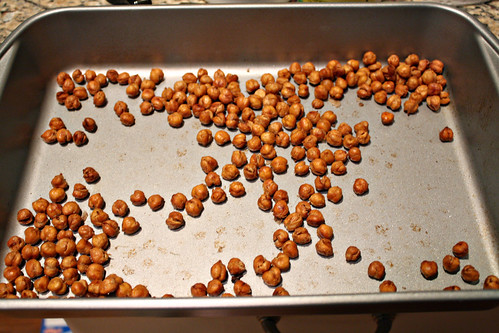
edited Roasted Chickpeas (9)


These turned out crunchy and delicious, and were a great compliment to a nice cold beer!
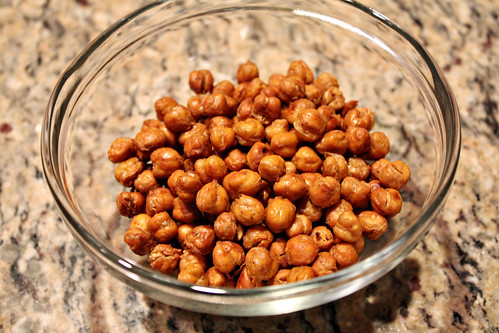
edited Roasted Chickpeas (10)

Wednesday, November 3, 2010

Mod Podge Kitchen Cabinet Door Liners

**Don't forget to enter the Mod Podge Starter Pack giveaway by Friday the 5th!


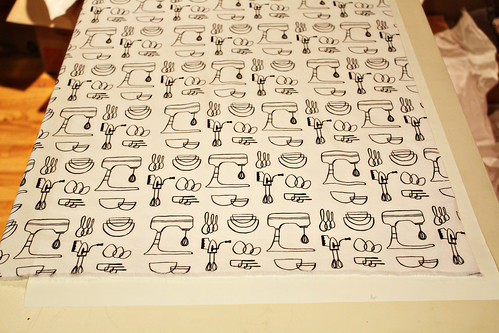
When I was shopping for the fabric for my craft chair makeover, I stumbled upon some other Robert Kaufman fabric that I just couldn’t live without:

edited Mod Podge Kitchen Cabinet liners (2)


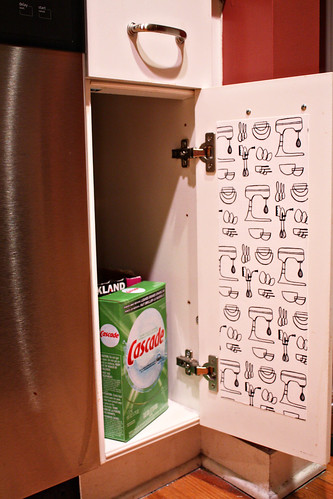
Since I have white kitchen cabinets, I just knew I had to get this fabric and find a way to use it. I originally bought it with the intention of lining the drawers with it, but since my drawers are pretty full, I quickly realized that the fabric would never be seen again if I used it as drawer liners. So after looking around for what to do with it, an idea popped into my head: line the doors with the fabric!

And that’s just what I did.

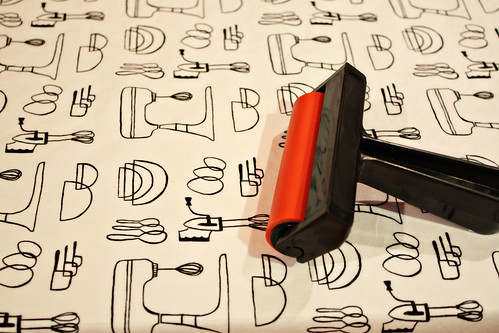
Instead of using Mod Podge Fabric, I actually used Mod Podge Hard Coat because I wanted this to be pretty durable in my kitchen. Chances are it’s going to take a slight beating. So I got out my MP Hard Coat, my foam brush, and my fancy schmancy new Mod Podge Brayer (Thanks Amy!).

edited Mod Podge Kitchen Cabinet liners (1)


Since I don’t really want to permanently Mod Podge my kitchen cabinets, I decided to Mod Podge the fabric to some contact paper, then cut the contact paper to size and stick it to the cabinets.

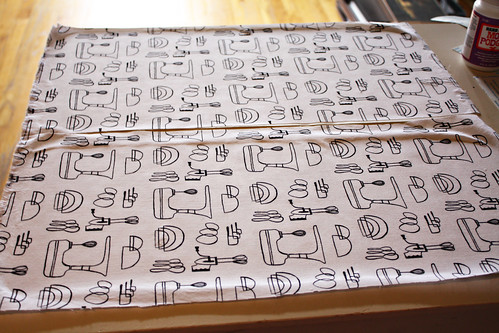
I started by cutting a piece of fabric, slathering some Mod Podge onto the contact paper, and then slowly, carefully, patiently rolling the fabric down to avoid air bubbles.

edited Mod Podge Kitchen Cabinet liners (3)


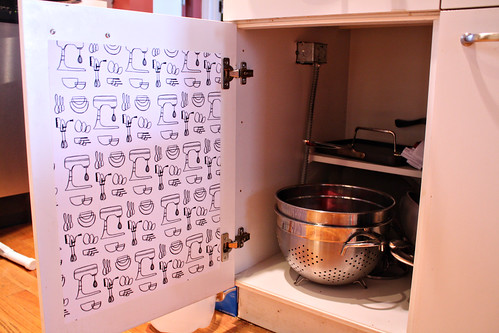
I let the Mod Podge dry for a couple hours, and then applied a topcoat to seal the fabric. Once that was all dry, I cut the sheet to the measured size I wanted, peeled off the back, and stuck it on the first cabinet door.

edited Mod Podge Kitchen Cabinet liners (4)


Perfect! It turned out great, and the white background of the fabric blends so well with the white of the doors.

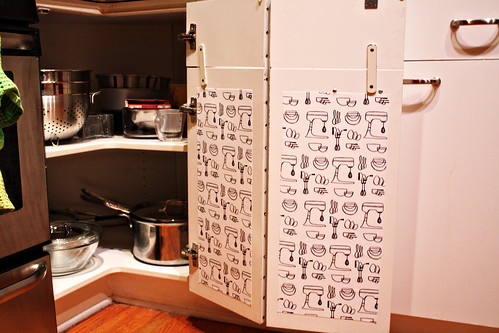
So over the course of a few days, I did the remaining panels as time allowed.

edited Mod Podge Kitchen Cabinet liners (5)


I must love you all because I’m now going to show you the finished product, and as a result, show you the inside of all of my kitchen cabinets. No shame!

edited Mod Podge Kitchen Cabinet liners (6)

edited Mod Podge Kitchen Cabinet liners (7)

edited Mod Podge Kitchen Cabinet liners (8)


These really bring a little whimsy to my previously bland kitchen cabinets, without just screaming it. I love opening my cabinet doors now and seeing them!

Monday, November 1, 2010

Happy Blog Annivesary to Me!

Today's the day!

It's my first blog anniversary!

That's right, one year ago today, Food, Wine, & Mod Podge was born. It's come a long way in a year, and I couldn't be happier with what it's become and how diligently I've stuck with it.

So to celebrate this magnificent marker, I'd like to share some of the Mod Podge love with my readers with a Mod Podge giveaway!


Courtesy of Mod Podge Amy, I'm giving away a starter pack of Mod Podge!

A couple rules:

1. To enter, comment on this post telling me which of the five varieties (Sparkle, Gloss, Matte, Outdoor, Paper) you are most excited to try.
2. Only one entry per person.
3. You must be a follower of Food, Wine, & Mod Podge.
4. Contest will close this Friday, November 5th at midnight (EST).
5. PLEASE leave your e-mail address if it's not attached in Blogger - I need some way to reach you.

And sorry - but US residents only. Liquids are not easy to ship overseas, unfortunately!

Thanks to everyone for your wonderful comments and readership over the past year! It's been a pleasure sharing my projects, recipes, and wine tidbits with you all!