Sunday, July 4, 2010

Homemade Pretzel Bites

I'm a sucker for all things carbs, and let me tell you, soft pretzels are right at the top of my list! The dough has a familiar but strangely unique flavor that only pretzels have. They're chewy, but not too chewy, soft, airy but not overly so, and the topping/filling/sauce possibilities are endless!

So when I came across the Pretzel Bites recipe from Alice and the Mock Turtle, I couldn't wait to give them a try myself! My parents were coming into town that weekend, and knowing that they love to cook as well, I held off to make them until they got here so we could all try it together.

Ingredients:

Dough
2 1/2 tsp active yeast
2 Tbsp plus 1 tsp brown sugar, divided
1/4 c warm water
1 c warm milk
3 c flour

Dough bath
6 c water
4 tsp baking soda
4 tbsp butter, melted

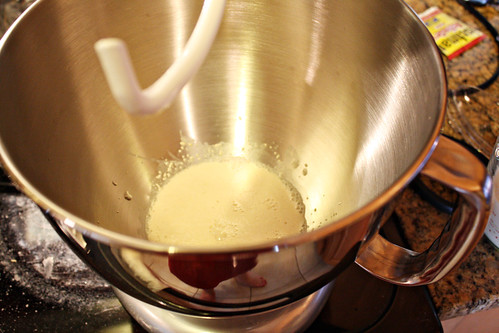
Start by combining the yeast, 1 teaspoon brown sugar, and warm water in your mixing bowl. Set aside until foamy, about 10 minutes.
edited Pretzels (1)


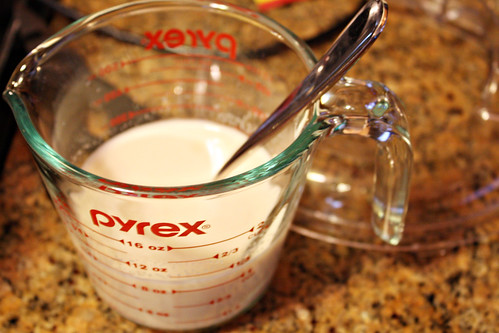
Next, warm some milk and stir in the remaining 2 tablespoons brown sugar until it has fully dissolved.
edited Pretzels (2)


Add the first 2 cups flour and the milk mixture to the yeast mixture. Mix until blended well. Then, add the last cup of flour and mix dough in mixer with dough hook until soft dough forms. Place the dough ball in a well, oiled large bowl, roll it around to coat the dough, and cover with a towel and place in a warm, dry area to rise.

edited Pretzels (4)


Impatiently wait for 2 hours, until the dough has doubled in size and bubbles appear on the surface.

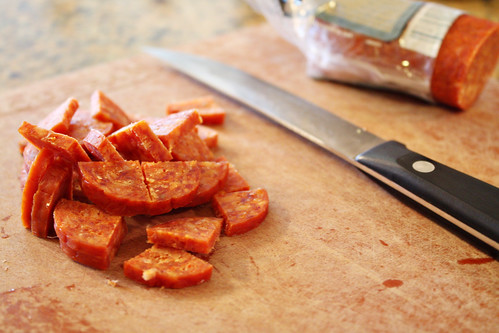
While you're waiting for the dough to rise, you can get your filling ingredients ready. Although Alice uses cheese and Canadian bacon, that's just what she did - what you do it completely up to you! We happened to have a Boar's Head pepperoni stick in the fridge, so we decided to use that. It's pretty small in diameter, but these pretzel bites are pretty small too, so I cut them in quarters.
edited Pretzels (5)


Once the dough is ready, punch it, knead it a little bit more, then divide it in four pieces. We'll be working in batches at this point, which actually makes the experimenting even more fun!

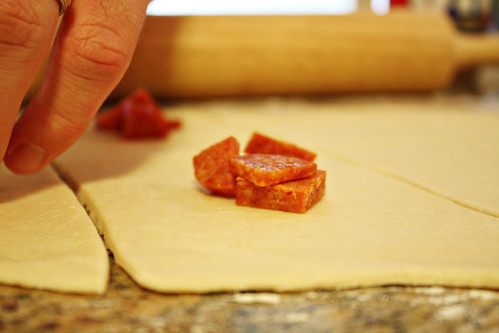
Roll out one of the quarters of dough out into a square. Then divide that into 8 smaller squares. I used a pizza cutter for this, it made it super simple. Then place your filling on the dough squares.
edited Pretzels (8)


Then wrap the edges of the dough up and press them together so you get a little ball. Turn them edge-side-down on a greased cookie sheet as you work through the dough.

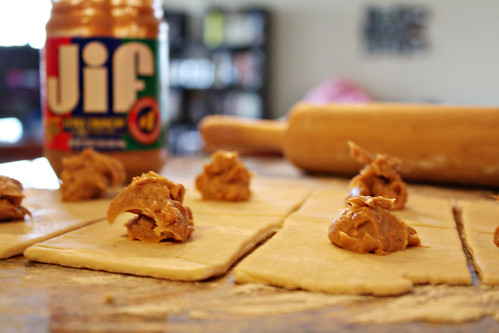
Here's where the creativity allowed by working in batches gets fun! I rolled my next quarter out, and...
edited Pretzels (7)


Crunchy Peanut Butter!! This suggestion came from my dad, who absolutely loves crunchy peanut butter. (Gee, I wonder where I get that from!) Side note: this would be such a fun recipe to do with kids because really they can choose from a million different options!

We finished out the third quarter with 4 peanut butters, 4 pepperoni's, and laid them all on the cookie sheet.
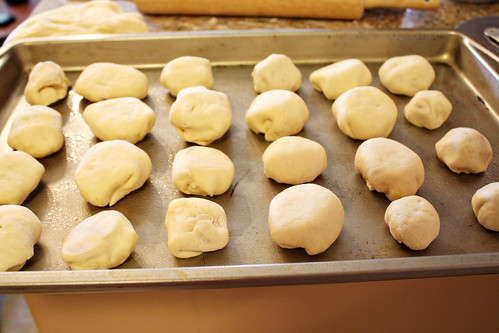
edited Pretzels (10)


For the last quarter of dough, we decided to do old fashioned pretzel knots.

edited Pretzels (11)


Anyone else think that looks unusually like Australia? No? Just me? Moving on...
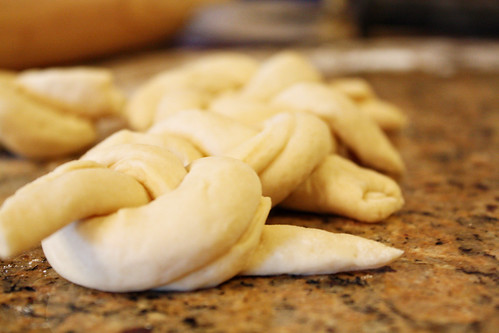
edited Pretzels (12)


Once all your pretzels are ready, begin to preheat your oven to 400F. Then start a large pot of boiling water on the stove (6 cups), and add 4 tsp baking soda.
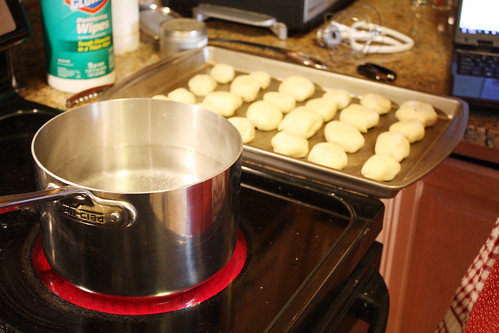
edited Pretzels (13)


When your water is at a rolling boil, work in batches to put the pretzels in.

edited Pretzels (31)


Allow the pretzels to cook for about 20 seconds each, making sure to turn once while cooking.

edited Pretzels (49)


Put them back on the cookie sheet when they are done, and work your way through the whole batch.

Before sticking them all in the oven, we decided to sprinkle a little garlic salt on the plain pretzel knots for a little flavor.
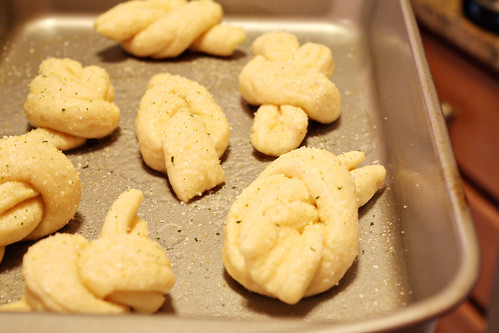
edited Pretzels (80)


Then put in oven and impatiently wait some more.
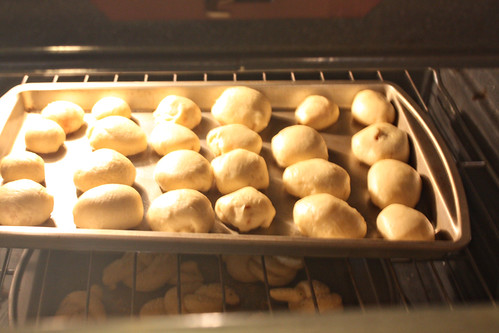
edited Pretzels (84)


After 10-15 minutes, they should have turned a wonderful golden brown.
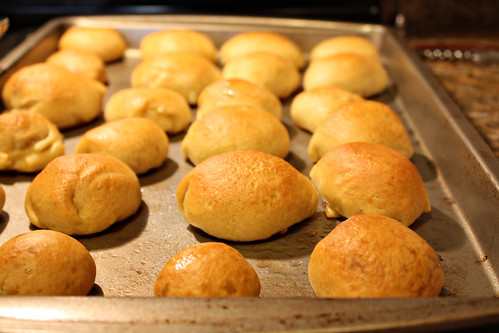
edited Pretzels (85)


Then brush them all with melted butter, and serve!
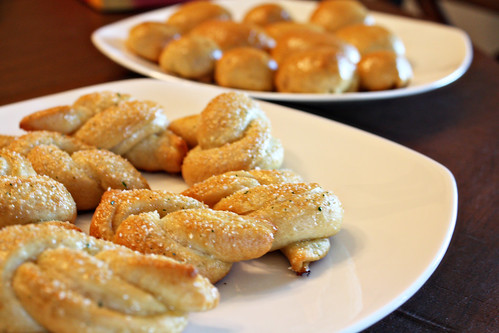
edited Pretzels (88)


Here's what the pepperoni bites looked like when we bit into them:
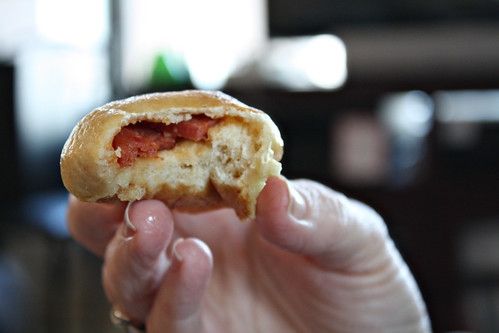
edited Pretzels (90)


...and the PB bites.

edited Pretzels (91)


And the verdict? We all agreed that of the two filled pretzel bites, the peanut butter was better. It actually became this really nice firm, almost chewy center filling, which complimented the dough well. The pepperoni was good, but I think because it was so dry, it didn't add much other than a saltiness. Maybe had we added cheese it would've been better.

But overall, we actually agreed the plain pretzel knots were the best! They just tasted like a true pretzel, and we couldn't get enough of them!

Either way, this is a fun recipe to do with a group since you can do so many different things with them!

Wednesday, June 30, 2010

A Menu Planning Must-Have

The other day, my husband shared this AMAZING online tool with me that I just couldn't wait to share with you!

It's an interactive Food and Wine Pairing guide, and all I can say is

Where have you been all my life?!

Ok ok, not to be overly dramatic, but this thing is awesome. Planning a dinner for friends, family, parties big and small? Trying to impress your significant other? Check this out!

There are two ways to use the guide.

The first option is to match food to wine. In other words, you have a type of food that you plan to prepare, and you want to know what will pair well with it.

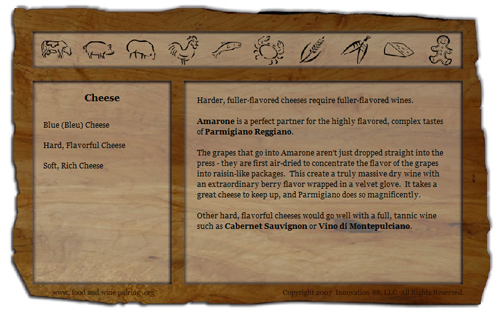
So, let's pretend you're starting with a cheese appetizer. You click the little icon that looks like cheese. But then the tool starts to work and you get three options: Blue (Bleu) Cheese, Hard, Flavorful Cheese, and Soft, Rich Cheese. Since you just bought some awesome reggiano, you choose Hard, Flavorful cheese.

And magic!

Cheese


Amarone goes great with reggiano, but other choices are cabernet sauvingon and Montepulciano. How cool!

Ok, now on to the meat course. Yes we're still playing pretend.

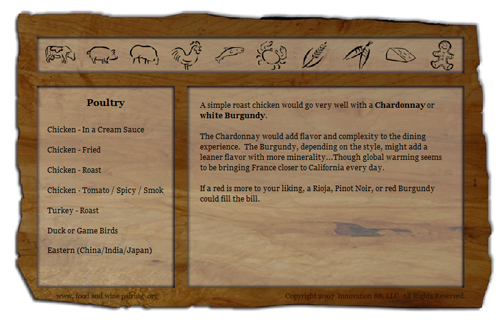
Say you planned to make chicken. More specifically, a nice slow-roasted chicken.

BAM!

Poultry


Chardonnay, or white Burgundy!

Seriously man, I'm in love.

But wait! There's more!

Say you want to plan a menu, but you want it to go well with a bottle of wine you already have...

The tool also has another option to match wine to food!

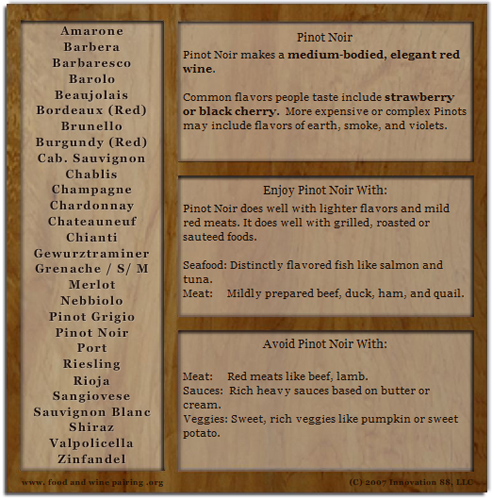
I'll use a real-life example for this. As an anniversary gift, Chris' parents gave us a bottle of Paul Hobbs Pinot Noir. (yum!) What should I make with it?

Pinot Noir


Well, I should clearly pick a lighter-flavored dish. I like the suggestion of salmon! But look in that last box on the bottom right side. I love that this tool also tells me what not to pair with this wine! With this knowledge, I know to make a very clean preparation of the salmon, not a butter-heavy preparation.

I am so glad someone put together such an easy-to-use tool. Having the option to go wine to food or food to wine, and also including things that don't pair well in addition to what does pair well is absolutely invaluable!

Have some fun playing around the site... I know I will!

Photobucket

Note: I was not contacted by the maker of this site to do a review or to share it with you all. I honestly just think it's that cool :)

Featured Tutorial!

What a great surprise to find sitting in my inbox this morning... I am being featured at SomewhatSimple!

Steph chose my embossing tutorial to be the featured tutorial today.

You can check it out here!

SomewhatSimple

While you're there, take a look around. She's got some really great projects and stories!

Sunday, June 27, 2010

Korean Rice Bowls

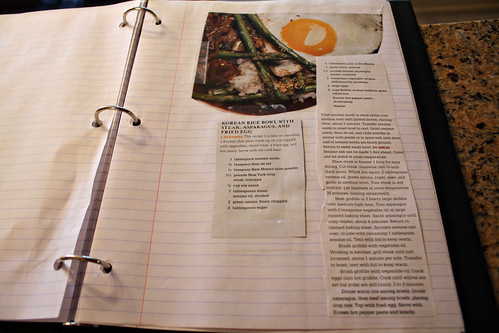
Chris and I love Asian-inspired dishes. We're suckers for all the Asian flavors, pretty much across the board. So the other night, when we were flipping through our magazine recipe book for something new to try, we knew we had to try Bon Appetit's Korean Rice Bowls with Steak, Asparagus, and Fried Egg.

edited Korean Rice Bowl (21)


But, as always, we adapted it to what we had on hand.

Korean Rice Bowls
adapted from Bon Appetit

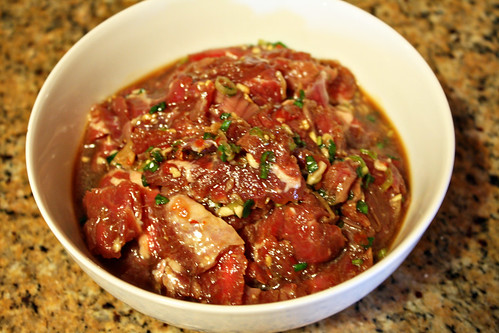
Start with a skirt steak. If it's frozen, bring it out and get it until it is about half-thawed. If it's not frozen, stick it in the freezer for about an hour to harden the meat up a bit. The reason for doing this is that it makes slicing the beef thin much easier. Slice it in strips against the grain, and drop into a plastic bag. In the bag, add:

1/4 cup soy sauce
3 tbs sesame oil
2 chopped green onions
2 tbs sugar
1 tbs sherry
2 minced garlic cloves
1 tsp chopped ginger

Seal up the ziplock bag and let the beef marinate for at least 30 minutes. During this time, the beef will finish thawing.

While the beef is marinating, combine the following ingredients:

1 tbs toasted sesame seeds
1 tsp sea salt
1 tsp chile powder

If you have a mortar and pestle, grind the mixture together. If you don't, put it in a plastic bag and beat with a meat tenderizer or something of the like. Then set aside.

Just before starting to cook your meat, put some short-grain rice in your rice cooker and start it cooking. We also have a little steam tray for our rice cooker, so we chose to cut up some broccoli and steam that with the rice, in lieu of the asparagus that this recipe calls for.

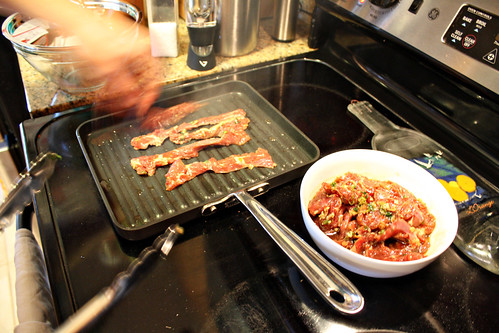
Once your beef is ready, put it into a bowl for easy access.

edited Korean Rice Bowl (2)


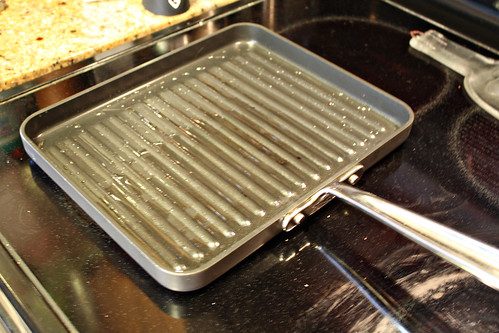
Then set a grill pan on the stove. Or in our case, the bottom of a panini press pan!

edited Korean Rice Bowl (4)


Put about 2 tbs of oil in the bottom of the pan and heat until the oil just begins to smoke.

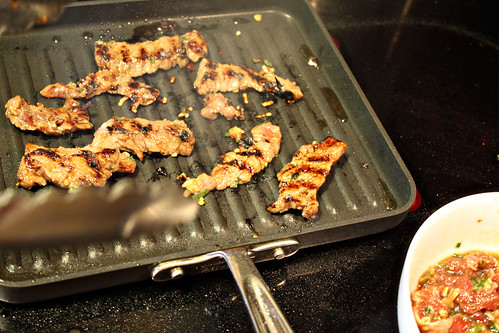
Then, working in batches, start grilling the meat. It will take about 1 minute per side as the meat is very thin and the pan is very hot. Also, you don't want to cook the meat all the way through anyway, because it will be tough as leather.

edited Korean Rice Bowl (7)


Ignore the phantom-hand in the photo above...Chris doesn't pose well!

edited Korean Rice Bowl (17)


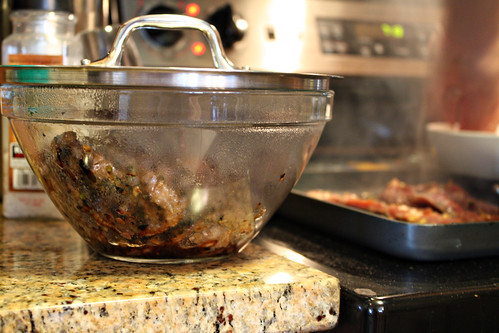
To keep the cooked meat hot as you are cooking the other batches, make sure you have some sort of bowl ready with either tented aluminum foil, or in my case, a pot top.

edited Korean Rice Bowl (18)


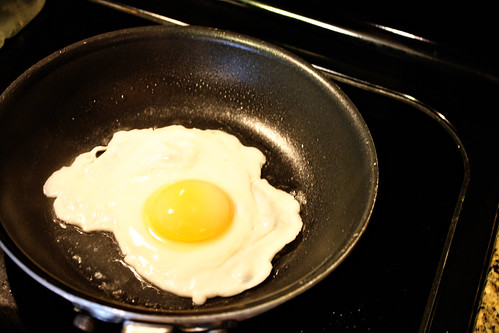
Once the meat is all cooked and staying warm in a covered dish, quickly cook a sunny-side up egg.

edited Korean Rice Bowl (19)


Since I'm not a fan of runny whites but I do like runny yolks, and since I am terrible at making an over-easy egg, I usually put about a teaspoon of water in the pan once the egg has started to cook and cover it for about a minute. The steam from the water will cook the top of the whites without cooking the yolk. A handy little trick!

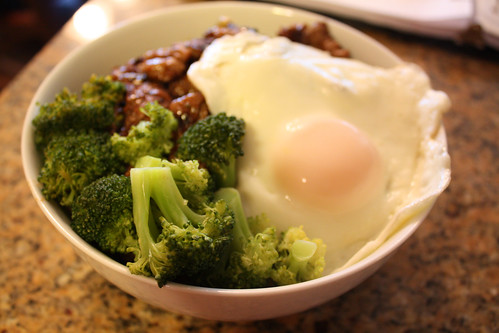
Now you're all ready to assemble! Put some rice in the bottom of a bowl, then scoop some beef in, the broccoli, and the egg.

edited Korean Rice Bowl (22)


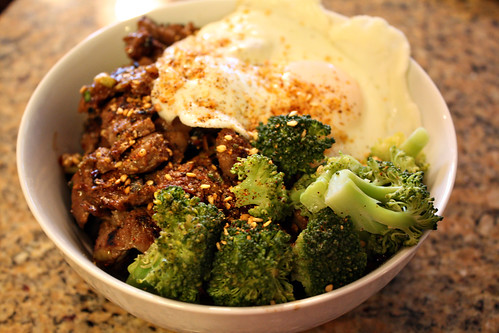
Finally, finish with the sesame seed/salt mixture.

edited Korean Rice Bowl (35)


This turned out to be one of my favorite magazine recipe dishes we've made yet. It will definitely have a few repeat performances!

Enjoy!