Tuesday, June 22, 2010

Mod Podge Roller

When I was waiting (impatiently) for the Recipe Book I made a while back to dry, I was sitting there bored with all my papers and Mod Podge in front of me, thinking, "What else can I do while this is drying??"

Then my eyes locked on something...

Edited Roller Redo (1)


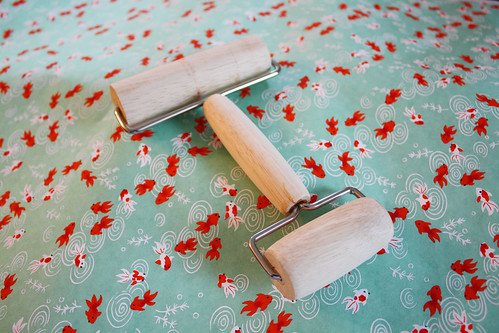
How remarkably boring is my roller?!

My wonderful tool that takes away bubbles in my Mod Podge projects was so dull and lifeless!

So what else to do but Mod Podge it!

Edited Roller Redo (2)


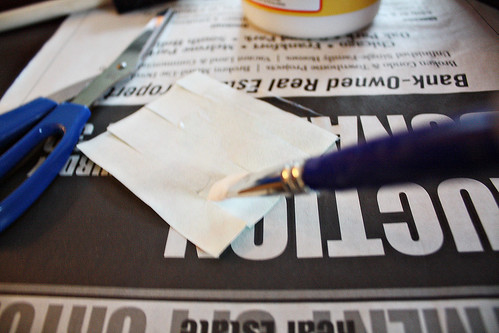
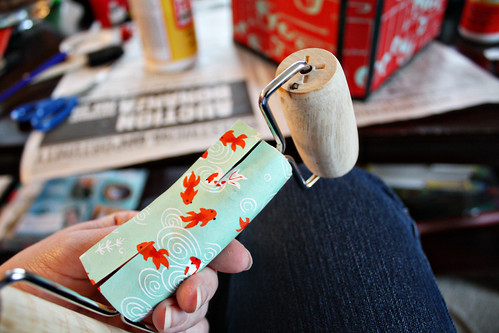
I started by cutting out a little rectangle that was big enough to wrap around the handle. Yes, there's my lap again. I'm telling you, a great place to craft!

But then I needed to cut slits in the paper because the handle of the roller was tapered at the ends. I decided to cut three slits in each side.

Edited Roller Redo (3)


I then brushed a little Mod Podge on the back of the paper...

Edited Roller Redo (4)


...and began to wrap it around.

Edited Roller Redo (7)


I was very careful to let the slits overlap so that it wrapped snugly around the handle.

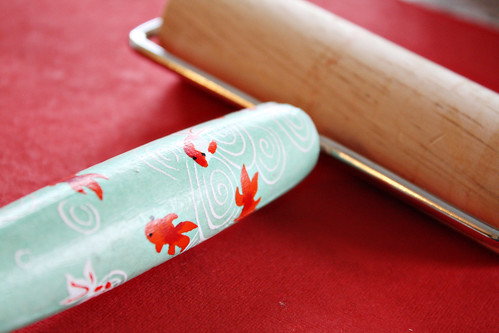
Then a quick coat of Mod Podge (matte) on the outside (after I had impatiently let it dry, of course), and here we have it!

Edited Roller Redo (10)


So much prettier!

Edited Roller Redo (24)


This is what I do when I'm bored and impatiently waiting for Mod Podge to dry. I do more Mod Podge. Hey, at least my addiction doesn't hurt anyone! :)

Thursday, June 17, 2010

Baby Back Ribs

Now that it’s summer, everyone is breaking out their grills and doing some outdoor, open-flame cooking. Well I live in a high rise condo in Chicago with no patio, so unfortunately I’m not exactly dusting off the ol’ barbeque. But that doesn’t mean I can’t make some awesome summertime food!

One of the major grill foods we all think of is ribs. Sticky, tasty, eat with your hands but get them all over your face... there’s really nothing more amazing. But honestly, good fall-off-the-bone ribs are hard to accomplish on the grill. Often ribs tend to be a little tougher, and although they have that good charred taste, they’re not as good as you can get at a restaurant.

But (shocker) I’ve got a secret!

Amazing Fall-Off-the-Bone Ribs

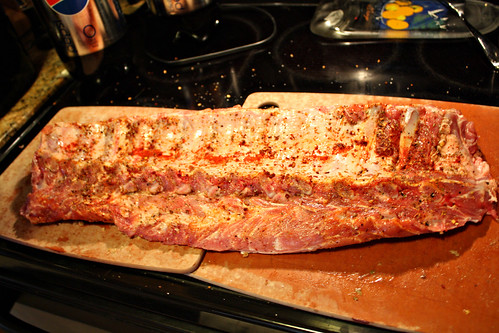
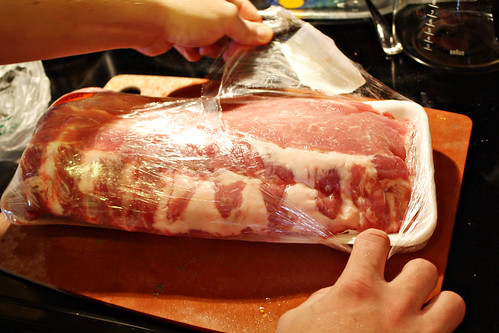
Start with a rack of baby back ribs. Chris and I got this rack thinking it was a nice size, not too big, maybe a little leftovers but would be good for us.
Ribs edited(2)


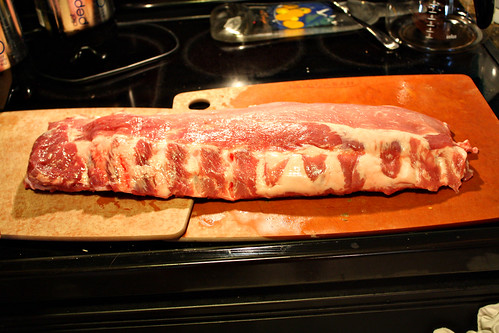
Aaand then we completely unpackaged it, realized what we thought was a good size was actually folded in half…
Ribs edited(3)


…and we found ourselves in possession of a ridiculous amount of ribs. Oh well!

Moving on!

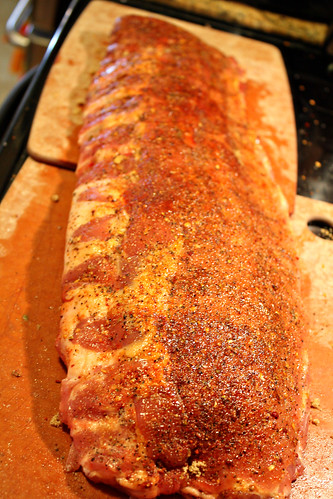
Start by rubbing a hefty amount of liquid smoke on both sides of the ribs. This will add the smoky flavor (obviously) but will also help the dry seasonings to stick to the ribs. Then coat the ribs in a good crust of dry ingredients. Whatever you choose, just make sure to use a ton of it! We used sweet mesquite seasoning (from Costco), salt, pepper, Pullman Pork Seasoning (from Spice House), smoked paprika, and garlic powder.
Ribs edited(8)

Ribs edited(10)


Now on to the secret. Our very close friends taught us this secret one night when we went over to their place for ribs, and we will never again do ribs any other way.

Stick the ribs in your crock pot.

Ribs edited(15)


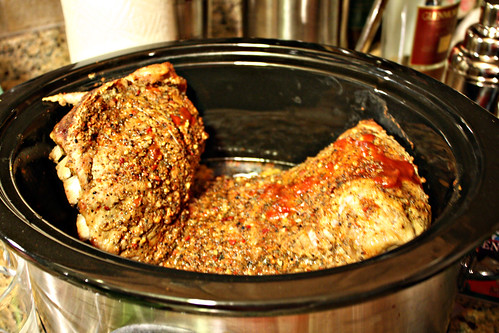
Ok, ok. So ours look a little ridiculous in there. We should have cut the rack in half and set each half on its side so that they fit nicely in there. But hindsight is always 20/20 so oh well. It still accomplishes the same goal!

So getting back to crock potting your ribs. Why would you do such a thing?!? Because you want them tender, silly! We all know deep in our hearts that the way to make something truly fall-apart melt-in-your-mouth tender is to cook it low and slow in a crock pot. So why not ribs?

Put them in the crock pot (maybe a little more gracefully than my little arrangement here) on low with some chicken stock, apple cider vinegar, and lots of cracked pepper. Leave for about 4-5 hours. The important thing is you take them out before they get too tender. Though you want them to fall off the bone when people eat them, you don’t want them to fall off the bone before you even get them out of the crock pot.
Ribs edited(20)


I feel the need to take a moment to express that the little red you see there on top is my husband putting a teeny tiny bit of bbq sauce on the ribs partway through for no good reason. I just thought I had to reassure that 1) that’s not blood and 2) you don’t have to put red stuff of any kind on your ribs at this point so I didn’t miss a step.

Remove the ribs and place on a baking sheet, and brush the ribs with your bbq sauce of choice. I choose to use the homemade stuff, you can find the recipe in my brisket post.

Ribs edited(24)


Now place in a 200 degree oven to let the sauce begin to dry out and get sticky.
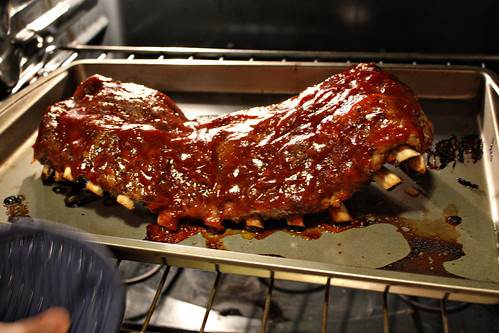
Ribs edited(25)


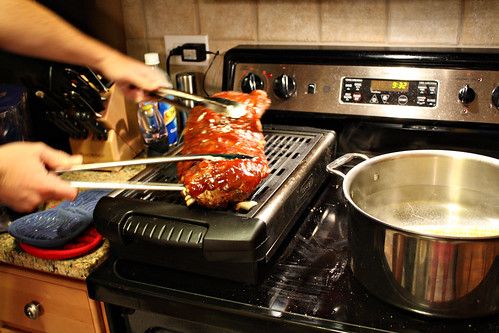
While they’re in the oven, fire up the grill. In our case, plug in the electric grill. Since we’re only trying to get a char, not trying to actually cook the ribs, this does just fine. Make sure you put it on the highest setting.

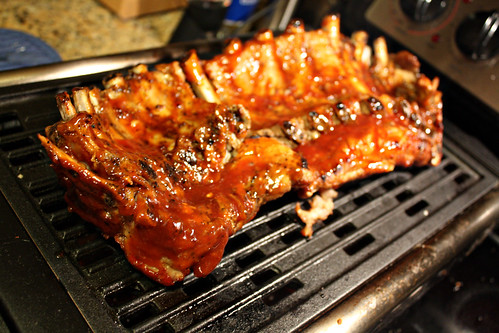
Once it’s hot enough, take the ribs out and stick them on the hot grill.
Ribs edited(27)

Ribs edited(34)


Flip after about 2-3 minutes.

Ribs edited(39)


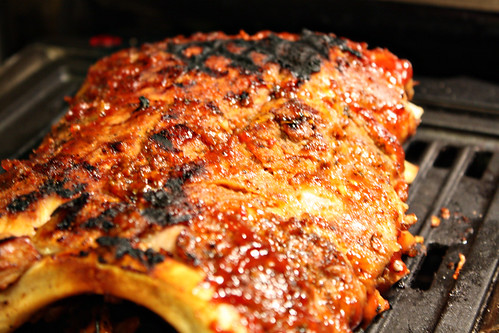
Leave for another couple minutes, and flip again. You should start to get a really good char as the sugars in the bbq sauce begin to caramelize and burn.
Ribs edited(52)


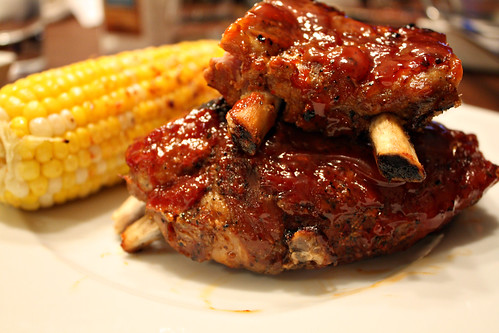
Then remove from heat, and plate 2-4 ribs per person, with your favorite side.
Ribs edited(72)


These are super tasty, fall-off-the-bone, amazing ribs! Happy summer eating!
Tuesday, June 15, 2010

How to Store Wine

How do I properly store my wine?

You may be wondering what to do with that special bottle you got as a wedding gift that came with a card saying “Open on your 10th anniversary!” Or maybe you’ve started to get into wine more, and you would like to hold some of the heartier reds that need at least 5-10 years of aging. Whatever your situation, it’s important that you store your wine properly to avoid an unfortunate experience.

There are three main factors that affect wine: temperature, light, and humidity.

Temperature - storing your wine at a temperature warmer than 65º can cause chemical changes in your wine such as oxidation, reduction, and esterification. In other words, your wine will lose its flavor and will age prematurely. A temperature of about 55º is ideal.

Light - Avoid direct sunlight. Not only will this cause temperature swings, but the UV light will also harm the wine by breaking down the organic compounds in the wine. These compounds make up the flavor and aroma of the wine, so allowing the UV light to enter will have a negative effect on these very basic components of the wine.

Humidity - Humidity mostly has an effect on the wine’s cork. Since corks are naturally all different, most corks will not seal perfectly. However, if the cork is moist, it will expand and fill any space it's imperfections left. If you plan to age more than a couple years, it’s important to keep the cork healthy and moist. The main way to accomplish this is by storing the bottle on its side. By doing so, the cork will stay moist and will expand, preventing any oxygen from entering the wine. If the bottle sits up in a dry room and oxygen does enter the wine, it will turn to vinegar, and the wine you’ve been waiting years to open will be a sour disappointment.

Depending on your budget and number of bottles you plan to store, there are a few options to maintain temperature, light, and humitidy. The most obvious solution is a wine cellar.

Whether it’s a little four-bottle wine cellar that can hide off to the side on your kitchen counter...


...a twelve bottle cellar that could take up a little more counter space...


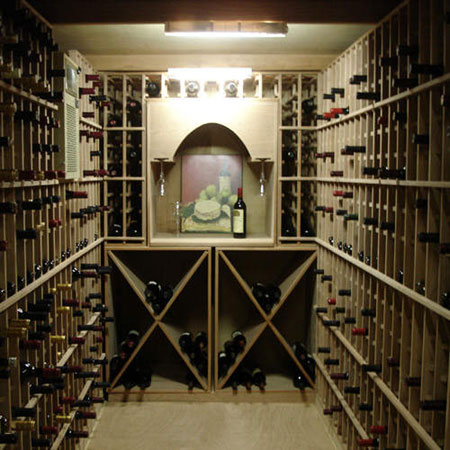
...or a whole actual walk-in cellar...


...you will be able to age your wine with confidence that it is being properly stored.

If you don’t plan to go out and buy a cellar, you can always do the tried-and-true method of laying the bottles down in a remote place in a closet. Closets are good because they are dark and generally are able to maintain a more consistent temperature than other places in the house. If you have a basement, a closet down there is even better because basements tend to be cooler than the rest of the house. Just make sure it’s a closet that is not frequently used, like a coat closet or the like. If it’s in the clothes closet, it is more likely to be jostled around when looking for a pair of shoes, or exposed to light if the closet is left open.

Good luck, and happy aging!

Source: Studio Vino

Saturday, June 12, 2010

Spiced Popcorn

Today, Chris had a craving for popcorn, but I was kind of sick of the average, plain popcorn. Since it is rainy and miserable out, I suggested we take a little time and try out a spiced popcorn! I have seen recipes before in magazines and online, but had never actually tried them. And now I'm so glad I did, because WOW! This stuff is so absolutely delicious!

Spiced Popcorn

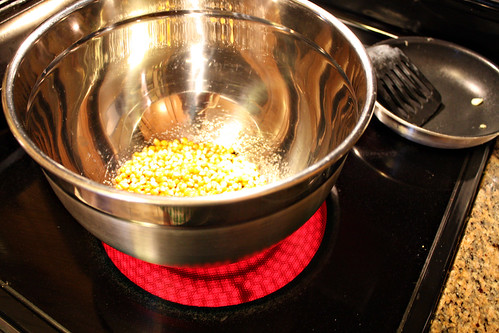
Start by popping 1/2 cup popcorn in the way that you like. We sometimes do air popped popcorn, but for this recipe, we decided to use Alton Brown's Perfect Popcorn preparation method.

We used 1/2 cup popcorn with 2 tbs peanut oil.

Edited Spiced Popcorn (2)


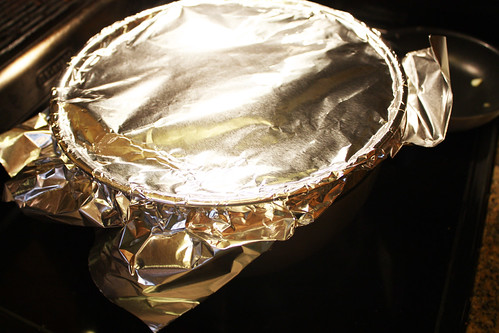
Toss to coat the kernels in oil, and quickly cover tightly with aluminum foil.

Edited Spiced Popcorn (8)


Poke a few holes in the top to allow the steam to vent.

Edited Spiced Popcorn (9)


Keep it constantly moving so the kernels don't settle. It will start to pop fairly quickly. Don't stop shaking the bowl until all kernels are popped, approximately 3 minutes. Then remove from heat and set aside.

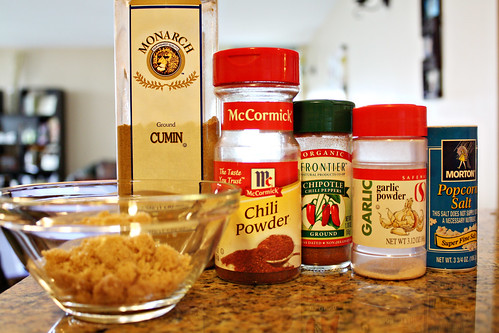
Now grab the ingredients for the spiced topping.

Edited Spiced Popcorn (15)


- 2 tablespoons packed light brown sugar
- 1 teaspoon chili powder
- 1 teaspoon ground cumin
- 1/2 teaspoon chipotle powder (the recipe calls for cayenne, but I couldn't find our cayenne so I substituted it with the chipotle powder)
- 1 teaspoon garlic powder
- 2 teaspoons salt

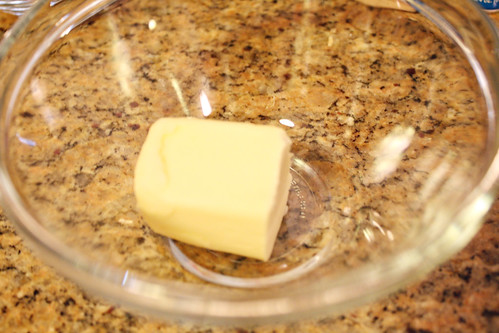
And of course, we can't forget the most important ingredient of all...

Edited Spiced Popcorn (20)


Butter! The recipe calls for 4 tbs, or 1/2 stick.

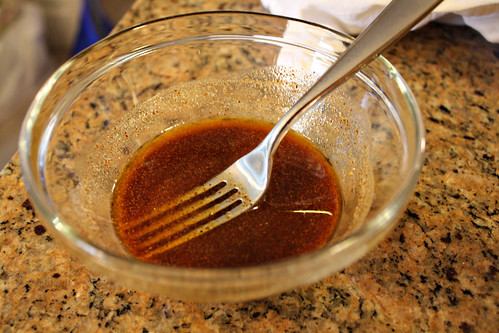
Melt the butter, and then add the dry ingredients and stir until the sugar has dissolved and the ingredients have melded together.

Edited Spiced Popcorn (21)


Now go back to your big bowl of popcorn, and very slowly drizzle about 1/4 of the spice mixture on top. Toss the popcorn, and add 1/4 more, then toss, 1/4 more, toss, the last 1/4, and toss again. The goal is even coverage of the popcorn, so however it works for you!

Edited Spiced Popcorn (23)


Now dig in! This is an awesome salty-savory-sweet popcorn, and it goes great with a Corona on a lazy Saturday afternoon! Enjoy!