We love to cook, so needless to say, we get a
lot of cooking magazines. Food & Wine, Saveur, Bon Appetit, Real Simple… They’re all great, we get so excited when they come in the mail. The problem though is that they start to pile up, everywhere. Getting 4 a month is a little nuts, and we don’t have the heart to throw them out because of all the wonderful culinary treasures hidden inside.
In an effort to clear out the magazine clutter, we recently started slowly going through the magazines and cutting out each recipe we remotely thought we would want to make sometime. We then taped them to some 3-hole-punched paper and stuck them in a plain black 3 ring binder we had laying around from our college days. This was very functional, and we’re glad we’ve started this cataloguing of magazine meals. However, the plain black notebook just wasn’t doing it for me, so like all boring and plain things in my life, I felt it needed a little Mod Podge!
Recipe Book MakeoverFor this project, I ran down to
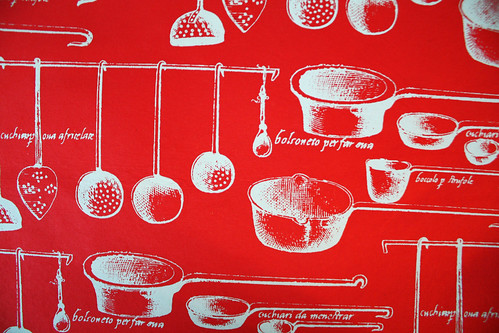
Paper Source for some inspiration. Luckily, I found it! I stumbled upon this awesome paper. It’s bright red with light blue ladles, pots and pans, and French scrawled words all over it. It was so colorful and delightful!
I then found a coordinating plain blue paper, and a wonderful Bon Appetit stamp. Originally I was looking for a stamp that said something along the lines of “Recipes,” but when I saw this I knew it was perfect because I should be able to use the Bon Appetit stamp for more than just a recipe book. I’m thinking dinner party invitations are in my future!
I then got my items home, and grabbed a bright red ink pad and my roller.
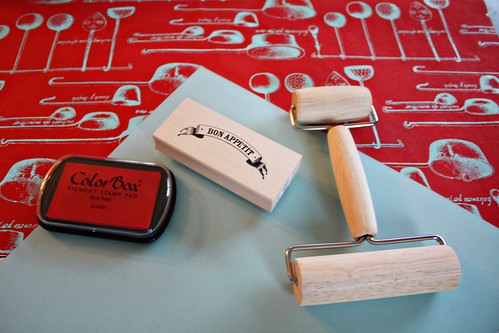
I started by stamping the Bon Appetit stamp on the blue paper.
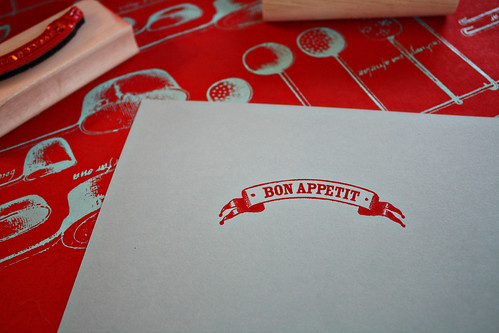
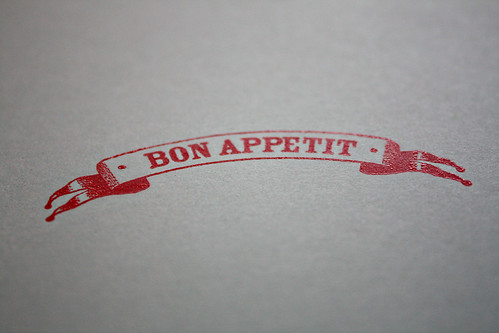
So flat and boring, I think we should emboss it! If you missed my tutorial on embossing, you can check it out
here.
Sprinkle some embossing powder on…
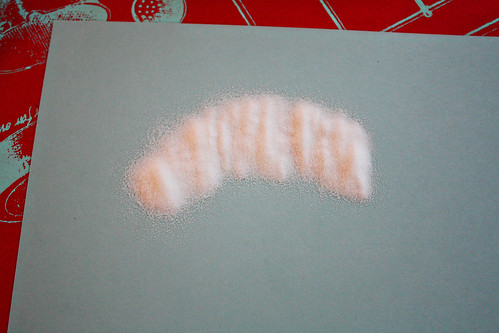
Shake it off, and use the embossing tool to finish. I then took the opportunity to paint a coat of Mod Podge directly on the blue paper. Set aside to dry.
Now you can turn your attention to the actual book.
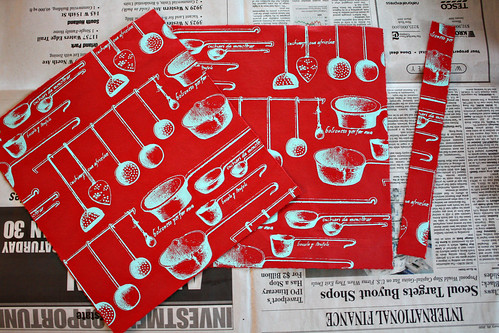
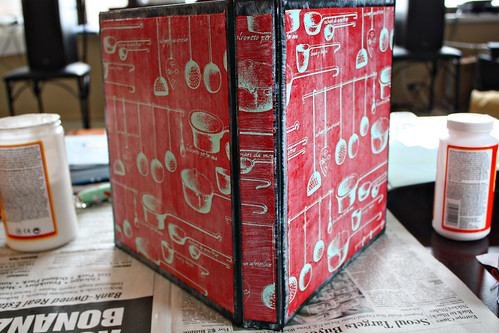
Grab the paper, and start cutting out pieces to fit on the front, back, and spine. The key is to measure so that there is just a hint of border peeking out behind the paper. Since a 3 ring binder is kind of funny shaped on the edges with the heat sealed plastic, and the edges of the spine are bumpy, it’s just asking for trouble to attempt to cover the whole thing in its entirety. You’re better off working around the difficult spots intentionally.
Paint a coat of Mod Podge (matte) onto your notebook.
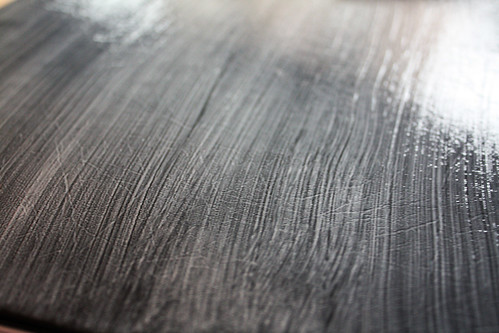
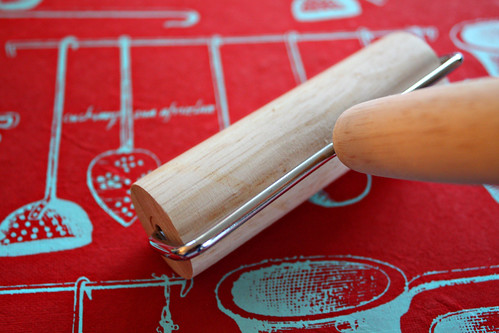
Then place the paper where you want it, and roll from one edge moving out to remove all air bubbles. If you don’t have a roller, you can use your hands, but it’s hard to make sure all bubbles are accounted for. If you Mod Podge often, or really want a perfect end result, I recommend picking up a roller. The one I’m using is actually a pizza dough/pastry roller, which I think I bought online for a whopping $5.
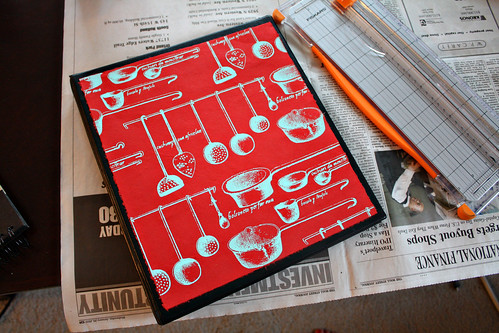
Continue to Mod Podge the paper to all sides, and stand up to dry. Leave at least 1-2 hours before putting a top coat on.
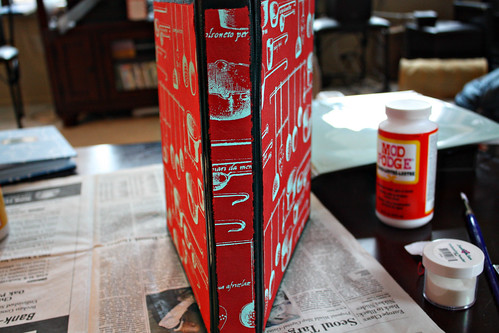
Once you’ve let it dry, paint the top coat on. I chose to use a wide foam brush because I could get more coverage than a smaller paint brush.
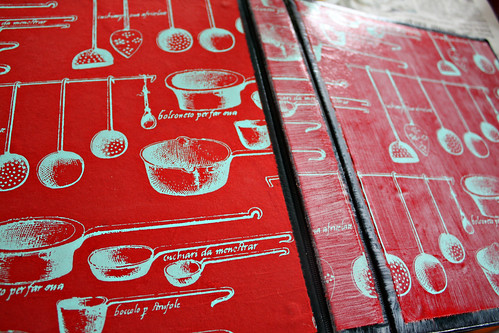
Again, stand up to dry.
While you’re waiting, go grab your stamped-and-Mod-Podged blue paper. Cut it to a size that you would like to go on the front of the book as a sort of label.
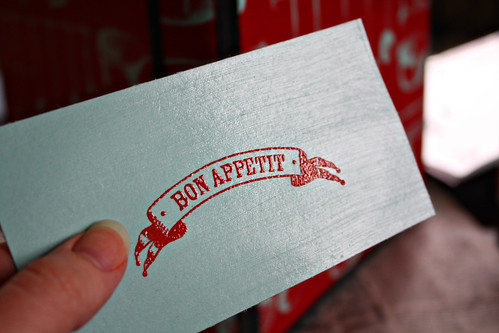
Then cut another piece of paper to go behind the blue piece, as sort of a frame to separate it from the background. I chose to use the red paper I used for the background, and flipped it over so I had just a plain red to go with.
Mod Podge the red piece to the book, wait an hour, and to a topcoat of Mod Podge. Then Mod Podge the blue stamped-and-already-Mod-Podged to the red piece. I chose not to then do a topcoat because I had already used Mod Podge on the top.
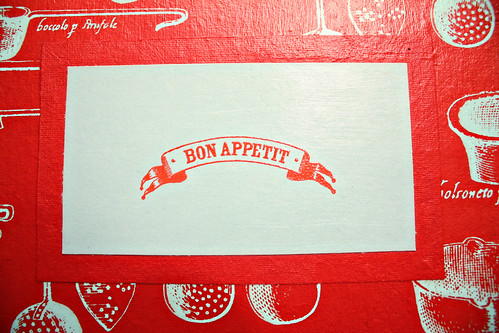
Let it all dry, and you’re done!
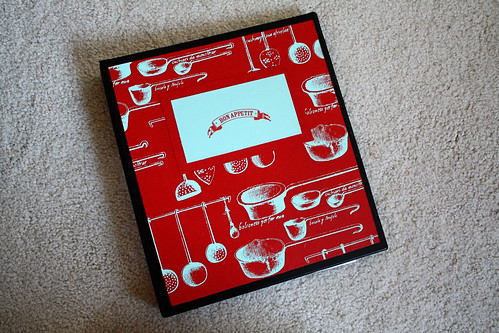
Now my magazine recipe book looks so much cuter in my kitchen!