Saturday, June 5, 2010

A-MA-ZING Shrimp Dish

Let me start by saying this:

Oh. My. Goodness.

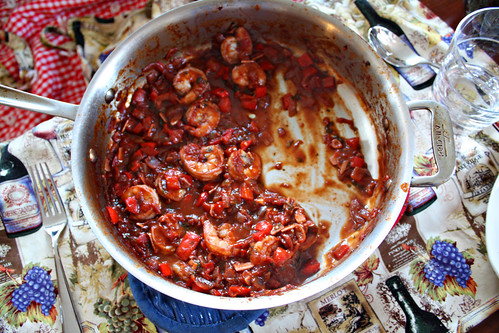
So you know the magazine cookbook I made in the last post? Well, the very first page holds a recipe from Real Simple for a shrimp dish. And since we spent all that time cutting out all the recipes, this past weekend we decided we couldn't resist how amazing this looked:
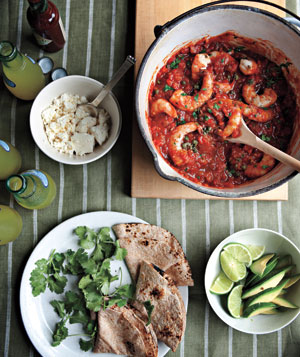
camarones_300


But like all recipes, I never can quite follow them exactly... But let's start with the original recipe and we'll go from there.

Camarones Enchiladas


Ingredients

* 2 tablespoons olive oil
* 1 medium onion, chopped
* 1 red bell pepper, chopped
* 2 cloves garlic, finely chopped
* 2 teaspoons paprika, preferably smoked
* 1/4 to 1/2 teaspoon crushed red pepper
* kosher salt
* 3/4 cup chopped fresh cilantro, plus more for serving
* 1/2 cup dry red wine
* 1 tablespoon capers, chopped
* 1 14.5-ounce can whole tomatoes, drained
* 1 1/4 pounds peeled and deveined medium shrimp
* 1 tablespoon fresh lime juice, plus lime wedges for serving
* 8 small whole-wheat tortillas, warmed
* Sliced avocado, chipotle-flavored hot sauce, and crumbled queso fresco (fresh white Mexican cheese, available in many supermarkets) or Feta, for serving

Directions

1. Heat the oil in a Dutch oven or large saucepan over medium-high heat. Add the onion and bell pepper and cook, stirring occasionally, until they begin to soften, 3 to 5 minutes. Add the garlic, paprika, crushed red pepper, and ½ teaspoon salt and cook, stirring, until fragrant, 1 to 2 minutes.
2. Add the cilantro, wine, capers, and tomatoes, crushing them with your hands as you add them. Bring to a boil. Reduce heat and simmer, stirring occasionally, until the liquid is slightly thickened, 15 to 20 minutes.
3. Add the shrimp and lime juice to the tomato mixture and cook until the shrimp are opaque throughout, 3 to 5 minutes. Serve with the tortillas, avocado, hot sauce, queso fresco, cilantro, and lime wedges, if desired.


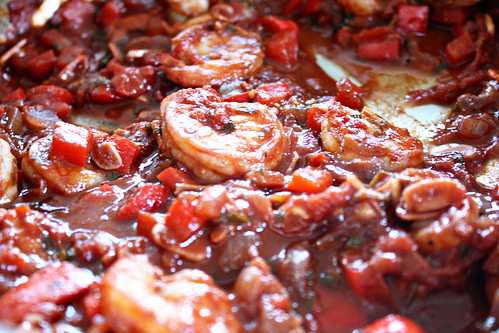
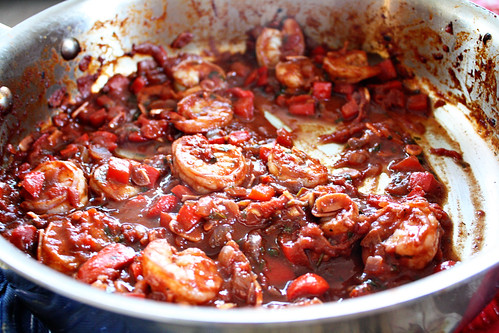
So here's where we strayed... Tomatoes, bell peppers, red pepper flakes, red wine... absolutely no Mexican/Spanish flavors at all! Except for the very end where you put them in tortillas and add an avocado, everything else screams more Italian to me than anything else. So we followed the recipe exactly, except for the serving method. Instead of tortillas, we grabbed an Italian baguette to sop up the amazing sauce. And let me tell you, it was absolutely amazing. We ate up every morsel. The sauce was divine, the bell peppers tender, and shrimp perfectly cooked. We will absolutely be making this again soon!

(Ok, that's not the only area where we strayed...we added a TON more garlic, but who doesn't love more garlic?!)
AMAZING Shrimp edited(5)
AMAZING Shrimp edited (7)

AMAZING Shrimp edited(9)

Thursday, June 3, 2010

Recipe Book Makeover

We love to cook, so needless to say, we get a lot of cooking magazines. Food & Wine, Saveur, Bon Appetit, Real Simple… They’re all great, we get so excited when they come in the mail. The problem though is that they start to pile up, everywhere. Getting 4 a month is a little nuts, and we don’t have the heart to throw them out because of all the wonderful culinary treasures hidden inside.

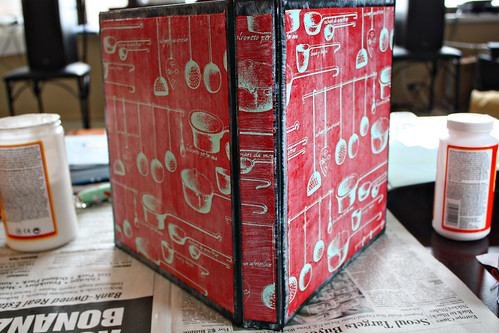
In an effort to clear out the magazine clutter, we recently started slowly going through the magazines and cutting out each recipe we remotely thought we would want to make sometime. We then taped them to some 3-hole-punched paper and stuck them in a plain black 3 ring binder we had laying around from our college days. This was very functional, and we’re glad we’ve started this cataloguing of magazine meals. However, the plain black notebook just wasn’t doing it for me, so like all boring and plain things in my life, I felt it needed a little Mod Podge!

Recipe Book Makeover

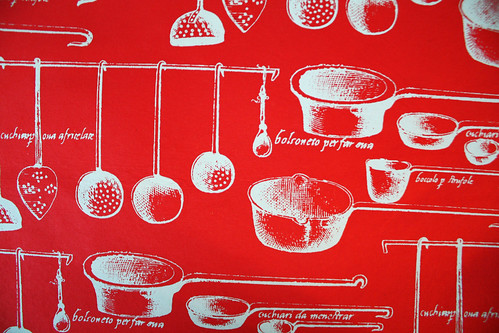
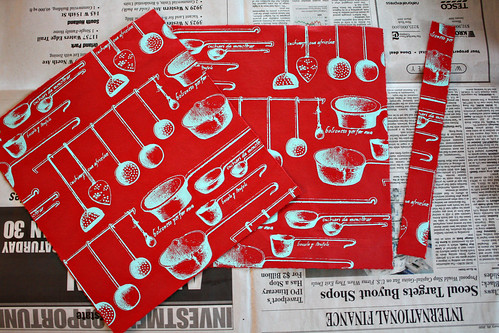
For this project, I ran down to Paper Source for some inspiration. Luckily, I found it! I stumbled upon this awesome paper. It’s bright red with light blue ladles, pots and pans, and French scrawled words all over it. It was so colorful and delightful!

Edited Recipe Book (2)


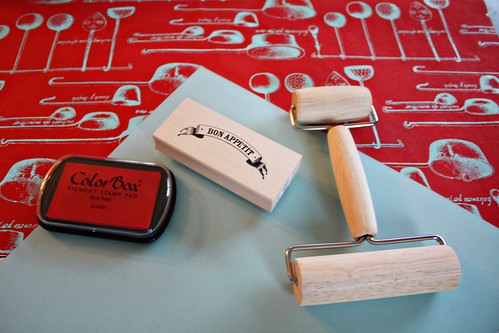
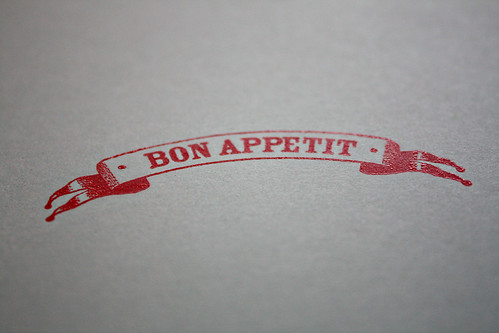
I then found a coordinating plain blue paper, and a wonderful Bon Appetit stamp. Originally I was looking for a stamp that said something along the lines of “Recipes,” but when I saw this I knew it was perfect because I should be able to use the Bon Appetit stamp for more than just a recipe book. I’m thinking dinner party invitations are in my future!

I then got my items home, and grabbed a bright red ink pad and my roller.

Edited Recipe Book (1)


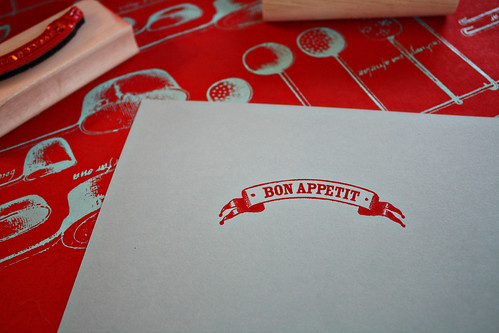
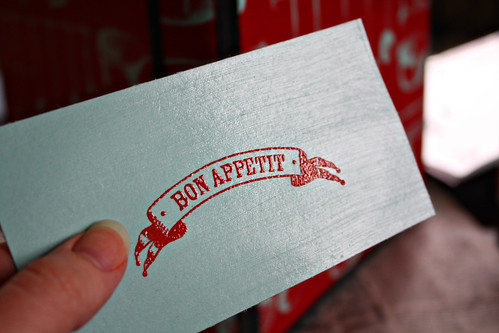
I started by stamping the Bon Appetit stamp on the blue paper.

Edited Recipe Book (3)

Edited Recipe Book (4)


So flat and boring, I think we should emboss it! If you missed my tutorial on embossing, you can check it out here.

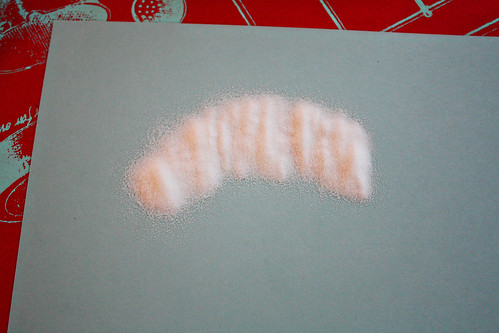
Sprinkle some embossing powder on…

Edited Recipe Book (5)


Shake it off, and use the embossing tool to finish. I then took the opportunity to paint a coat of Mod Podge directly on the blue paper. Set aside to dry.

Now you can turn your attention to the actual book.

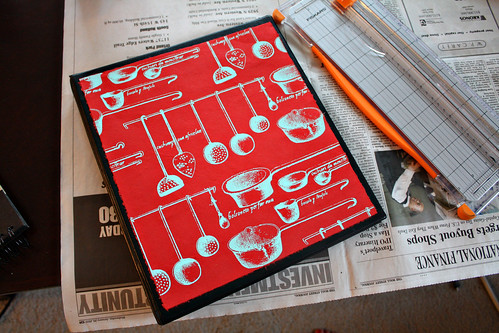
Grab the paper, and start cutting out pieces to fit on the front, back, and spine. The key is to measure so that there is just a hint of border peeking out behind the paper. Since a 3 ring binder is kind of funny shaped on the edges with the heat sealed plastic, and the edges of the spine are bumpy, it’s just asking for trouble to attempt to cover the whole thing in its entirety. You’re better off working around the difficult spots intentionally.

Edited Recipe Book (6)


Paint a coat of Mod Podge (matte) onto your notebook.

Edited Recipe Book (7)


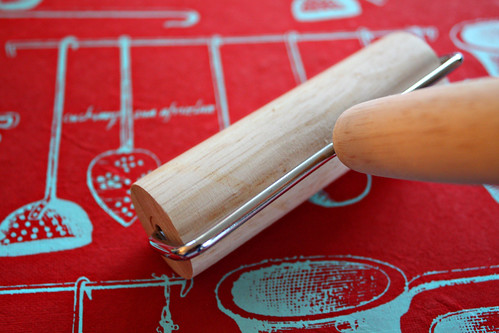
Then place the paper where you want it, and roll from one edge moving out to remove all air bubbles. If you don’t have a roller, you can use your hands, but it’s hard to make sure all bubbles are accounted for. If you Mod Podge often, or really want a perfect end result, I recommend picking up a roller. The one I’m using is actually a pizza dough/pastry roller, which I think I bought online for a whopping $5.

Edited Recipe Book (8)


Edited Recipe Book (10)


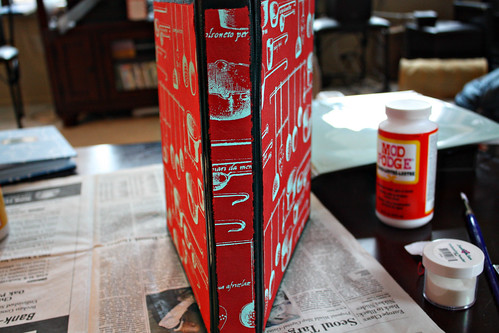
Continue to Mod Podge the paper to all sides, and stand up to dry. Leave at least 1-2 hours before putting a top coat on.

Edited Recipe Book (11)


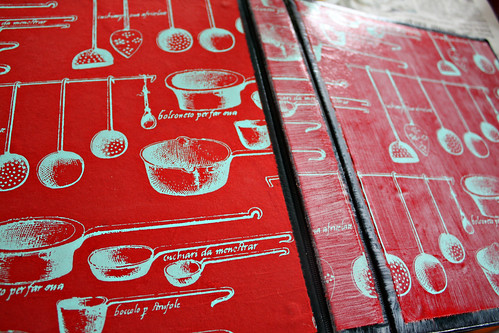
Once you’ve let it dry, paint the top coat on. I chose to use a wide foam brush because I could get more coverage than a smaller paint brush.

Edited Recipe Book (12)


Again, stand up to dry.

Edited Recipe Book (13)


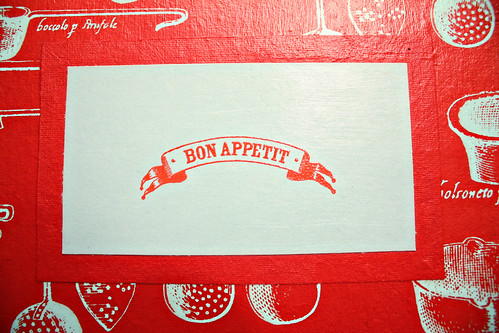
While you’re waiting, go grab your stamped-and-Mod-Podged blue paper. Cut it to a size that you would like to go on the front of the book as a sort of label.

Edited Recipe Book (14)


Then cut another piece of paper to go behind the blue piece, as sort of a frame to separate it from the background. I chose to use the red paper I used for the background, and flipped it over so I had just a plain red to go with.

Mod Podge the red piece to the book, wait an hour, and to a topcoat of Mod Podge. Then Mod Podge the blue stamped-and-already-Mod-Podged to the red piece. I chose not to then do a topcoat because I had already used Mod Podge on the top.

Edited Recipe Book (15)


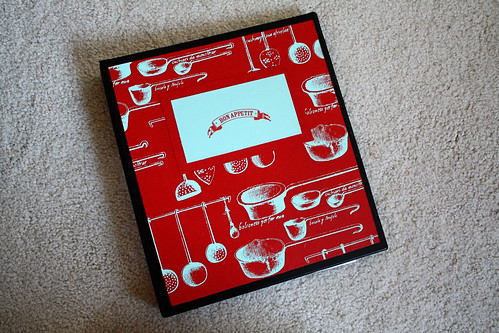
Let it all dry, and you’re done!

Edited Recipe Book (16)


Now my magazine recipe book looks so much cuter in my kitchen!

Edited Recipe Book (17b)

Sunday, May 30, 2010

De-Re-Constructed Chicken Noodle Soup

The other night, Chris and I were texting back and forth about dinner while on the commute home. I was feeling stuffy from allergies, and though that's not exactly a cold, Chris suggested the best treatment would be some chicken noodle soup! But that day we wouldn't be home until about 7, and good chicken noodle soup takes at least an hour and a half.

What to do... what to do...

Lightblub!

Cook the components separately, then combine to make chicken noodle soup!

De-Re-Constructed Chicken Noodle Soup

Start by heating the oven to 400 degrees.

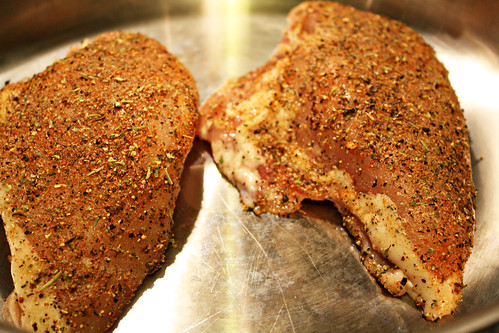
Grab some chicken. We had bone-in breasts on hand, so we used those. Then heavily season one side with all sorts of seasonings. We used seasoned salt, italian seasoning, garlic powder, pepper, and Joe's Stuff. Place in an oven-proof pan with sides.

De-re-constructed Chicken Noodle Soup edited(6)


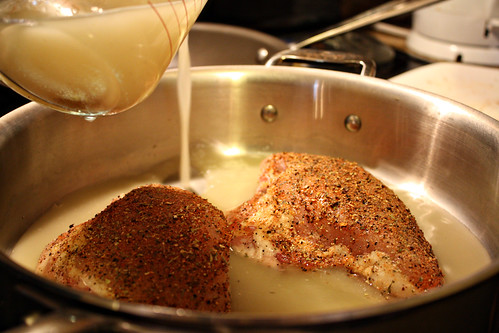
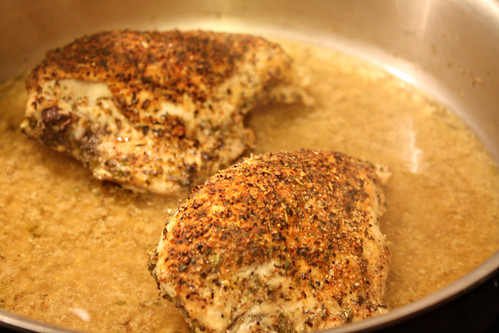
Next, pour about 2 cups of chicken stock in the pan with the chicken. Do not pour directly on top of the chicken, you'll wash off all the delicious seasoning you just put on them!

De-re-constructed Chicken Noodle Soup edited(8)


We also put another pinch of italian seasoning in with the stock.

De-re-constructed Chicken Noodle Soup edited(10)


Stick it in the oven, uncovered, at 400 degrees.

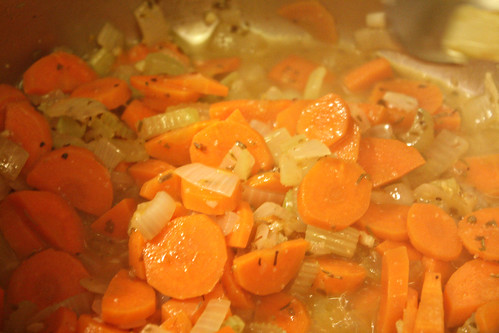
Now chop up some carrots, onion, and celery and throw in a pot with about a tbs of olive oil. Stir around until the onions begin to soften, and again feel free to add a little italian seasoning.

De-re-constructed Chicken Noodle Soup edited(15)


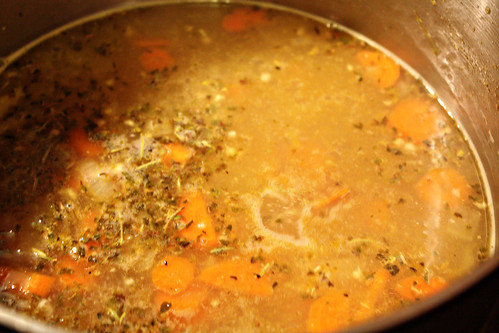
Once the onions are relatively soft, add some chicken stock, which will be the base of your soup. The amount of veggies and stock you make will depend on how many people will be eating the meal, so plan accordingly!

De-re-constructed Chicken Noodle Soup edited(16)


Bring it up to a simmer, and leave it alone.

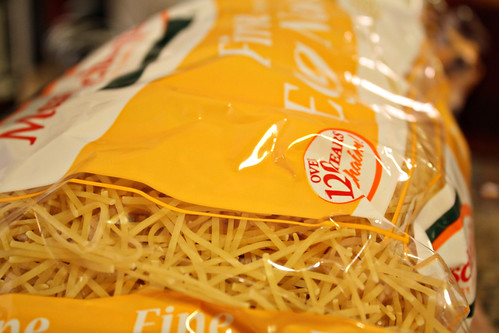
Now grab some noodles. I chose to use fine egg noodles because they cook quickly and are easy to eat in a soup. Cook to al dente.

De-re-constructed Chicken Noodle Soup edited(23)


This whole time, keep an eye on your chicken. By the time you finish with the veggies and the noodles are ready, your chicken will probably just be about ready. Stick a thermometer in it until it reads 165-170. We don't want undercooked chicken!

When they're done, the seasoning will have created a beautiful crust on top.

De-re-constructed Chicken Noodle Soup edited(24)


Now it's time to start the re-constructed part of this dish!

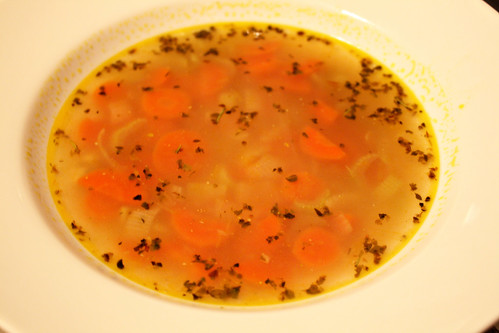
Pour the veggies and stock from your pot into your bowl.

De-re-constructed Chicken Noodle Soup edited(34)


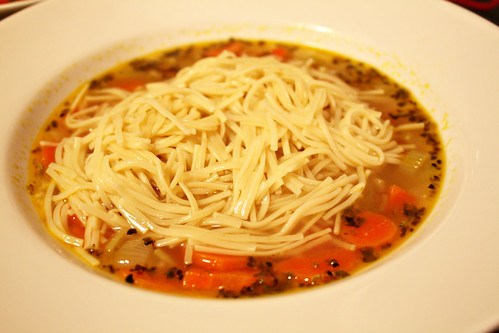
Then add the noodles...

De-re-constructed Chicken Noodle Soup edited(35)


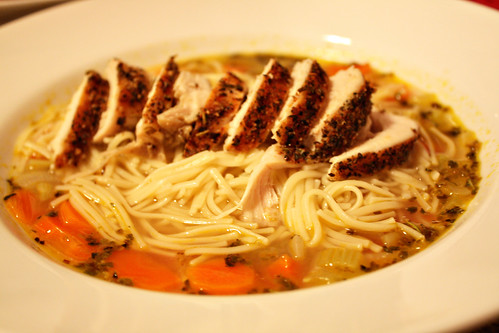
Finally, slice up your chicken and arrange on top.

De-re-constructed Chicken Noodle Soup edited(39)


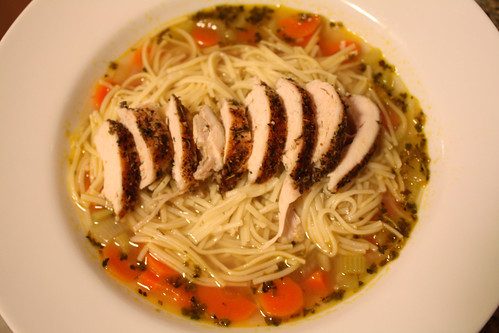
Wonderful! It's a little spin on the traditional chicken noodle soup, but it definitely has all the flavors and components, and takes half the time!

De-re-constructed Chicken Noodle Soup edited(42)

Wednesday, May 26, 2010

Felt Flower Tutorial

Have you ever looked at cute flower brooches in boutique stores and thought, “I could do that!” ?

Well, I do, all the time. I recently was perusing Etsy and came across some adorable felt flowers. I was enamored, so cute! Think of their many uses! Then I looked at the price: $30! Forget that, I’m going to make them myself!

Felt Flower Tutorial

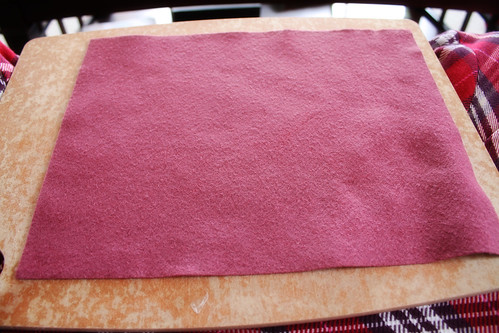
Start with a sheet of felt, whatever color you prefer.

Felt Flower edited(1)


I should warn you ahead of time, yes that is a cutting board, and yes those are my pajamas, and yes I’m sitting cross-legged on the couch on a Saturday morning. Some of the best crafting takes place in these conditions!

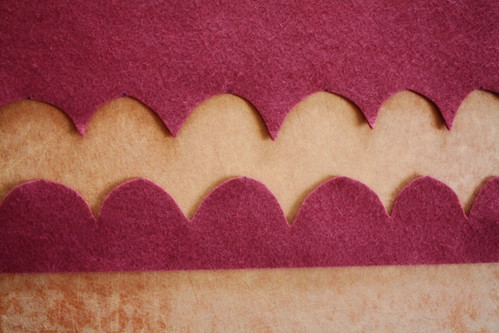
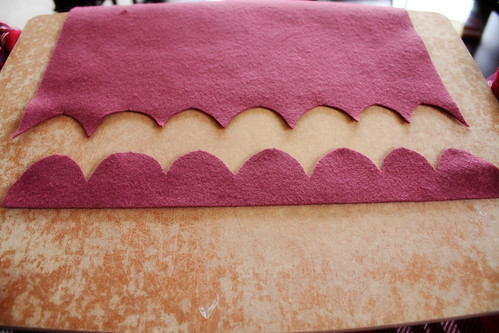
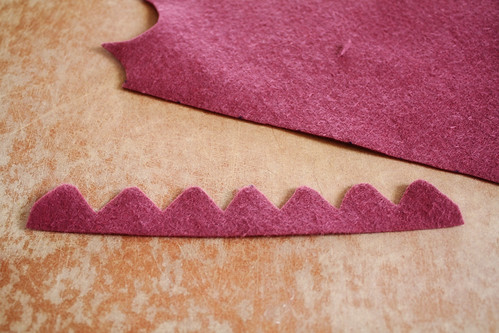
Now, cut a scalloped strip out of the felt. I used a pen to mark the tops of my bumps so that they would be relatively even. I spaced them about an inch or so apart.

Felt Flower edited(4)


Ta da!

Felt Flower edited(3)


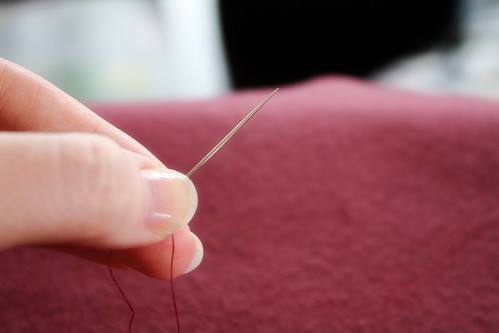
Then, grab a needle and some thread of the same/approximate color as your felt.

Felt Flower edited(7)


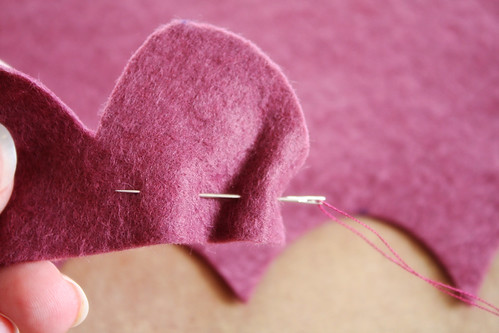
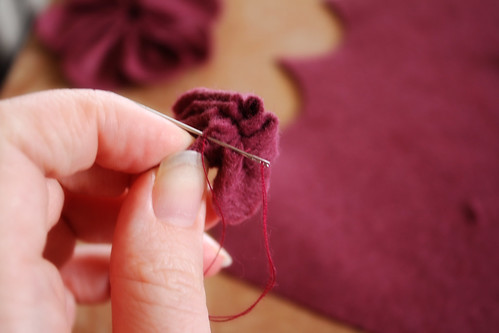
Tie a knot at the end of the thread, and start making relatively big stitches starting on one side of the scalloped felt, like this:

Felt Flower edited(8)


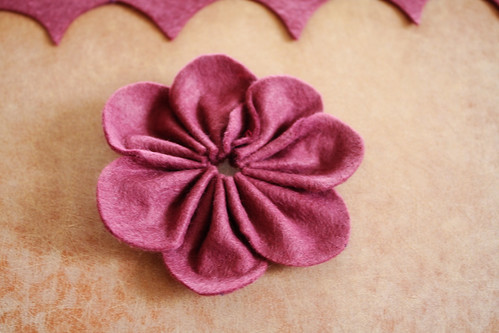
You’ll notice as you start to pull the thread through, the felt starts to fold up on itself and will begin to curl.

Felt Flower edited(9)


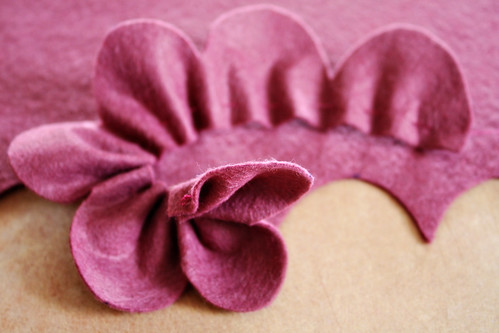
Pull it tight, and secure the ends together. So pretty!

Felt Flower edited(11)


But we’re not done! Well, you could be. It would be very pretty as a flower by itself, but you could also keep going!
Grab the felt and cut out another, smaller scalloped strip.

Felt Flower edited(13)


Stitch through the base like we did the original flower, and sew together the ends.

Felt Flower edited(14)


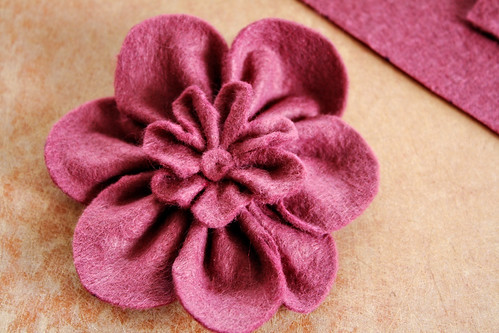
Good! Now tack the smaller flower into the center of the larger flower. I chose to then cut a tiny little circle for the very center of the flower, and stitch in place. Then you’re done!

Felt Flower edited(27)


So cute! You can tack it on anything now. Put it on a purse, sew it to a headband, lots of possibilities! I like to tack it to a safety pin so I can move it all around. Also you can have fun and do different shades for the different layers of the flower. The possibilities are endless!

Felt Flower edited(23)