Sunday, April 25, 2010

A new layout! And some tasty puffs.

You may notice quite a change here to FW&MP. This weekend, my computer-savvy brother was a huge help and a bundle of patience with me as he redid my blog. The old look was a bit dark and busy, and I wanted something brighter and cleaner to go with the mood of this blog. So over two days, we put our heads together and shared screens via Skype to arrive at what you see today!

So, in celebration of the new look, I have three new posts today; one on food, one on wine, and one on Mod Podge! This one will act as the food post, so once you read this, I encourage you to keep reading down to the two other posts.

Hope you like the new look!

Now on to the food!

Sloppy Joe Puffs

I really like to make things up when I cook. Rarely, in fact, never, do I follow a recipe to a T. If I even use a recipe at all, I play with different flavors, and change ingredients for texture, taste, or just plain because I don't have the right ingredient in my fridge.

That being said, sometimes recipes are born out of ingredients that need to be used.

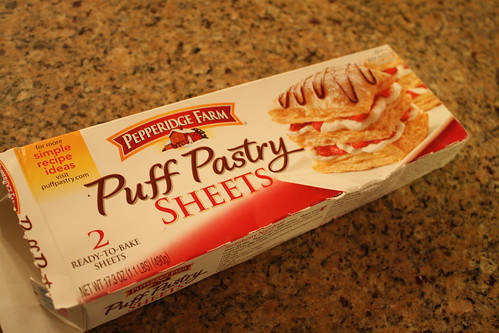
Our freezer had been housing a single sheet of puff pastry since last November when we hosted Thanksgiving.
Sloppy Joe Puffs (35)


This lonely dough has been bugging me for a while, since I have never really used puff pastry before except to make a baked brie. And while baked bries are amazing and wonderful and make me weep with joy, my darling husband doesn't eat cheese and I probably shouldn't take down one of those alone.

So, I looked through my three standby recipe websites (Foodnetwork.com, Epicurious, and Allrecipes.com), and you know what you get when you just type in "Puff Pastry?" Beef wellington and chicken pot pie. I didn't have beef and I don't like chicken pot pie. We're off to a good start here.

Then I came across this recipe by Paula Deen. It is supposed to be a little burger of sorts, cooked then wrapped in puff pastry and baked. But the beef patty also has ketchup and mustard in it, and that sounded an awful like the beginnings of a sloppy joe to me. Lightbulb! Sloppy Joe Puffs!

Start by removing the puff pastry from the packaging and set it on the counter to thaw.

Sloppy Joe Meat Ingredients:

1 lb ground beef
2 t salt
3/4 C ketchup
1 C water
Minced onion to taste
2-3 t chili powder
1-2 T spicy brown mustard
3-4 T brown sugar
1-2 t Chipotle Tabasco Sauce (told you I use it in everything!)
Pepper to taste
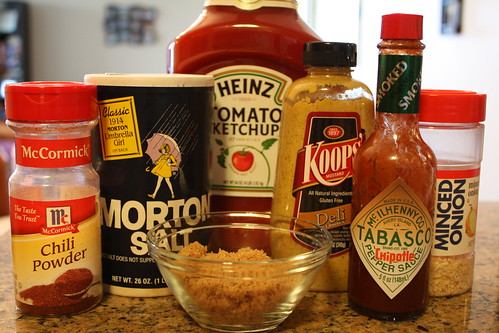
Sloppy Joe Puffs (8)


Start by browning the ground beef. Once it is all the way cooked, remove the excess fat.
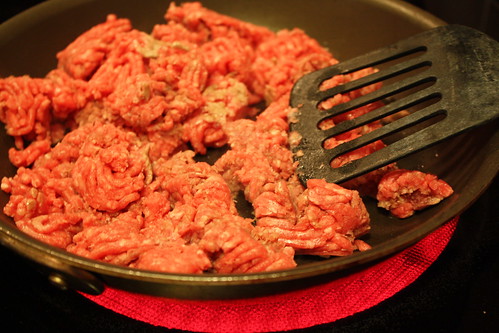
Sloppy Joe Puffs (9)


Next, add all the ingredients together. Honestly, at this point I do it by look and taste, less by measuring. So if it looks too light, add more ketchup. If it's too tomatoey, add chili powder/mustard/brown sugar. You get the idea. It will be soupy because of the water, it'll look like this:
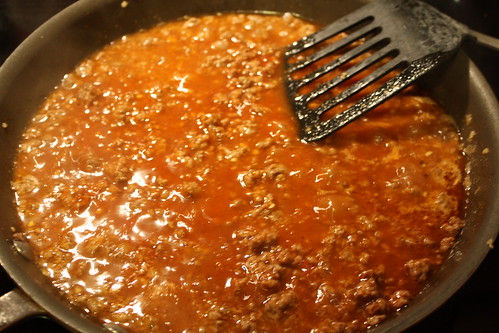
Sloppy Joe Puffs (12)


Bring it up to a boil, then turn down to medium to maintain a simmer.
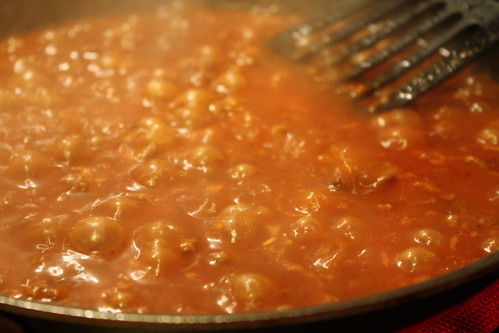
Sloppy Joe Puffs (14)


It will take about 15-20 min to finally look like sloppy joe meat.
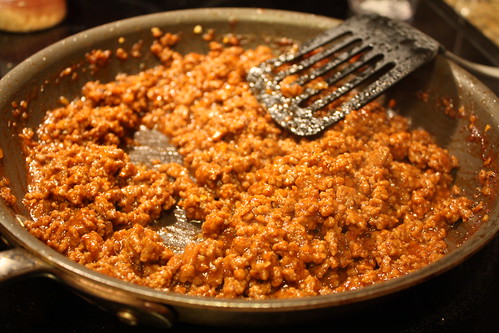
Sloppy Joe Puffs (17)


Remove it from the heat and place it to the side to cool down a bit.

Now, on to the puff pastry!

Start by preheating the oven to 400 degrees.

Put a little flour on your surface.
Sloppy Joe Puffs (19)


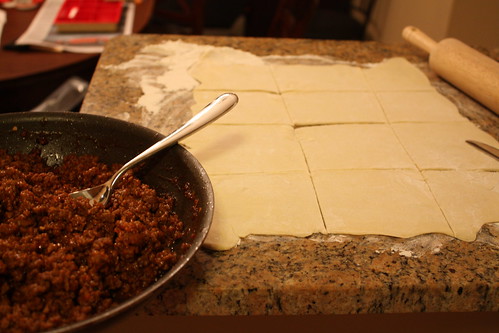
Take out your puff pastry, and roll it out with a floured rolling pin.
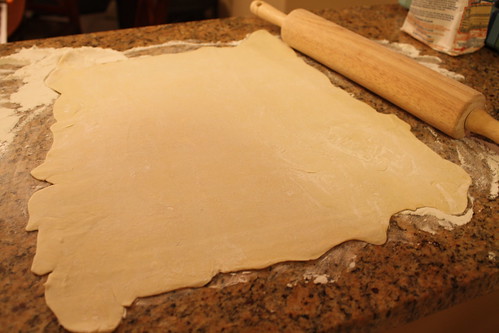
Sloppy Joe Puffs (20)


Then take a butter knife and slice it into squares.
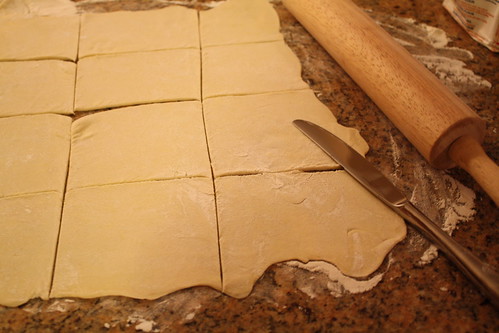
Sloppy Joe Puffs (21)


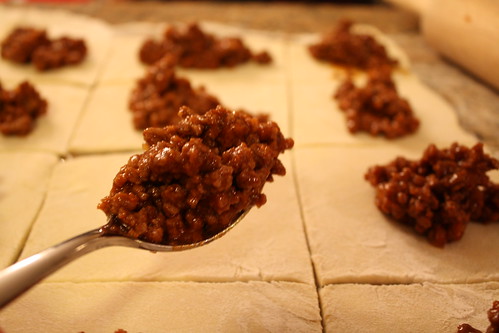
Grab your cooled sloppy joe meat...

Sloppy Joe Puffs (22)


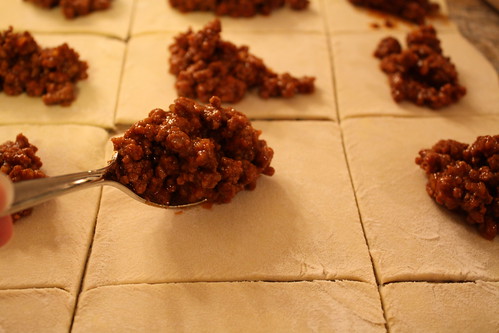
...and start filling!

Sloppy Joe Puffs (23)


Make sure not to overfill, or it'll puncture through the dough.
Sloppy Joe Puffs (24)


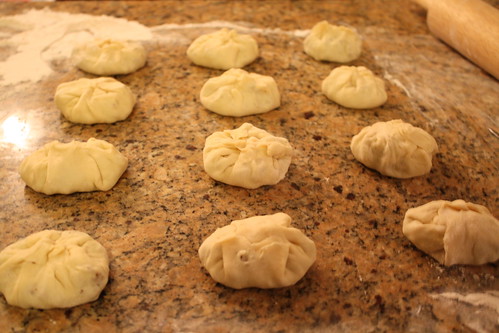
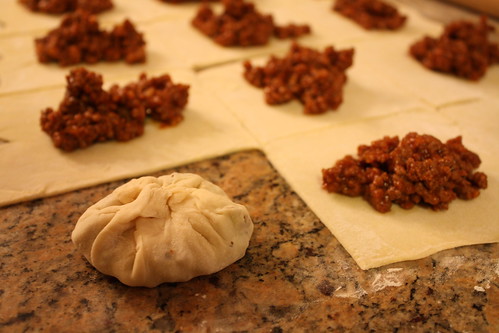
Now pull all the edges up and pinch them together to make a little sealed pillow.
Sloppy Joe Puffs (25)


Sloppy Joe Puffs (26)


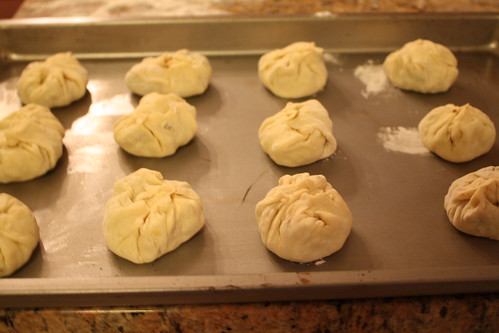
Now place them all on a lightly greased cookie sheet.
Sloppy Joe Puffs (27)


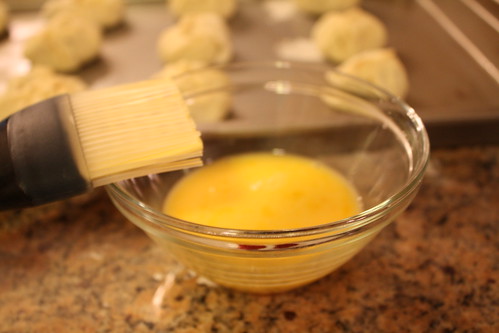
Then brush an egg wash on the seal of the puffs. The egg wash consists of 1 egg and 1 tsp water.
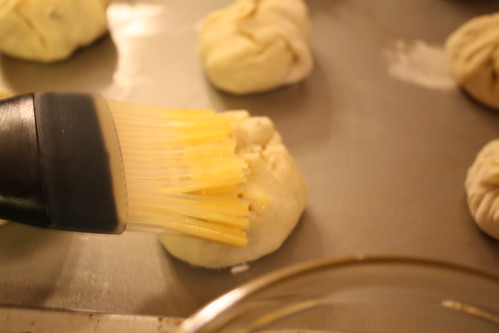
Sloppy Joe Puffs (31)

Sloppy Joe Puffs (32)


Now here's the part I really wasn't sure on. I wasn't sure if I should leave them seal up or seal down, so I just did half up half down!
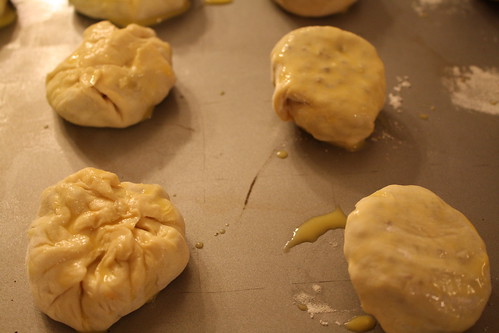
Sloppy Joe Puffs (33)


For the ones that flipped over, I brushed the egg wash on the tops of those.

Then stick it in the oven.
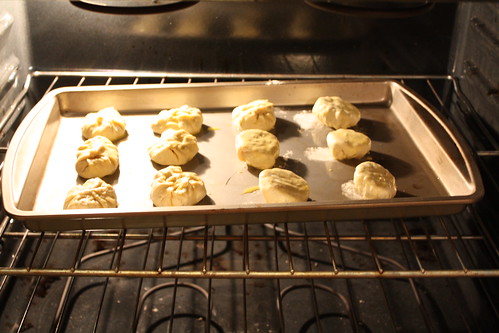
Sloppy Joe Puffs (34)


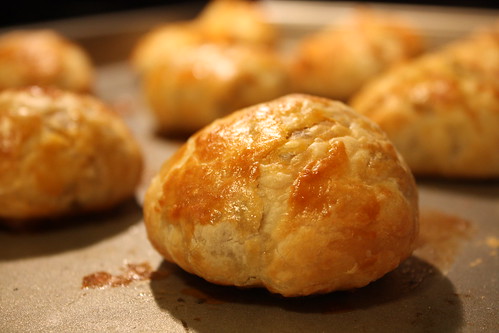
Bake them until they are crispy and brown, about 15 minutes.
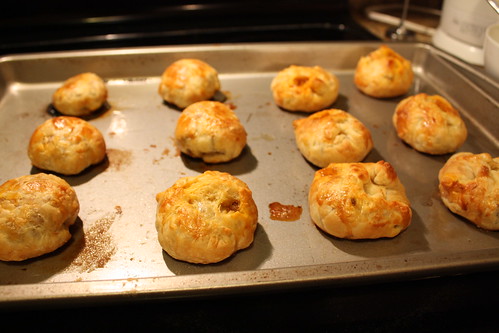
Sloppy Joe Puffs (41)


And the verdict on whether to do seal side up or down?

Seal up:
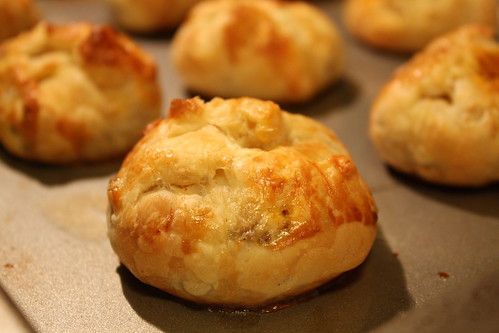
Sloppy Joe Puffs (42)


Seal down:

Sloppy Joe Puffs (39)


...not much of a difference. They both work!

I gotta say, they were pretty good!
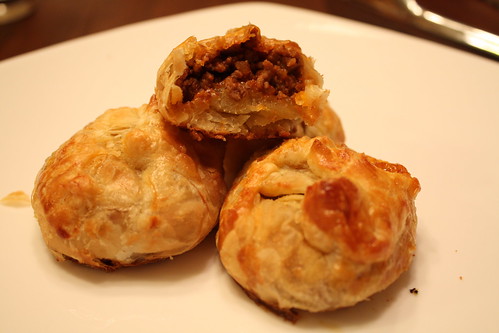
Sloppy Joe Puffs (64)


Experimenting is always fun, do it sometime! You may end up surprising yourself!

Jewelry Organizer Tray, Take 2

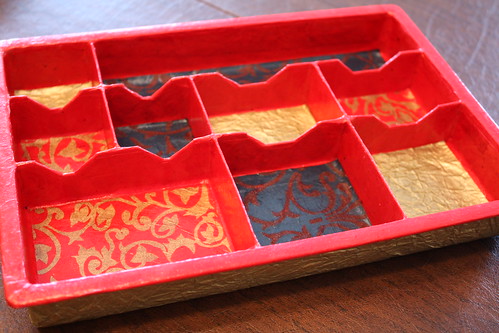
Back in January, I showed a Jewelry Organizer Tray that I made with a cheap desk organizer, some paper, and some Mod Podge. Since the tray came as a set of two, I knew I needed to make another!

Jewelry Organizer Tray, Take 2

For the last tray I made, it was very simple. Since the white of the plastic went well with the brighter colors of the paper, I was fine leaving it exposed. This meant that the project was very simple; all I did was cut some squares for the bottom of the sections, and some strips for around the tray and lining the very top. Pretty easy.

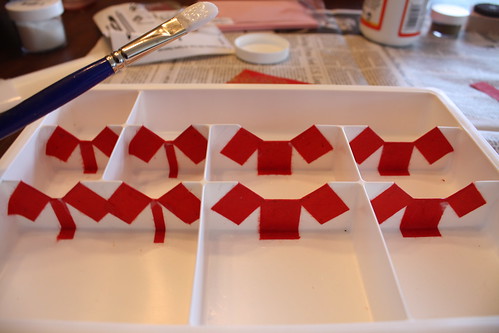
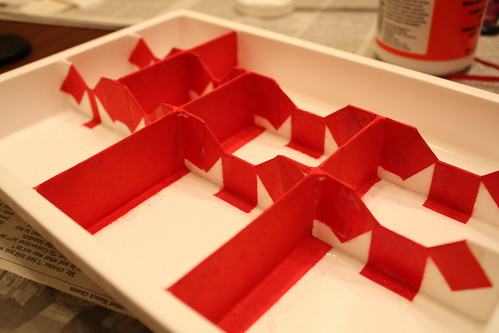
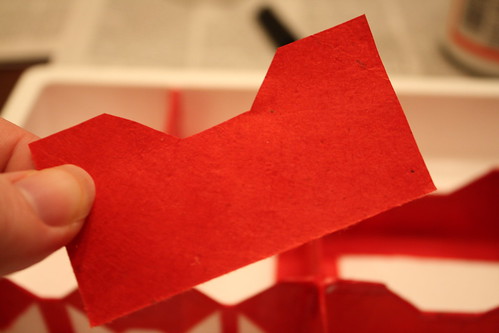
This time, I knew I had some darker papers I wanted to use, and thus wanted to cover all the white. Since the walls of the compartments were interesting shapes, this was difficult. I had to start with little pieces, and lots of patience:

Jewelry organizer v2 (1)

Jewelry organizer v2 (2)

Jewelry organizer v2 (3)

Jewelry organizer v2 (4)


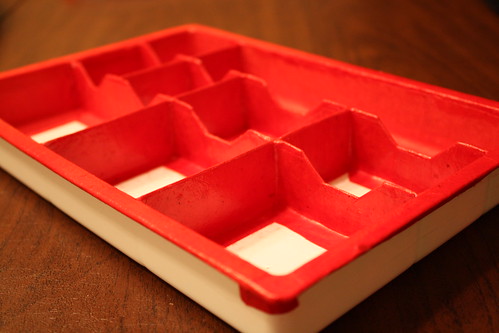
It was important to get all the sides/walls completely covered, including up around the top, before putting down any of the squares in the bottom or lining the outside.

Jewelry organizer v2 (5)


This whole thing took a very long time. Since I rarely have very long to sit down and craft, I did it in stages over a few days. The good thing about this type of project though is that you can come and go very easily.

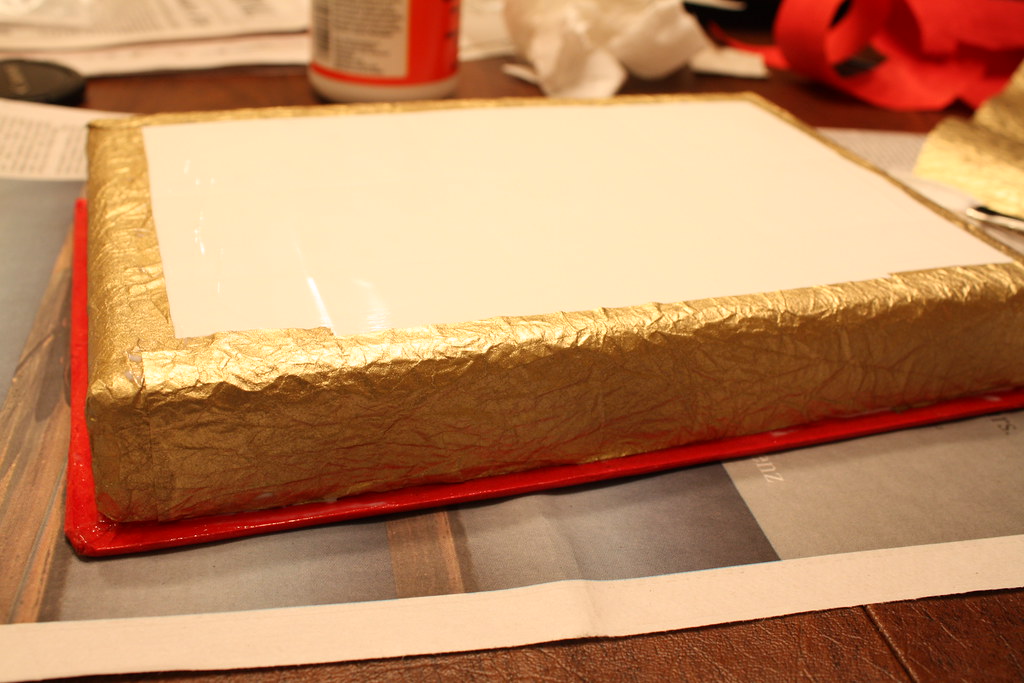
Once that was all done, I took a pretty crinkled gold paper and wrapped the sides in it.

Jewelry organizer v2 (6)


Finally, the easiest part was cutting out the squares and Mod Podging them in. Then I let it dry, and was all done!

Jewelry organizer v2 (7)


I really have no idea what I'm going to do with another jewelry tray though... Maybe it will find another use, like to hold nails and screws? Who knows!

Why Decant?

decanter 2


What is decanting? Why should I do it?

Many people have seen others decant wine before drinking it without knowing why. Moreso, many people decant wine themselves without knowing why. There are many benefits to decanting, but it's good to know how and why they work.

First of all, decanting is really beneficial only to red wines. Yes, there may be some white wines which are meant to age and thus could possibly benefit from decanting, but as a general rule, only red wines are decanted.

Now, what happens when you decant wine? Decanting allows oxygen to enter the wine. The wine has been sitting in a barrel/bottle for a very long time without any access to oxygen. Though oxygen is a bad thing for the aging process (think of a corked bottle...tastes like vinegar), a little bit right before drinking helps mellow out the flavors and develop depth and complexity.

Not sure what I mean when I say words like "mellow, depth, and complexity?" Try out this experiment. Get a young bottle of cabernet sauvignon. Young being about 3 years old. Open it, and immediately pour a small amount into a glass. Try it, see what stands out. Then pour the rest in a decanter. 1 hour later, try a little more. Then 2 hours, and 3 hours. If you're having a party of people over, you can also try it the opposite way. Take 4 bottles of wine, decant one of them 3 hours before drinking, one 2 hours, and one 1 hour before drinking. Then open the final bottle when ready to drink. Pour all four glasses side by side, and taste in progression from most recent to longest, and see how the flavors have developed.

The reason I suggest doing a young red is because the benefits are most greatly observed with these younger reds who are very tannic and even harsh when first opening. Decanting allows them to become more drinkable and pleasant. That being said, there is a lot of argument for much older wines whether decanting is beneficial or even necessary. Although most agree that decanting is good for older wines for the purpose of removing the sediment, the argument stands that old wines do not need more air because they have been left to age for so long, their depth of flavor is already developed. Whether this is true or not depends on who you speak with; however, most agree that decanting a young red for at least 1-3 hours definitely benefits the wine.

If you have a moment, I highly recommend watching this episode of Wine Library TV. He's a little intense about decanting, and his example wine is a very expensive bottle, but even at the end he mentions even the $8 bottle of wine can really benefit from decanting.

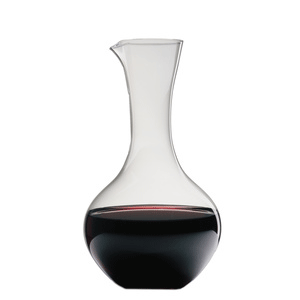
decanter 1


Do I have to have a fancy, expensive decanter?

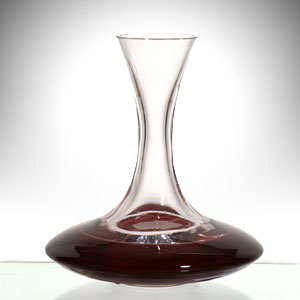
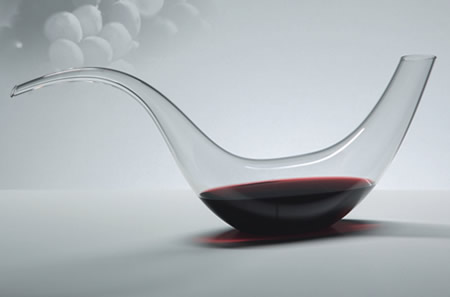
No. The only recommendation I can even find online is to make sure to purchase a clear glass/crystal decanter so you can see the wine, see any sediment, etc. Other than that, any decanter will do. From the very simple, shown above, to the completely absurd:

decanter 3


What if I don't have 3 hours to spare to decant?

There are some "home remedies" and available contraptions out there to speed up the breathing process.

An older trick I've heard of is whipping the wine around in a blender a couple of times to quickly force some air in. Does it work? Who knows. Will it do any harm? Probably not. Will you look silly if anyone is watching you? Probably.

Some newer tools are being sold lately that boast the ability to "aerate" the wine. The Vinturi boasts "All of the taste with none of the wait." With this device, sold for about $40 and found everywhere, you hold it over the wine glass, and pour the wine through it. You can hear it bubbling through, forcing air into it. The Soiree is a device that attaches to the neck of the bottle and thus doesn't require any additional effort while pouring. It works by sloshing the wine around a bit before letting it hit your glass.

Both of these tools have essentially the same goal: speed up the breathing process. There are plenty of people out there who think they do help quite a bit, and others who think it's a lot of hooey. I'd guess they help a little more than just pouring straight into a glass, but not as well as decanting for 3 hours or more. Whether you see any noticeable different is up to you!

And finally, the old standby, just swirling it around in your glass. You see so many people doing this, and most don't even notice they're doing it. This helps keep the wine moving, adding air and breaking down the tannins. While it doesn't compare to a couple hours of decanting, it does continue the breathing process.

No matter your method, it is a fairly well-accepted ideal that decanting wine can help open up the flavors in a great young red, regardless of price.

Wednesday, April 21, 2010

Favorite Things... Volume 2

I thought it was about time for another episode of My Favorite Things!

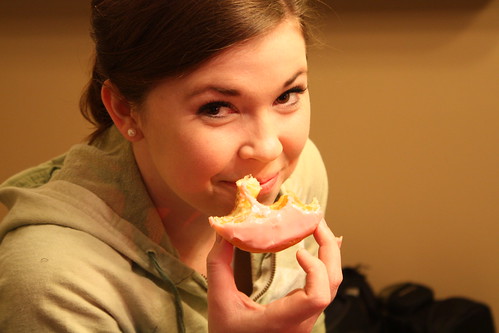
We start off today with a tradition my mom started when I was a wee little one: the tradition of the birthday donut. Every year on my birthday, my mom would wake up super early to go and get me donuts at Dunkin Donuts. But not just any donuts, strawberry frosted donuts. Why are those so amazing? Because they're pink, of course, and every little girl loves pink!

This tradition still goes on today, mostly because I have made it perfectly clear to my darling husband that every day on my birthday, he must get up well before the crack of dawn (and since I leave for work 2 hours before him, this really shows how much he loves me), and get me a donut.

Birthday donut (1)

Donut smile!

I love that this tradition is still living on :)


Favorite thing #2....

Chipotle Tabasco (2)

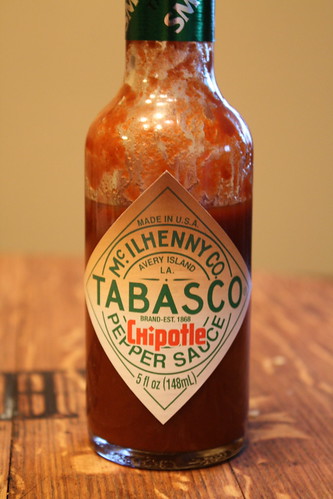
Chipotle Tabasco Sauce

...mmmmm....

I originally learned about this stuff in New Orleans, and ended up buying it in the airport Tabasco shop on the way home. My...oh...my... It is SO good. It's spicy, but smoky, which is not something original Tabasco can say. I find excuses to use it in everything! In guacamole, in BBQ sauce (see my BBQ sauce recipe from the Brisket post), on tacos, in sloppy joes.... the possibilities are endless!