Thursday, April 15, 2010

Cooking for One: Pho (kind of)

So, originally, I was going to title this post "Tuesday Night Pho for One", but seeing as how it's Thursday night, that poses a bit of a problem. I did cook this on Tuesday night, but was too wrapped up in my filing cabinet post to discuss my delicious dinner.

That being said, I think that there is no good reason for someone to have a frozen meal (or worse!) if they are home alone/living alone. I always try to take a meal that I like, and simplify it enough to be willing to make it quickly for one.

Conveniently, I found myself in such a situation this past Tuesday. Chris was home visiting his parents, and he wasn't coming back until later that night. Therefore, I was home searching for what to make, and couldn't fight off a nagging Pho craving. This is a Vietnamese noodle soup in broth that is fantastic. There are a bunch of different variations, and I knew that I had enough ingredients at my discretion to create a basic version of it. I'd like to point out, I am aware that this is nowhere near authentic. It's cool, it's tasty, and I made it up. Deal with it.

Katie's Tuesday Night nowhere near authentic Pho

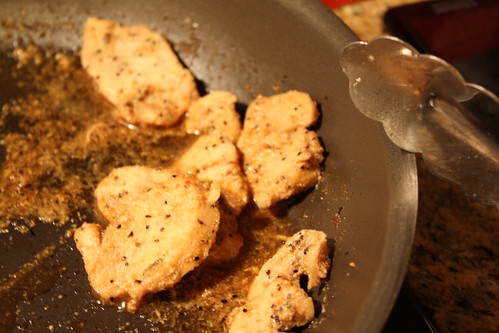
Cook some chicken breast. I chose to slice mine thinly before throwing it in a pan with water, soy sauce, and garlic pepper.

Tuesday Night Pho (3)

Then cover it at set aside.

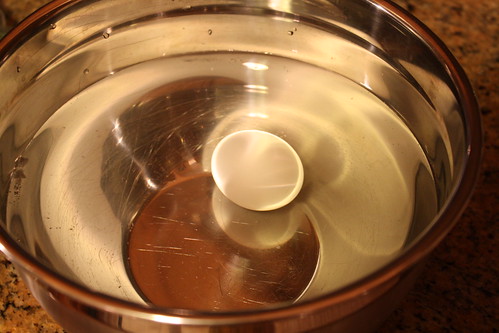
At the same time, soft boil an egg. I'll be honest, I'd never soft boiled an egg before, and generally the Pho I've had has a hard boiled egg, but I love runny yolk, so that's what I did. If you want to know how to soft boil an egg, here's a great overview.

Tuesday Night Pho (6)

So your chicken is off to the side, your egg is chillin' in the cold water, time for the rest of it. Cook some Oriental flavor ramen.

Tuesday Night Pho (1)

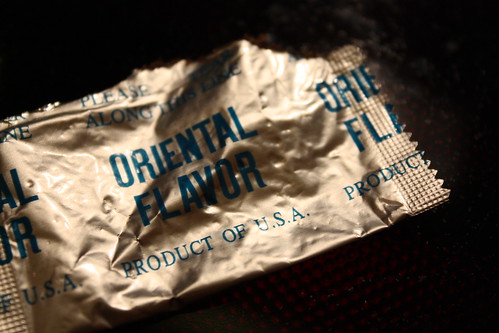
I love this... "Product of U.S.A."

Tuesday Night Pho (2)

You'll notice that I removed the noodles from the ramen before putting the seasoning in. That's because I put the seasoning packet in the remaining water, then doctored it up a bit with some sesame oil, chili oil, and a bit of soy sauce. Sorry, no picture of those three ingredients.

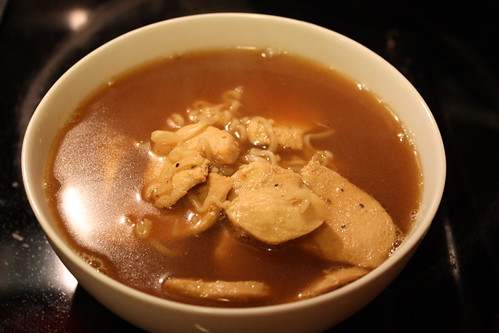
Then, I put the chicken in the broth to give it a quick final blast of heat, and poured it over the noodles.

Tuesday Night Pho (4)

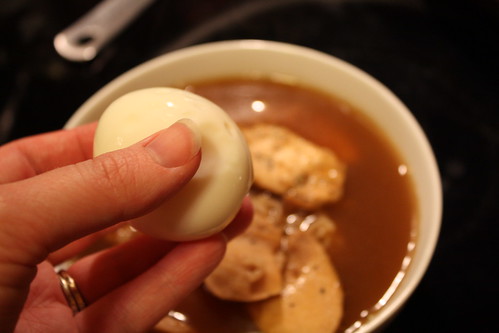
Next, I peeled the egg, and cut it in half.

Tuesday Night Pho (9)

I also threw a little cilantro on top from my dad's garden, and we're done! Tuesday night Pho(ish)!

Tuesday Night Pho (14)

Tuesday Night Pho (19)

Tuesday, April 13, 2010

Filing Cabinet Overhaul: Mod Podge Style

A while ago, I saw a great idea featured on an awesome blog called Mod Podge Rocks. Amy shared a filing cabinet redo with Mod Podge, and I couldn't get the idea out of my head. Chris and I have this old, scratched-up, plain black filing cabinet that could use a refresh, and I always had in the back of my head that I wanted to tackle it someday.

And that someday just happened to be this past weekend!

This past weekend, Chris flew home to AZ to hang out with his parents, and my mom flew here to hang out with me. A pretty good trade, I think! When I was thinking of things for the two of us to do, the filing cabinet overhaul suddenly *popped!* into my head. Conveniently, Sunday was supposed to be the only day with bad weather, so it'd be perfect to have an indoor project! So on Thursday, she and I went to Blick (where I had a gift card from my birthday, courtesy of two awesome friends), and picked up some paper and matte Mod Podge.

We definitely had a hard time picking out the paper; initially, I wanted to go with a pattern or a color or something, but since we're not currently in a very long-term residence, and someday I would like to have flexibility with a room, I didn't want to box myself into something I'd have to work a room around. So we ended up finding this great textured black paper. It gives just the amount of visual interest to look awesome, but won't be the center of attention in a room.

Ok, now that we've got all the background out of the way, here we go!

Filing Cabinet Overhaul: Mod Podge Style

Start by taking everything out of the drawers, and wipe down the whole thing with a damp cloth. It's very important to make sure everything is clean so the Mod Podge will adhere well.

Filing Cabinet Redo (2)

Then remove all the handles and the lock.

Filing Cabinet Redo (58)

For the next step, you'll need the Mod Podge, a large sponge brush, and the paper.
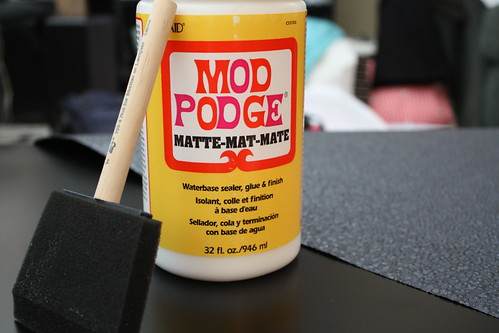
Filing Cabinet Redo (74)

Cut pieces of the paper for the fronts of the drawers with at least one inch extra on all sides for folding over. Then brush some Mod Podge on the drawer...
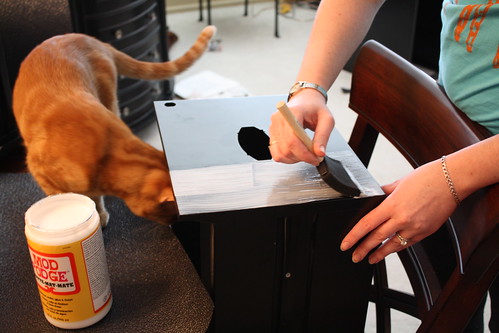
Filing Cabinet Redo (60)

Filing Cabinet Redo (65)

...and place the piece of paper on top, rubbing it down to get all the air bubbles out and to help it stick. I did this to all the drawers, and set them on end on the table to dry.
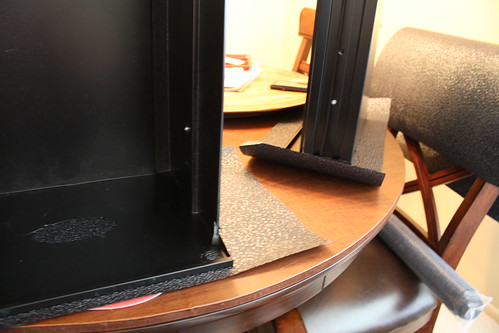
Filing Cabinet Redo (72)

While those were drying, Mom and I moved on to the sides of the cabinet.
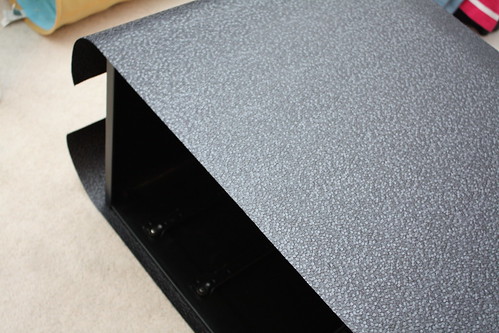
Filing Cabinet Redo (79)

Since we did both sides in succession, one had to be face up, so we had to be extra careful to rub that one very well. Mama hands!
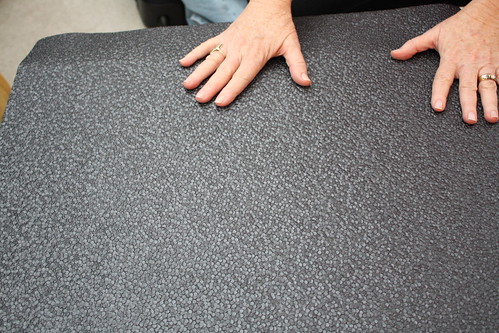
Filing Cabinet Redo (77)

Once the drawers were dry (1 hr), we took a little razor blade and cut out the hole for the handle, and trimmed the edges to be long enough but not too long.

Filing Cabinet Redo (82)

Then Mod Podge on all the edges, wrap the paper around, and hold down firmly until it adheres. Since this was a pretty thick paper, it was trickier than normal to get it to stick and stay. This is where the four hands really came in handy.
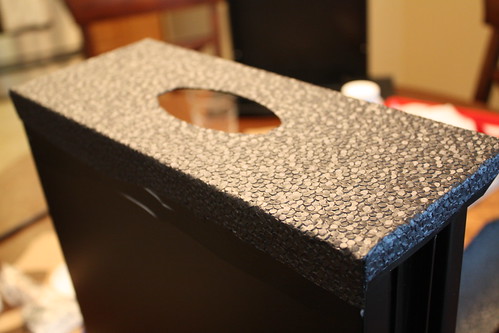
Filing Cabinet Redo (88)

We did this to all the drawers, and to the cabinet, and let them all dry for a few more hours. The longer you allow to dry, the better.

Then, we coated the outside.
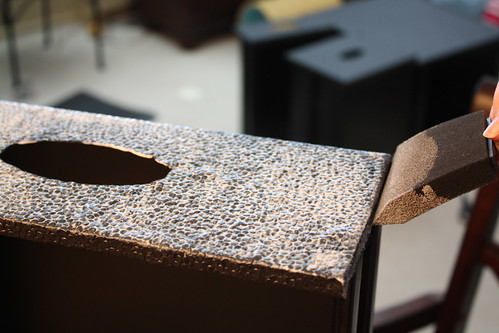
Filing Cabinet Redo (99)

Finally, once the sides were dry, we added the layer of paper to the top of the cabinet. Can you tell Simon really enjoyed this project?
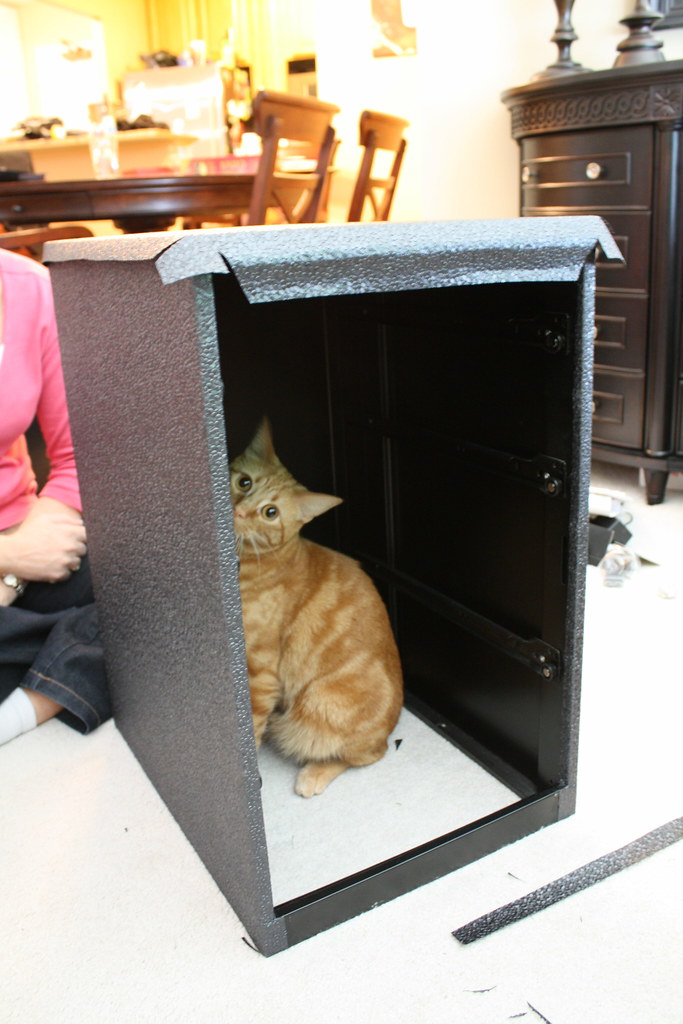
Filing Cabinet Redo (104)

I'd like you to take note of the trimming we did at the edges there so it would fold nicely all together and cover everything. Taking the time to do things like this will result in a much cleaner-looking final product.

We knew we had a couple more coats left to do on the outside, but had to put just one drawer in to get a preview of what it would turn out like.
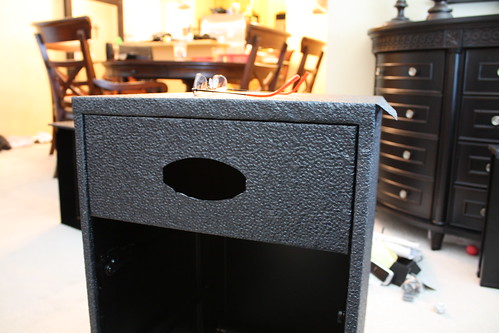
Filing Cabinet Redo (106)

We let everything dry overnight with just the one topcoat on. Then the next day, I added one more coat all over to give it more protection and strength. Usually I do more coats than this, but since it was a textured paper, it was catching much more Mod Podge in all the little grooves than smooth papers do, so any more coats and there would have been too much dried glue in some of the divots.

I let that next coat dry overnight, aaaaand that brings us to today! I popped the handles back in (which actually took about 30 minutes and every bit of strength I had, as well as some grunting and swearing), and screwed the lock back on, and ta da!

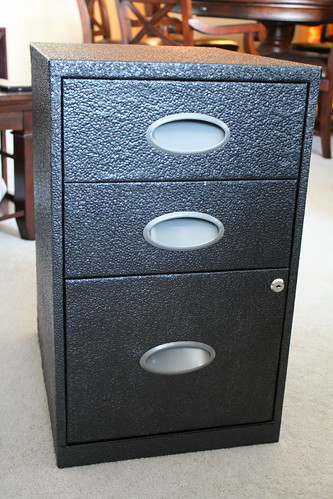
Filing Cabinet Redo (112)

Filing Cabinet Redo (119)

It was a fun mother-daughter project that turned out great!

Friday, April 2, 2010

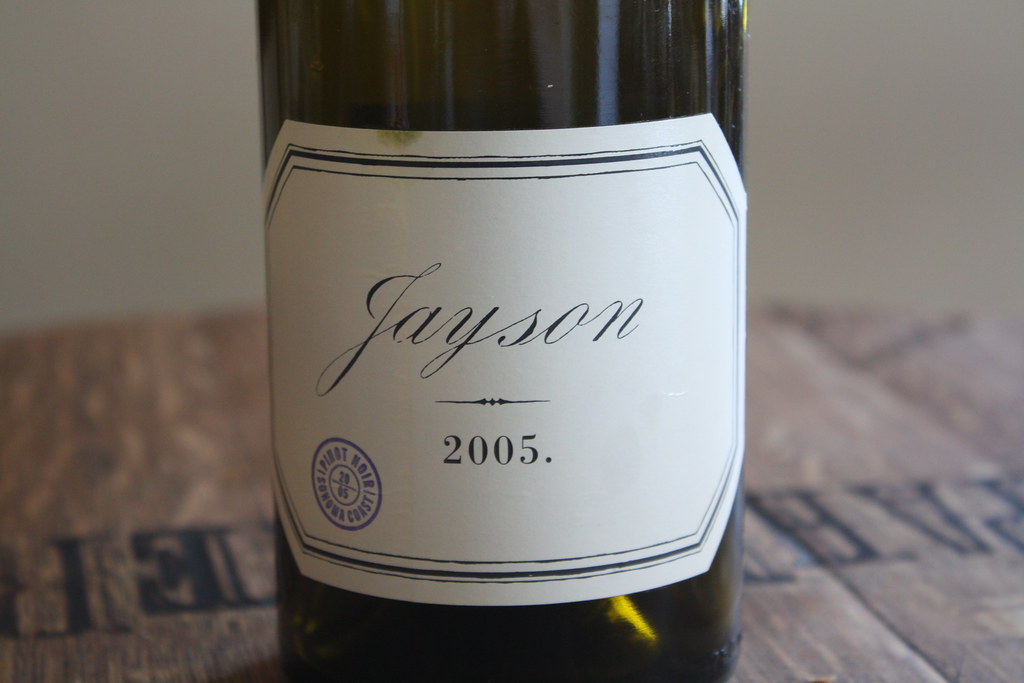
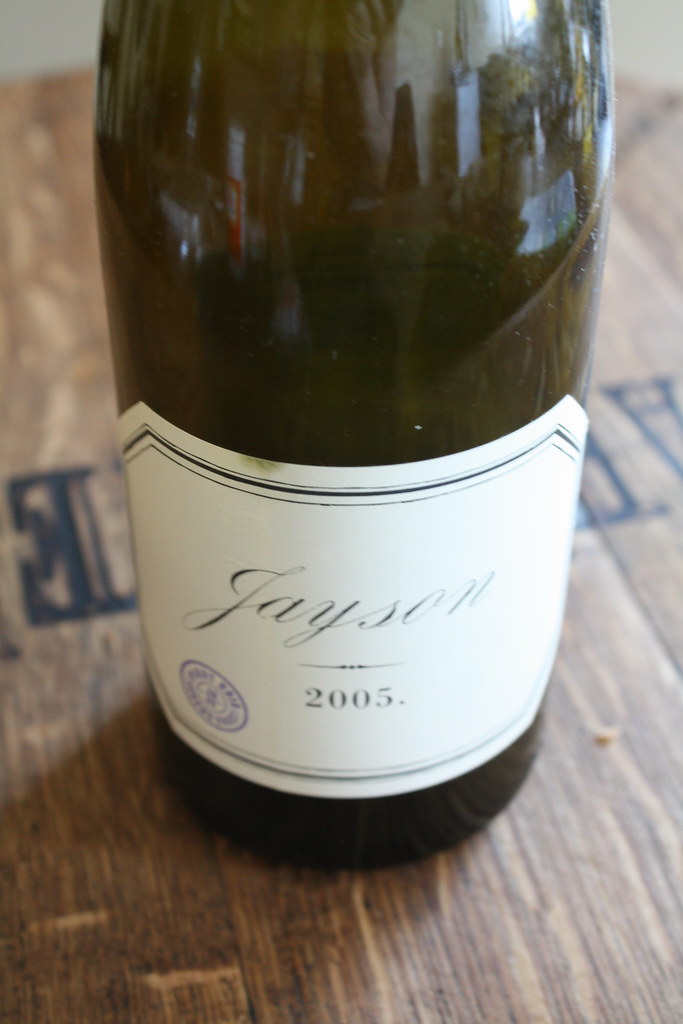
Pahlmeyer Jayson 2005 Pinot Noir

If you remember way back when, I gave Chris a bottle of Pahlmeyer Jayson 2005 Pinot Noir for his birthday, to go with the Pahlmeyer lazy susan I bought him. And then you'll also remember that I mentioned we drank the wine for Valentine's day with the cioppino. In that post, I said that I would devote a separate post to the wine, because it was just that good.

PahlMeyer Jayson Pinot Noir 2

The Pahlmeyer winery makes two lines of wines: Pahlmeyer and Jayson. According to their website:

The Jayson Chardonnay, Pinot Noir and Red are hand-crafted with the same premium practices that produce our Pahlmeyer wines. We do not grow or purchase additional fruit for the Jayson. Rather, all of our grapes are grown and vinified for the Pahlmeyer. After winemaker Erin Green selects the blends for the Pahlmeyer wines, she composes from the remaining barrels the Jayson Chardonnay, Pinot Noir and Red. As a result, the Jayson wines offer both quality and value.

The Jayson wines are named after our founder, and are like Jayson himself: big, fun and approachable.


Boy, was this wine ever approachable. It was big and fruit-forward, just like I like my pinots. Now I'll be honest, being so fruity, it wasn't the best pairing with the cioppino, so we ended up drinking it after dinner. It was so full-bodied though that it didn't need food at all. I will say though that this is one of my top 5 favorite pinots of all time. I'm not sure what other years are like, but I will definitely keep my eyes peeled for another bottle to try sometime!

PahlMeyer Jayson Pinot Noir 1

Monday, March 29, 2010

Sunday Dinner: Brisket

This weekend, when we were grocery shopping, we saw that our grocery store had some amazing-looking briskets. We had never made brisket before, but these were so pretty we just couldn't pass up the chance!

We came home, looked up a couple recipes online, and called Chris' grandma who is known to make one darn good brisket. We mixed all the recipes together, added some ingredients of our own, and the result was fantastic!

Brisket

3lbs Brisket

Dry Rub

2 T chili powder
1 T chipotle powder
1 T garlic powder
1 T dry mustard
1 T brown sugar
1 T cumin
2 t ground black pepper
1 t salt
2 t smoked sea salt
2 T smoked paprika

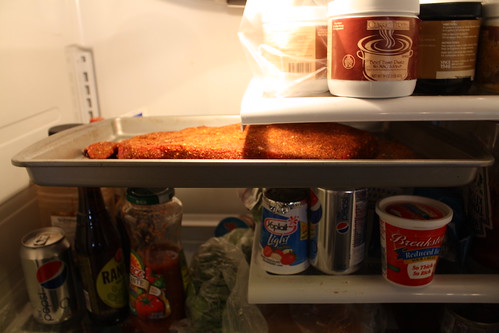
Completely cover the brisket with the dry rub and place on baking sheet. Put in the fridge for at least 1 hour, up to 6.

Brisket in fridge

Brisket dry rub close up

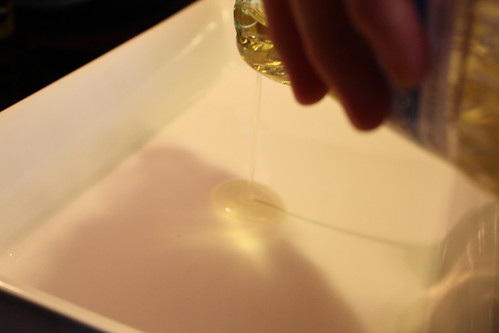
When you're ready to start cooking, preheat the oven to 400 degrees. Get a baking dish that is big enough for the brisket out, and put a tablespoon or two of canola oil in it. Then place the dish in the 400 degree oven (without the brisket) for about 15 min.

Oil in dish

Next, remove the dish and quickly lay the brisket down in it. The oil will be hot enough that it should sizzle to give a light sear to the meat. Then place dish, uncovered, in the oven for 10 min. After 10 min, flip the brisket and put back in for another 10 minutes.

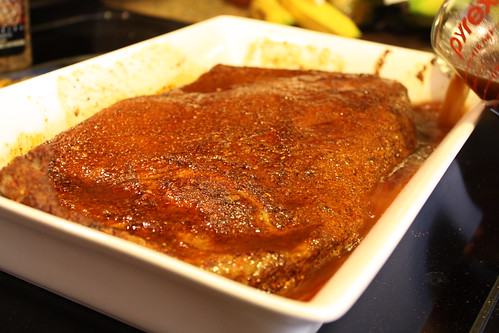
Then remove the dish from the oven and pour 1 1/2 cups beef stock in the dish, and cover tightly with aluminum foil.

Adding beef stock to brisket

Put covered dish back in the oven, but turn the oven down to 300 degrees. Set the timer for 90 minutes.

Waiting...

Waiting...

Waiting...

Beep beep beep beep!

Now remove the dish, take off the foil, and flip the meat. Then re-cover, and stick back in for another loooong 90 minutes.

Now during this time, get your BBQ sauce ready. For this, we did a homemade BBQ sauce that was a mix of Chris' mom's BBQ sauce and his grandma's, but with a little of our own twist.

BBQ Sauce

1 cup Ketchup
1/2 cup Brown Sugar
4 T Rice Wine Vinegar
1 T Worchestire Sauce
2 T Tabasco brand Chipotle Sauce
1 T Soy Sauce
2 T Water
1/2 t Dry Mustard

Wisk it together in a small pot and bring to a light simmer.

The beauty of the sauce is the flexibility. Like a sweeter BBQ sauce? Add more brown sugar. Like a more tangy BBQ sauce? Add more rice wine vinegar. You get the drift.

Beep beep beep beep!

90 min is up!

Remove the dish from the oven, pull back the foil, and flip the meat again. Remove most of the liquid from the dish, leaving about a quarter inch in the bottom of the dish just to keep it from getting dry. Then slather the meat in BBQ sauce. You should be using less than half the sauce, there will be plenty believe me. But don't be too stingy with it! Now re-cover, and place back in oven, setting the timer for 30 minutes.

By now, your place should start to smell amazing.

After 30 min, remove the dish, take off the foil, flip the meat, and slather in BBQ sauce again. But this time, don't put the cover back on. Put it back in and let the delicious BBQ sauce get hot and slightly caramelized by leaving it uncovered for 30 minutes.

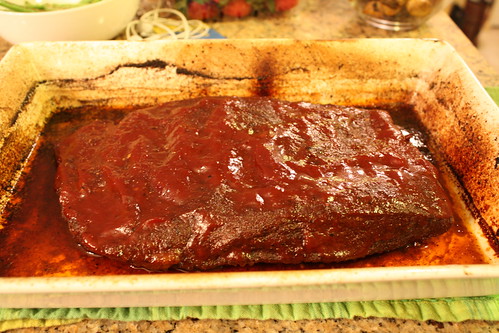
Now remove, and try not to drool.

Brisket finished cooking

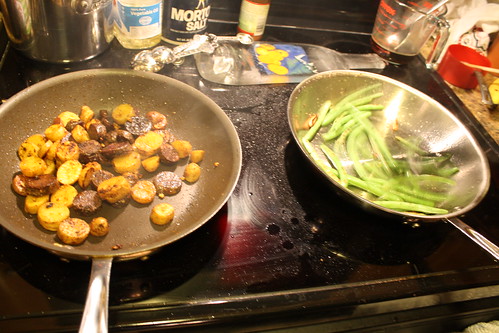
Let it sit for about 10 min. Perfect time to stir fry a few veggies!

Sides cooking

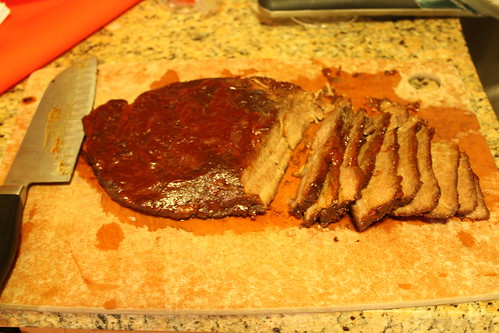
Then slice against the grain. If you don't slice against the grain, it will just fall apart, and you will have to pretend you intended to make chopped brisket. Which is also pretty amazing.

Brisket slices

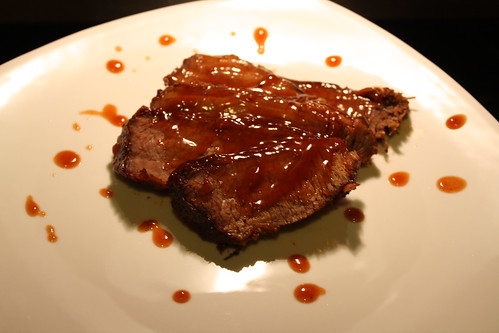
Now pour a little extra BBQ sauce on top and...

Brisket

Amazing. Truly phenomenal. Absolutely falling apart, delicious, tangy, sweet, tender, crazy delicious.

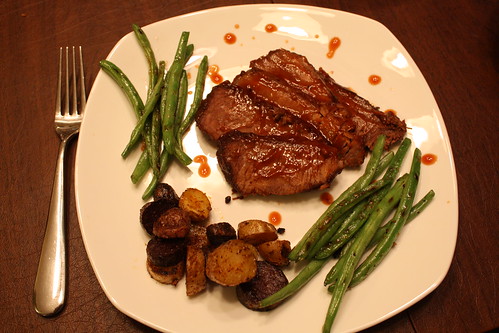
Plate up!

Brisket dinner 2

Dig in!