Tuesday, December 28, 2010

Love It or Lose It!

Hello there!

If you're popping over from Crazy Domestic, welcome! Take a look around! As you can see, I have a few interests...three to be exact: Food, Wine, & Mod Podge! Well, all crafting in general, but Mod Podge is a particular favorite. I love doing new recipes and projects, and posting pictures and directions along the way.

For my regulars, you may be wondering why I'm welcoming new people. Well, for the month of January, I'm going to be hosting a little challenge over at Crazy Domestic:

Love it or Lose it


You can hop over to Crazy Domestic for the full rundown of the rules, but basically this is a challenge to make yourself wear all those clothes in your closet that you hold on to but gloss over when you get ready in the morning! You pick a handful of items, and each week come back to Crazy Domestic to link up whether after a day of wearing, you love it and will wear it more, or hate it and it's time to lose it and donate to charity!

I hope you play along with me over at Crazy Domestic!

Monday, December 27, 2010

Merry Christmas and Happy Holidays!

Merry Christmas! Happy Holidays!

I hope everyone is having a wonderful time this holiday season with friends and family. I know I am! We flew home to visit our parents just before Christmas, and it's been a flurry of fun ever since!

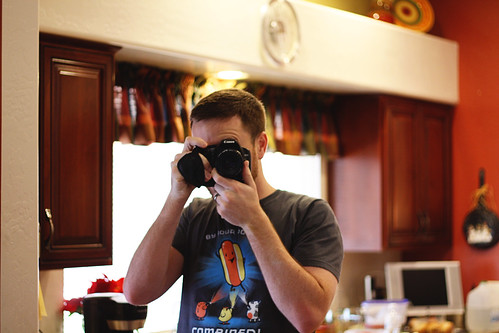
In the few days since we've been home, my brother and I have taken an absurd amount of photos.

Cameras


Then again, there have been so many memories worth capturing!

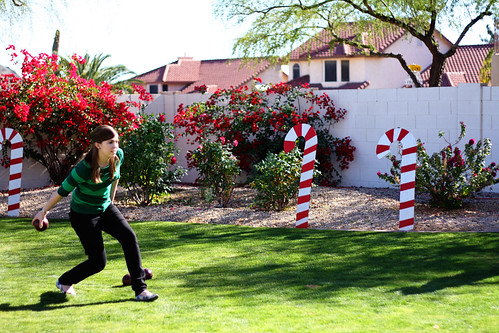
From football...

Football Christmas


...to bocce ball...

Bocce Ball


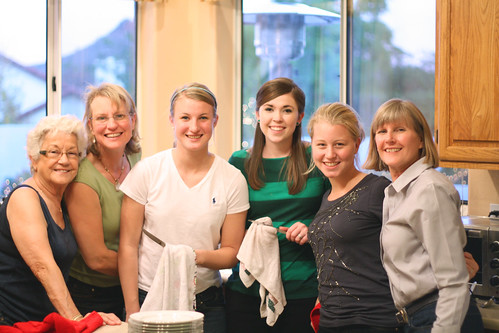
And the dishwasher breaking right after Christmas dinner, so everyone pitching in to hand wash:

Dishes


The wine really helps keep it all merry!

Wine


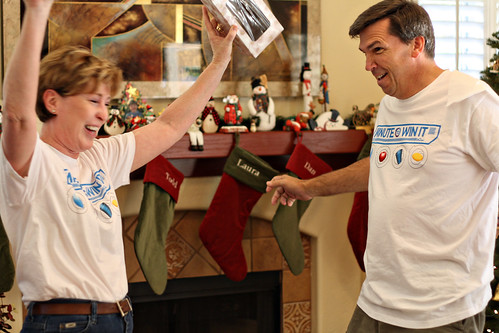
We then followed it all up with a whole game day including 30 Minute to Win It games for one massive couples competition!

Minute to Win It 1
Minute to Win It 2
Minute to Win It 3


I hope you all have had as much fun and folly this holiday season. Merry Christmas and Happy Holidays from my family to yours!

Tuesday, December 21, 2010

Split Pea Soup

It's that time of the year where the ground is covered in snow, and I can see the trees shivering from the cold. And the only weapon I have in my arsenal against the bitter cold of Chicago is to make soup. Lots and lots of soup.

So often we think of soup in the big, grandiose, boil a chicken carcass all day to make broth way. But soup can be easy, hearty, and healthy, and a great way to make a meal on a weekday night.

My split pea soup is a great weekday night recipe because the prep is minimal and you let it cook on its own, unsupervised. Also, it doesn't begin with a whole ham hock!

Weekday Split Pea Soup

1 bag (1 pound) dried split peas
2 stalks celery, diced
2 carrots, sliced
2 14.5 oz cans chicken broth
3-4 cups water (depending on if you prefer thick or medium soup)
Fresh ground pepper
Optional: ham

Put everything in a pot. Bring to a boil. Put top on, reduce to simmer. Cook for 1-2 hours until the peas have become pleasantly mushy. That's it!

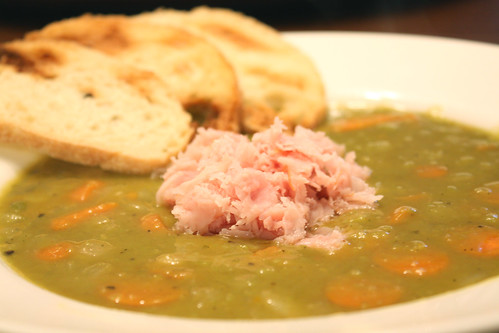
I rarely have cubed ham just lying around, but to make this a meal, it needs a little more than just the soup. So since I usually have ham lunchmeat handy, I warm some up in a pan and place a little on top of the soup. If you cook the lunchmeat in the soup, it won't hold up to the 2 hours of cooking, so it's necessary to wait to add it. Then toast up some bread to dip in, and you've got a tasty, hot and hearty meal to get you through the week!

edit Split Pea Soup (6)

Wednesday, December 15, 2010

Easy Stocking Stuffer: Bottlecap Magnets

Before I get into the project, I just have to take a moment to say...

This is my 100th post!!!


Woo!

Ok, mini party over. Now on to the craft project!

This is a cute little stocking stuffer that is so easy to make, and so fun to get. If you have any beer lovers in your life, they make a great gift!

Items you'll need:

Bottle caps
Small magnets
Cardboard
Glue Gun


Start with some bottle caps. If you're like me, you've saved every bottle cap for years and years with the thought that someday you'd find a use for them.

bottlecaps 1


Pick out ones you know your recipient will love. Maybe it's their favorite beer, maybe it's from a brewery in their hometown, whatever they might have a particular love for. For these recipients, I chose all Sam Adams bottle caps, since they love Sam Adams beer and live in Boston.

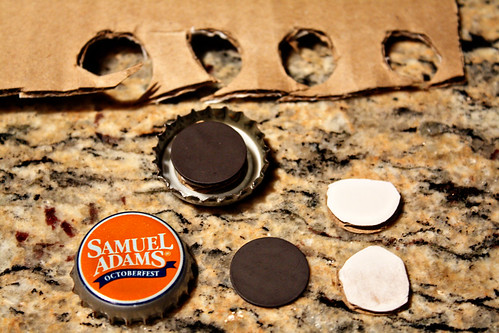
Since my magnets I bought were pretty thin, I needed to cut out two small circles of cardboard to fill in the bottle cap. I hot glued each layer together and to the inside of the bottle cap, and then hot glued the magnet to the cardboard.

bottlecaps 2


Your circles don't have to be perfect because once they're on the fridge, no one will see the inside!

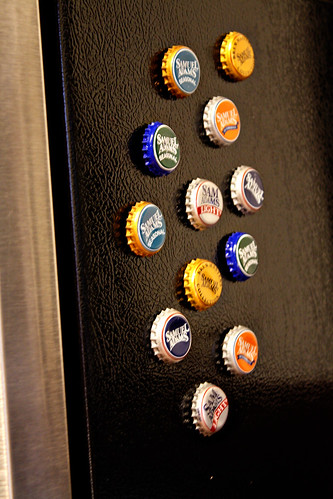
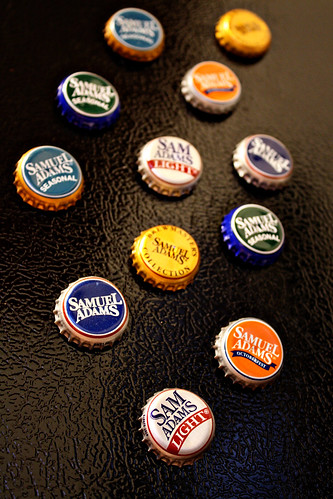
Then, in the time it takes for hot glue to cool, you have cute fridge magnets!

bottlecaps 3

bottlecaps 4


A fun, cheap, and still personal stocking stuffer!

uVinyl Winner!

Thanks everyone for entering the uVinyl $25 gift certificate giveaway!

Now turning to our random number generator for the lucky number...


#19, Rich and Mallory!!

Rich and Mallory said:

"I would love to make a custom "R" decal to put amongst my photos in my Picture Frame cluster on my wall."

Congrats!! Savannah from uVinyl will be contacting you shortly!

Saturday, December 11, 2010

Kitchen Experimenting: Sweet Potato Crocks

After Thanksgiving, I had a lone sweet potato living in the fridge, dying to be eaten. But after plenty of mashed sweet potatoes and baked sweet potato fries, I was looking for something a little different. And frankly, I was feeling creative!

I love scalloped potatoes in individual crocks, so I decided to do a sweet potato play on that. And instead of using cream and cheese, I used butter and spices!

Individual Sweet Potato Crocks

Sweet potato
Butter
Brown Sugar
Smoked Paprika
Chipotle Powder
Ancho Chile Powder
Salt

First of all, you'll notice that I have no measurements listed above. Well, there's a refined reason for that, and a not so refined reason.

Refined reason: this recipe should be built to your tastes, so if you like more sweet than smoky, add more brown sugar, less smoked paprika, etc.
Less refined reason: I was making this up as I went, I have no idea how much I used.

So here we go!

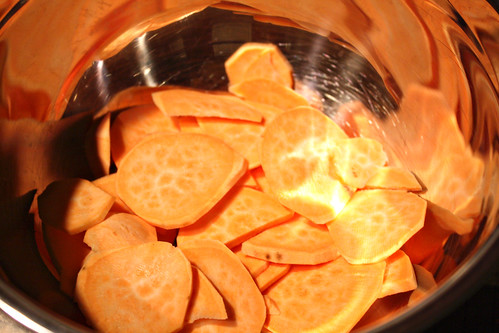
Grab your sweet potato, and using a mandoline, slice it into even circles.

sweet potato 1


Melt some butter (I used about 1.5 tbsp), pour over the sweet potatoes, and add the brown sugar, smoked paprika, chipotle powder, ancho chile powder, and a pinch of salt. A note on chipotle powder vs. ancho chile powder: chipotle is VERY spicy, and slightly smoky, where as ancho chile powder is more of a sweet spicy. Be careful with the chipotle powder if you don't like too much spice!

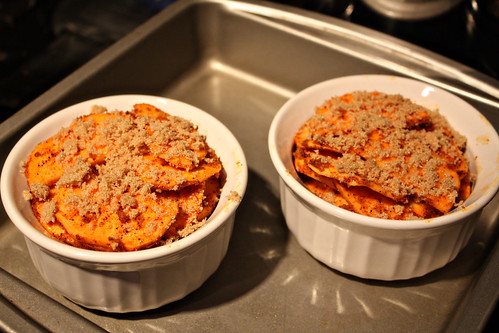
Toss it all together to get all the slices coated in the butter/spice mixture. Next, layer them in some individual sized corningware crocks, and sprinkle a little extra brown sugar on top.

sweet potato 2


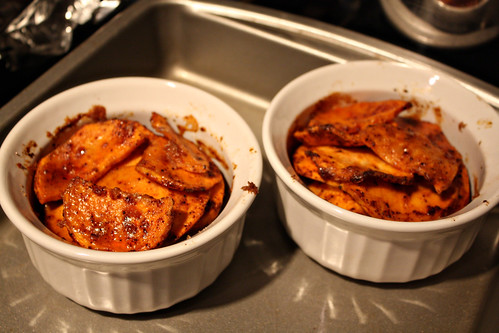
Put them in the oven at 375 degrees for 1 to 1.5 hours, or until the layers are all fully cooked. I took them out after 45 minutes thinking they'd be done. They weren't.

sweet potato 3


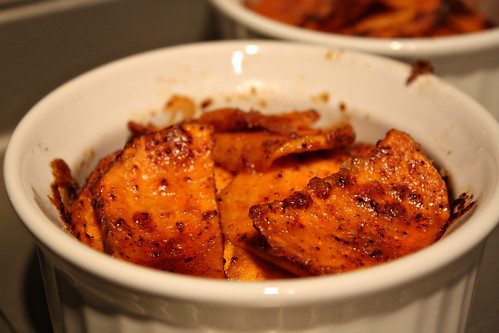
Spicy, smoky, sweet, delicious!

sweet potato 4

Thursday, December 9, 2010

uVinyl - Empower Your Inner Designer - and WIN!

Happy Holidays, everyone!

In the spirit of giving, I’ve paired up with an awesome lady, Susannah of uVinyl, for a fabulous vinyl giveaway!

But before we get to the details, let me introduce you to Susannah!

Hello! Nice to meet you all!

Within the past year, I have gotten married, moved twice, quit my job, and started a business! The inspiration for this business came from my sister-- a crafty stay-at-home wife and mother of three. She loves to decorate and loves her children, but can't afford and doesn't have the time to re-decorate for every new phase she or they go through. Vinyl is a material that can be inexpensive, last as long as you decide, is personalize-able, attaches to any hard surface with no surface damage, and looks absolutely beautiful. Now women like my sister can decorate however they wish! I truly believe that decorating is not a privilege, it's a right! Everyone deserves to be surrounded by what they love, so empower your inner designer!


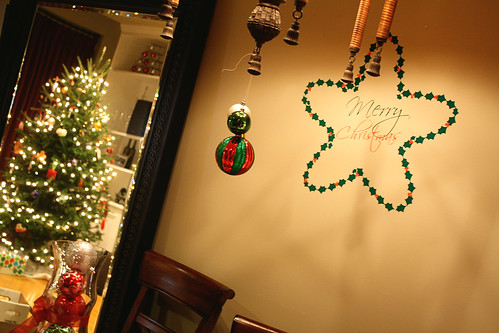
I love Susannah’s motto – empower your inner designer. And she really helps you do that! Just check out this AWESOME holly star she helped me design for my dining area!

vinyl 2
vinyl 1


She was incredibly receptive to all my suggestions and feedback, and in the end, I really think our collaboration did bring out a little designer in me!

In case you aren’t looking for a custom piece, but want some inspiration for a way to spruce up a room, Susannah has plenty to choose from. Just look at some of the things she’s done:

P8200658 P8200632
PB020003
Opportunity small
light


I’m so in love with the red light. So simple, yet the red makes such a statement on that wall. All of the items pictured here (and many, many more!) can be purchased through her Etsy store or directly through her website at www.uvinyl.com.

Aaaand now to the fun part – the giveaway! Susannah is graciously offering up a $25 gift certificate for her vinyl creations to one of you! What a great way to bring a new *pop* to a room!

The Rules

To enter, hop on over to the uVinyl shop (Etsy or uVinyl.com) and come back and let me know what you absolutely adore, or what you would love to see created!

For extra entries, blog about the giveaway, post it on Facebook, tweet it, or any other way of sharing it with others! Then come back here and leave me a new comment for each extra entry.

To be eligible to win, you must be a follower of the uVinyl blog. And please make sure to either leave your email address or have it on your Blogger profile so I can contact you if you win!

The giveaway closes at 11:59pm on Tuesday, December 14th.

Good luck!!

Tuesday, December 7, 2010

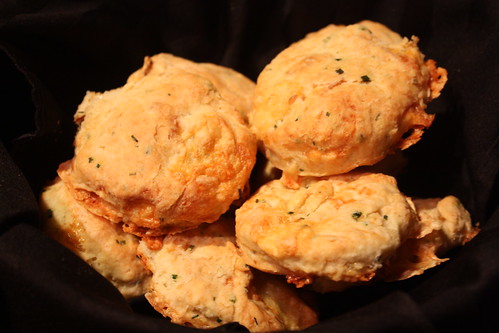
Brie & Chive Biscuits

I found this recipe in Real Simple, and just couldn't resist serving it for Thanksgiving! We often do a baked brie for holidays, but with only the five of us this year (one of whom doesn't like cheese), it just didn't make sense. So this was a way to work the brie into the meal!

Brie & Chive Biscuits

2 cups all purpose flour
2 tsp baking powder
3/4 tsp salt
1/4 tsp baking soda
6 tbs cold unsalted butter, cut into small pieces
6 ounces Brie, cut into 1/2 inch cubes (including rind)
2 tbs chopped fresh chives
3/4 cup buttermilk

Heat oven to 375 and line a baking sheet with parchment paper.

In a large bowl, whisk together the flour, baking powder, salt, and baking soda.

Add the butter and, using a pastry blender or your fingers (I used my fingers), cut in until crumbly. Add the Brie and chives and toss to combine. Add the buttermilk and stir just until moistened. Do not overmix.

Transfer the dough to a lightly floured surface. Knead it a few times to bring it together. Gently shape into a 1-inch thick disk. Using a 2-inch round cookie cutter (or a juice glass), cut out 16 biscuits (flouring the cutter and reshaping the scraps as necessary). Place on the prepared baking sheet. Bake until golden, 15-20 minutes.

Brie biscuits

Saturday, December 4, 2010

Christmas Decorating on a Budget

We all know that money is already flying here and there around the holidays with presents, plane flights, and parties. So when it's time to decorate your house, and especially if you are newly married or just starting out and you don't have much to start with, you quickly realize that decorations are expensive!

My first Christmas with Chris, I went to Crate & Barrel, armed with the last giftcard from the wedding, thinking, "This is great! I'll get all of our Christmas decorations in one fell swoop!" Needless to say, I walked out of there with only a few ornaments, a little tree, and an ornament hanger. Bust.

But I soon found a way to decorate my entire apartment with just the few family decorations we had received, and $15. What could you possibly buy with $15 that could cover your whole place?

Ribbon: $5
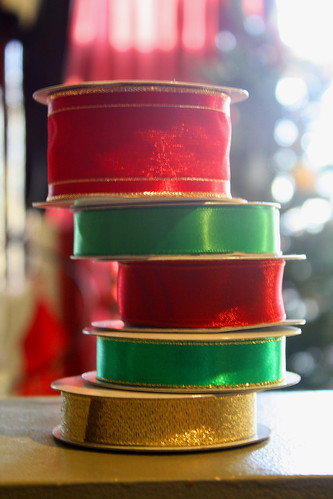
decorations 6


And the jackpot...

Shatter-proof ornaments, pack of 70: $10


That's right, a pack of seventy ornaments for ten bucks! I found this pack at Home Depot, and they have had it for the past three years, including this year. It's the greatest holiday find I have stumbled upon!

So now on to your next question: how do I decorate my whole place with ornaments and ribbon?

Get creative! Put them EVERYWHERE!

Here are some pictures of the many creative ways we used them!


Set alongside the wine bottles I made last year (tutorial over at Mod Podge Rocks!)
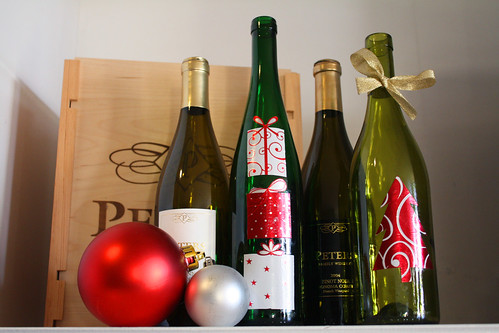
decorations 8


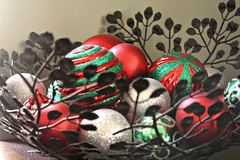
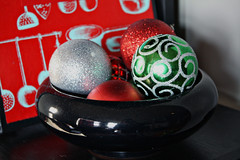
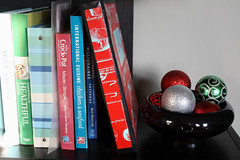
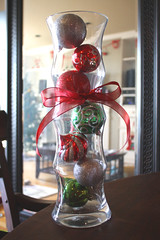
Sitting in bowls and vases all over!

decorations 12 decorations 13
decorations 14
decorations 15 decorations 16
decorations 11


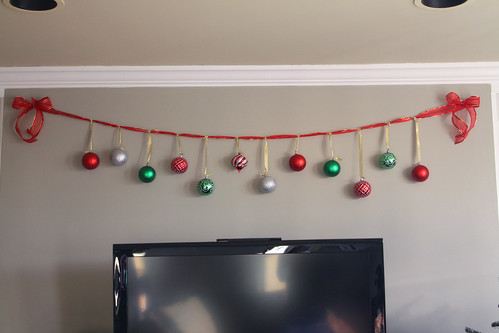
We used the ribbon to make a ornament banner to hang across the top of the TV/fireplace and secured it with two thumbtacks.
decorations 9


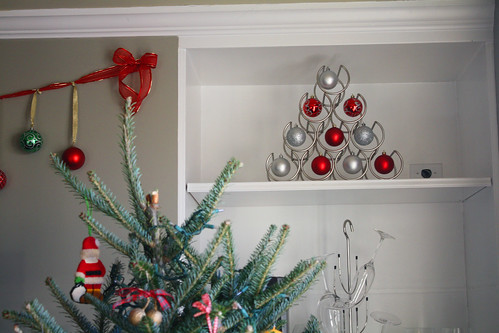
We even used fishing line (you could use clear/white thread too!) to string the ornaments to hang in the holes of a wine rack!
decorations 10


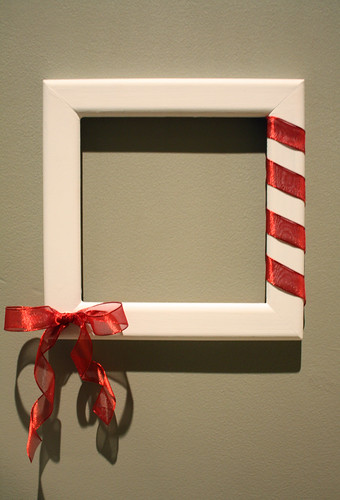
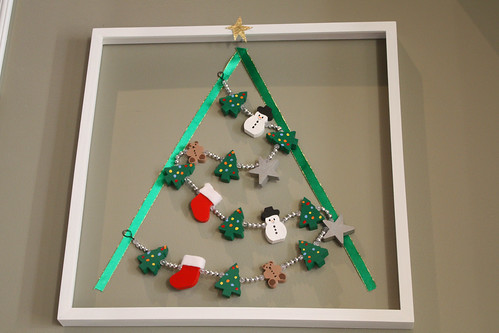
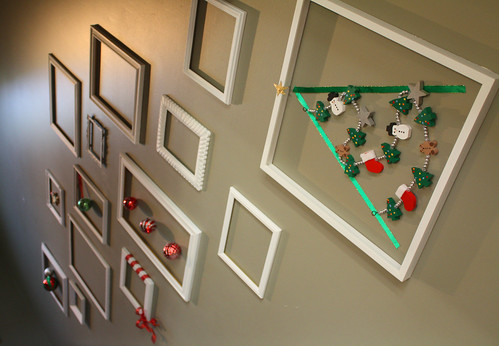
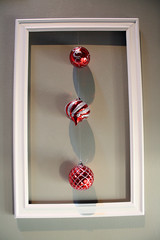
Finally, we had lots of fun with my empty frame collage. The ribbon and ornaments were great, and we even got to incorporate a cute little garland that was too short to hang on the tree, so needed to be used in a creative new way!
decorations 5 decorations 3
decorations 4 decorations 1
decorations 2


So now our place is decorated with Christmas cheer from floor to ceiling, and it only cost $15!


Visit thecsiproject.com

Thursday, December 2, 2010

Craft Storage Winner!

Thanks everyone for entering the CSN craft storage giveaway!

Courtesy of our handy-dandy random number generator, the winner of the giveaway is....


Lucky number 11 -- Ranae Broadhead!

Ranae's response to why she needs this organization in her life:

"i would lOVE this... i have the smallest craft room ever and it would help so much to keep it from so cluttered and even smaller!"

Congrats Ranae! Hope these storage items help organize that little craft room!