Sunday, April 25, 2010

Why Decant?

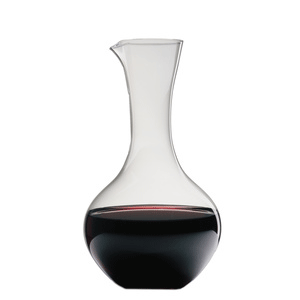
decanter 2


What is decanting? Why should I do it?

Many people have seen others decant wine before drinking it without knowing why. Moreso, many people decant wine themselves without knowing why. There are many benefits to decanting, but it's good to know how and why they work.

First of all, decanting is really beneficial only to red wines. Yes, there may be some white wines which are meant to age and thus could possibly benefit from decanting, but as a general rule, only red wines are decanted.

Now, what happens when you decant wine? Decanting allows oxygen to enter the wine. The wine has been sitting in a barrel/bottle for a very long time without any access to oxygen. Though oxygen is a bad thing for the aging process (think of a corked bottle...tastes like vinegar), a little bit right before drinking helps mellow out the flavors and develop depth and complexity.

Not sure what I mean when I say words like "mellow, depth, and complexity?" Try out this experiment. Get a young bottle of cabernet sauvignon. Young being about 3 years old. Open it, and immediately pour a small amount into a glass. Try it, see what stands out. Then pour the rest in a decanter. 1 hour later, try a little more. Then 2 hours, and 3 hours. If you're having a party of people over, you can also try it the opposite way. Take 4 bottles of wine, decant one of them 3 hours before drinking, one 2 hours, and one 1 hour before drinking. Then open the final bottle when ready to drink. Pour all four glasses side by side, and taste in progression from most recent to longest, and see how the flavors have developed.

The reason I suggest doing a young red is because the benefits are most greatly observed with these younger reds who are very tannic and even harsh when first opening. Decanting allows them to become more drinkable and pleasant. That being said, there is a lot of argument for much older wines whether decanting is beneficial or even necessary. Although most agree that decanting is good for older wines for the purpose of removing the sediment, the argument stands that old wines do not need more air because they have been left to age for so long, their depth of flavor is already developed. Whether this is true or not depends on who you speak with; however, most agree that decanting a young red for at least 1-3 hours definitely benefits the wine.

If you have a moment, I highly recommend watching this episode of Wine Library TV. He's a little intense about decanting, and his example wine is a very expensive bottle, but even at the end he mentions even the $8 bottle of wine can really benefit from decanting.
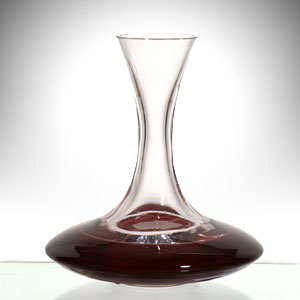
decanter 1


Do I have to have a fancy, expensive decanter?

No. The only recommendation I can even find online is to make sure to purchase a clear glass/crystal decanter so you can see the wine, see any sediment, etc. Other than that, any decanter will do. From the very simple, shown above, to the completely absurd:

decanter 3


What if I don't have 3 hours to spare to decant?

There are some "home remedies" and available contraptions out there to speed up the breathing process.

An older trick I've heard of is whipping the wine around in a blender a couple of times to quickly force some air in. Does it work? Who knows. Will it do any harm? Probably not. Will you look silly if anyone is watching you? Probably.

Some newer tools are being sold lately that boast the ability to "aerate" the wine. The Vinturi boasts "All of the taste with none of the wait." With this device, sold for about $40 and found everywhere, you hold it over the wine glass, and pour the wine through it. You can hear it bubbling through, forcing air into it. The Soiree is a device that attaches to the neck of the bottle and thus doesn't require any additional effort while pouring. It works by sloshing the wine around a bit before letting it hit your glass.

Both of these tools have essentially the same goal: speed up the breathing process. There are plenty of people out there who think they do help quite a bit, and others who think it's a lot of hooey. I'd guess they help a little more than just pouring straight into a glass, but not as well as decanting for 3 hours or more. Whether you see any noticeable different is up to you!

And finally, the old standby, just swirling it around in your glass. You see so many people doing this, and most don't even notice they're doing it. This helps keep the wine moving, adding air and breaking down the tannins. While it doesn't compare to a couple hours of decanting, it does continue the breathing process.

No matter your method, it is a fairly well-accepted ideal that decanting wine can help open up the flavors in a great young red, regardless of price.


Wednesday, April 21, 2010

Favorite Things... Volume 2

I thought it was about time for another episode of My Favorite Things!

We start off today with a tradition my mom started when I was a wee little one: the tradition of the birthday donut. Every year on my birthday, my mom would wake up super early to go and get me donuts at Dunkin Donuts. But not just any donuts, strawberry frosted donuts. Why are those so amazing? Because they're pink, of course, and every little girl loves pink!

This tradition still goes on today, mostly because I have made it perfectly clear to my darling husband that every day on my birthday, he must get up well before the crack of dawn (and since I leave for work 2 hours before him, this really shows how much he loves me), and get me a donut.

Birthday donut (1)

Donut smile!

I love that this tradition is still living on :)


Favorite thing #2....

Chipotle Tabasco (2)

Chipotle Tabasco Sauce

...mmmmm....

I originally learned about this stuff in New Orleans, and ended up buying it in the airport Tabasco shop on the way home. My...oh...my... It is SO good. It's spicy, but smoky, which is not something original Tabasco can say. I find excuses to use it in everything! In guacamole, in BBQ sauce (see my BBQ sauce recipe from the Brisket post), on tacos, in sloppy joes.... the possibilities are endless!

Thursday, April 15, 2010

Cooking for One: Pho (kind of)

So, originally, I was going to title this post "Tuesday Night Pho for One", but seeing as how it's Thursday night, that poses a bit of a problem. I did cook this on Tuesday night, but was too wrapped up in my filing cabinet post to discuss my delicious dinner.

That being said, I think that there is no good reason for someone to have a frozen meal (or worse!) if they are home alone/living alone. I always try to take a meal that I like, and simplify it enough to be willing to make it quickly for one.

Conveniently, I found myself in such a situation this past Tuesday. Chris was home visiting his parents, and he wasn't coming back until later that night. Therefore, I was home searching for what to make, and couldn't fight off a nagging Pho craving. This is a Vietnamese noodle soup in broth that is fantastic. There are a bunch of different variations, and I knew that I had enough ingredients at my discretion to create a basic version of it. I'd like to point out, I am aware that this is nowhere near authentic. It's cool, it's tasty, and I made it up. Deal with it.

Katie's Tuesday Night nowhere near authentic Pho

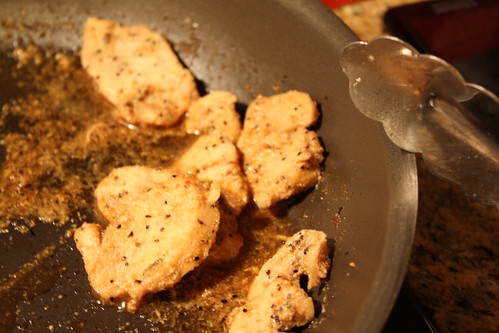
Cook some chicken breast. I chose to slice mine thinly before throwing it in a pan with water, soy sauce, and garlic pepper.

Tuesday Night Pho (3)

Then cover it at set aside.

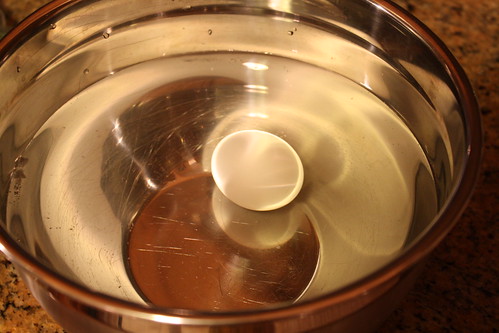
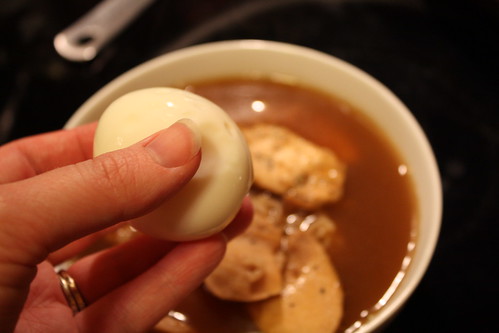
At the same time, soft boil an egg. I'll be honest, I'd never soft boiled an egg before, and generally the Pho I've had has a hard boiled egg, but I love runny yolk, so that's what I did. If you want to know how to soft boil an egg, here's a great overview.

Tuesday Night Pho (6)

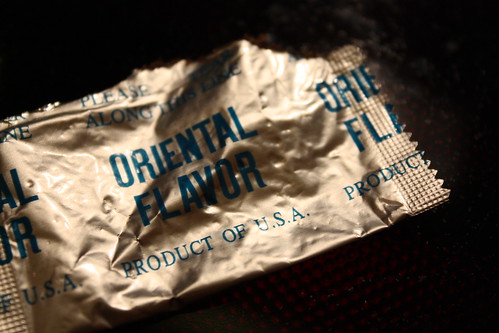
So your chicken is off to the side, your egg is chillin' in the cold water, time for the rest of it. Cook some Oriental flavor ramen.

Tuesday Night Pho (1)

I love this... "Product of U.S.A."

Tuesday Night Pho (2)

You'll notice that I removed the noodles from the ramen before putting the seasoning in. That's because I put the seasoning packet in the remaining water, then doctored it up a bit with some sesame oil, chili oil, and a bit of soy sauce. Sorry, no picture of those three ingredients.

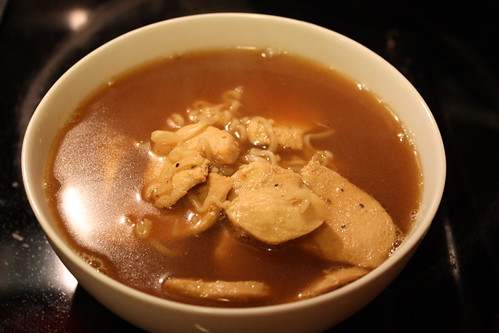
Then, I put the chicken in the broth to give it a quick final blast of heat, and poured it over the noodles.

Tuesday Night Pho (4)

Next, I peeled the egg, and cut it in half.

Tuesday Night Pho (9)

I also threw a little cilantro on top from my dad's garden, and we're done! Tuesday night Pho(ish)!

Tuesday Night Pho (14)

Tuesday Night Pho (19)

Tuesday, April 13, 2010

Filing Cabinet Overhaul: Mod Podge Style

A while ago, I saw a great idea featured on an awesome blog called Mod Podge Rocks. Amy shared a filing cabinet redo with Mod Podge, and I couldn't get the idea out of my head. Chris and I have this old, scratched-up, plain black filing cabinet that could use a refresh, and I always had in the back of my head that I wanted to tackle it someday.

And that someday just happened to be this past weekend!

This past weekend, Chris flew home to AZ to hang out with his parents, and my mom flew here to hang out with me. A pretty good trade, I think! When I was thinking of things for the two of us to do, the filing cabinet overhaul suddenly *popped!* into my head. Conveniently, Sunday was supposed to be the only day with bad weather, so it'd be perfect to have an indoor project! So on Thursday, she and I went to Blick (where I had a gift card from my birthday, courtesy of two awesome friends), and picked up some paper and matte Mod Podge.

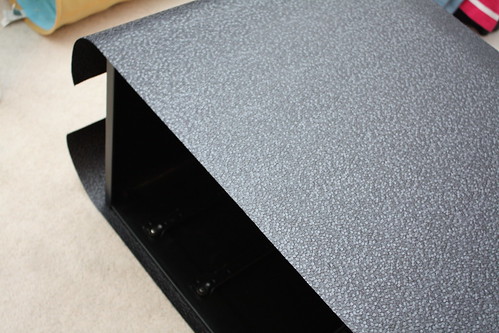
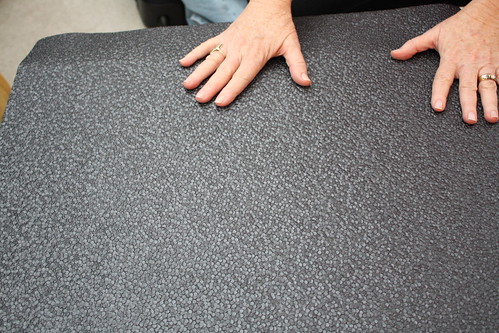
We definitely had a hard time picking out the paper; initially, I wanted to go with a pattern or a color or something, but since we're not currently in a very long-term residence, and someday I would like to have flexibility with a room, I didn't want to box myself into something I'd have to work a room around. So we ended up finding this great textured black paper. It gives just the amount of visual interest to look awesome, but won't be the center of attention in a room.

Ok, now that we've got all the background out of the way, here we go!

Filing Cabinet Overhaul: Mod Podge Style

Start by taking everything out of the drawers, and wipe down the whole thing with a damp cloth. It's very important to make sure everything is clean so the Mod Podge will adhere well.

Filing Cabinet Redo (2)

Then remove all the handles and the lock.

Filing Cabinet Redo (58)

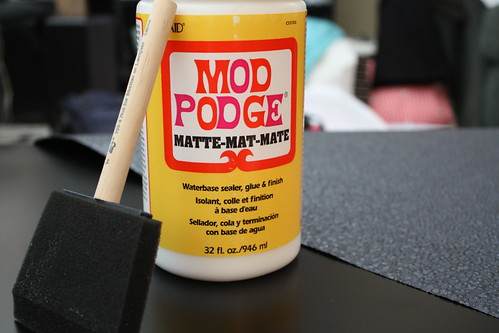
For the next step, you'll need the Mod Podge, a large sponge brush, and the paper.

Filing Cabinet Redo (74)

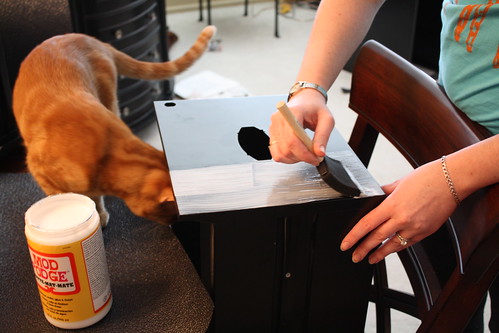
Cut pieces of the paper for the fronts of the drawers with at least one inch extra on all sides for folding over. Then brush some Mod Podge on the drawer...

Filing Cabinet Redo (60)

Filing Cabinet Redo (65)

...and place the piece of paper on top, rubbing it down to get all the air bubbles out and to help it stick. I did this to all the drawers, and set them on end on the table to dry.

Filing Cabinet Redo (72)

While those were drying, Mom and I moved on to the sides of the cabinet.

Filing Cabinet Redo (79)

Since we did both sides in succession, one had to be face up, so we had to be extra careful to rub that one very well. Mama hands!

Filing Cabinet Redo (77)

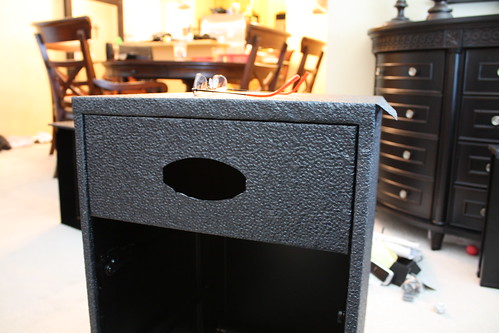
Once the drawers were dry (1 hr), we took a little razor blade and cut out the hole for the handle, and trimmed the edges to be long enough but not too long.

Filing Cabinet Redo (82)

Then Mod Podge on all the edges, wrap the paper around, and hold down firmly until it adheres. Since this was a pretty thick paper, it was trickier than normal to get it to stick and stay. This is where the four hands really came in handy.

Filing Cabinet Redo (88)

We did this to all the drawers, and to the cabinet, and let them all dry for a few more hours. The longer you allow to dry, the better.

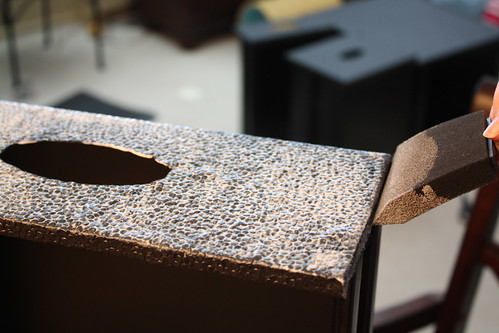
Then, we coated the outside.

Filing Cabinet Redo (99)

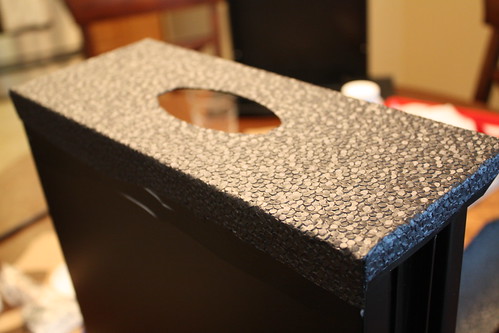
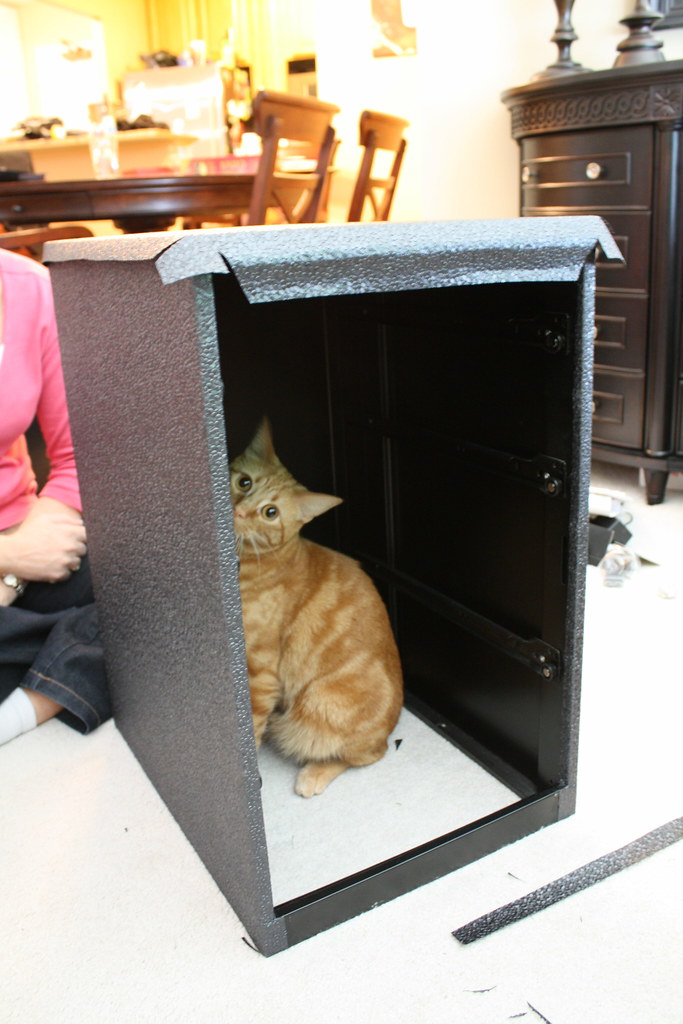
Finally, once the sides were dry, we added the layer of paper to the top of the cabinet. Can you tell Simon really enjoyed this project?

Filing Cabinet Redo (104)

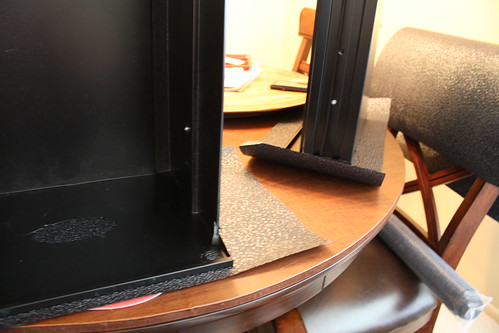
I'd like you to take note of the trimming we did at the edges there so it would fold nicely all together and cover everything. Taking the time to do things like this will result in a much cleaner-looking final product.

We knew we had a couple more coats left to do on the outside, but had to put just one drawer in to get a preview of what it would turn out like.

Filing Cabinet Redo (106)

We let everything dry overnight with just the one topcoat on. Then the next day, I added one more coat all over to give it more protection and strength. Usually I do more coats than this, but since it was a textured paper, it was catching much more Mod Podge in all the little grooves than smooth papers do, so any more coats and there would have been too much dried glue in some of the divots.

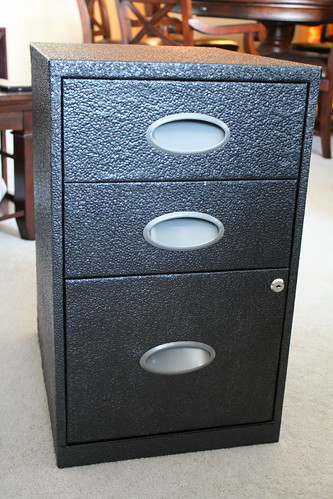
I let that next coat dry overnight, aaaaand that brings us to today! I popped the handles back in (which actually took about 30 minutes and every bit of strength I had, as well as some grunting and swearing), and screwed the lock back on, and ta da!

Filing Cabinet Redo (112)

Filing Cabinet Redo (119)

It was a fun mother-daughter project that turned out great!