I was at my birthday dinner last night, and I got called out by a friend:
"So Katie, I've been reading your blog lately, and I've got to say, you've had a lot of food and wine lately, not so much Mod Podge. What's with that?"
I confess, you're right. My Mod Podge love has been a little absent lately, and it should be a bigger part of this blog. However, Mod Podge is not the only crafty medium I use, so I think the MP part of this blog will have to include all crafty projects.
So here's what I've been up to lately!
Heat EmbossingThose who know me know that I have an obsession with stationery. A couple months ago (January?) I was wandering around
Paper Source, and saw them doing a heat embossing demo. I was amazed at how easy it was! The options were endless, and could be applied to so many different applications.
Here are the items you will need:
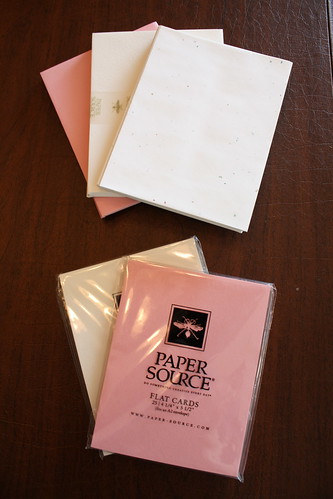
Notecards and envelopes. Of course this is an embossing overview for stationery, but really you can emboss any paper project.
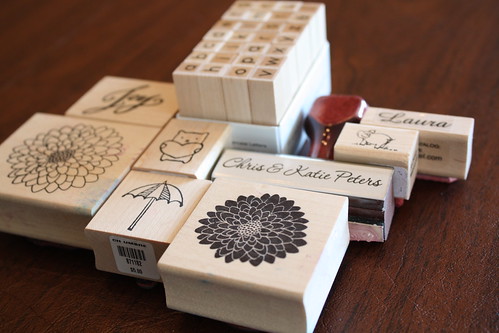
Rubber stamps. Any stamps that tickle your fancy. They're not too expensive, in the $5-$10 range. Also, through Etsy there are plenty of sellers that will happily make you a custom stamp if you're looking for something particular.
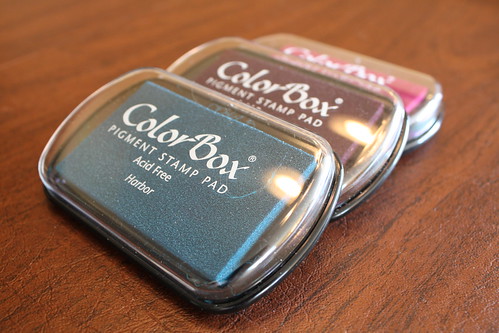
Stamp pads. I prefer Color Box pads because the ink stays moist a little longer than others, and for embossing that's a good thing.
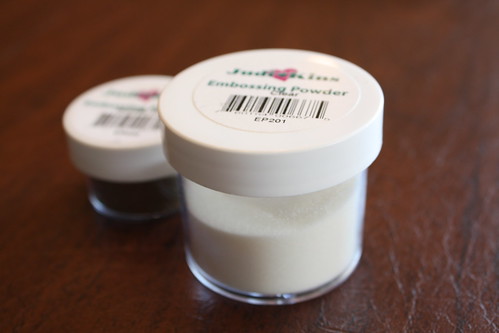
Embossing powder. You'll need clear powder for sure to get the color through from the stamp. However, you'll see that I have another smaller container hiding back there, I'll explain what that is later.

And finally, the embossing heat tool. This is essentially a really high heat, low speed, small hair dryer. It blows very, very hot air gently to melt the embossing powder.
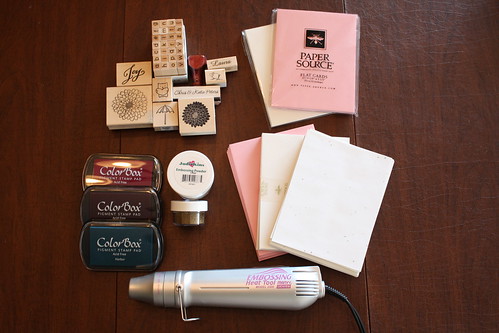
That's it!
Ok, now let's get started. I promise, this is so easy!
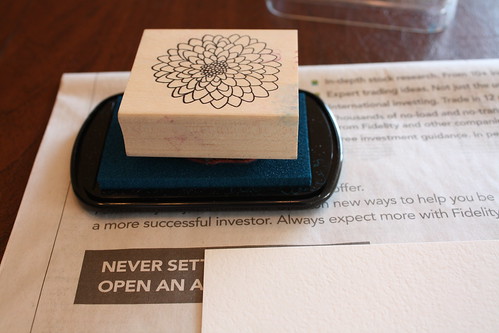
Get the stamp nice and covered in ink. Really make sure it's completely covered.
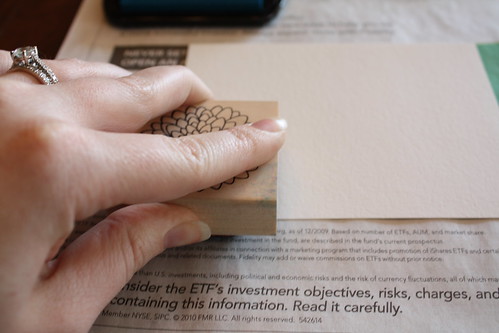
Press down firmly where you want the stamp to go. You see I'm going off the edge of the card (on purpose) which is where the newspaper underneath is a good choice. Press firmly, but don't wiggle it. It will be blurry if you do that.
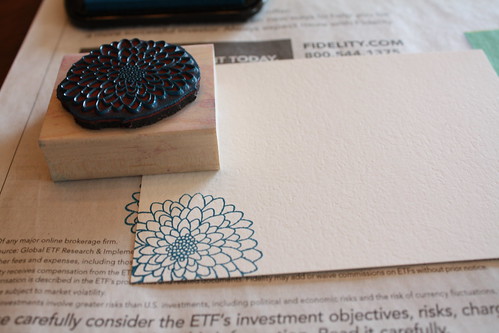
Stamped.
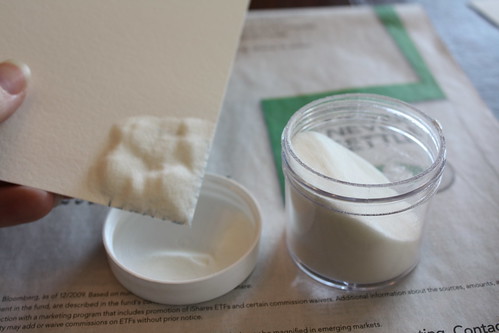
Pour the clear embossing powder onto the stamped area. Since I'm going off the edge, I do it over the cap of the powder container, so I don't lose too much. Then tap it all off to it looks like this:
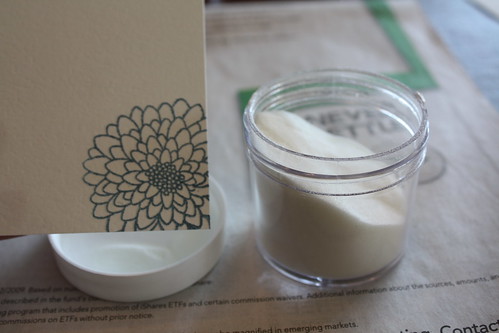
Now, it's time for the embossing heat tool. Turn it on, and wave it back and forth, pointed at the stamp, about 2 inches from the paper. As it warms up, you'll start to see the powdered stamp transform into a glossy, vibrant stamp.
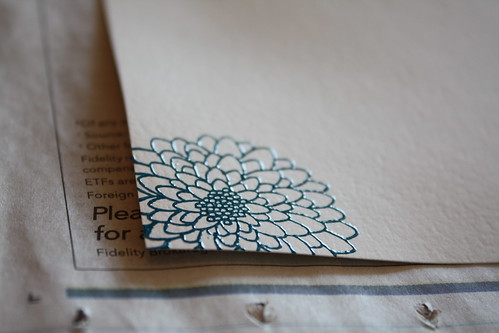
See that shine? And it's beautifully raised as well. You'll be amazed at how professional these look!
That's it! You're done! Well, of course, if you only wanted one stamp. Though I'm now going to show you that other embossing powder, the one that was hiding behind the clear powder. This is a gold powder. The transformation of this one is so cool.
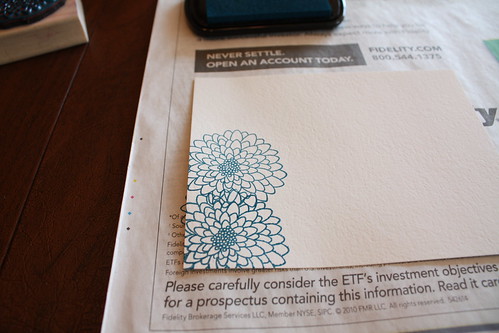
Stamp another fresh stamp down on your paper. You'll notice I used blue again. Believe me, it will only be blue for a few more seconds. You can stamp right over your already embossed stamp, it won't mess it up.
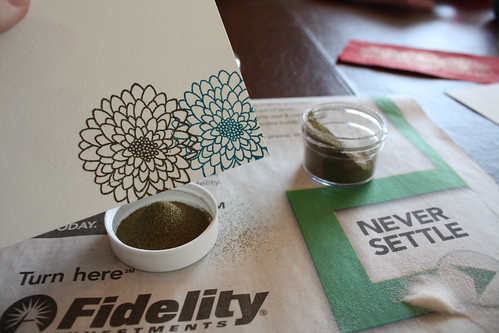
Pour the gold powder on your new stamp, and shake off excess. Then use your magic heat tool and....
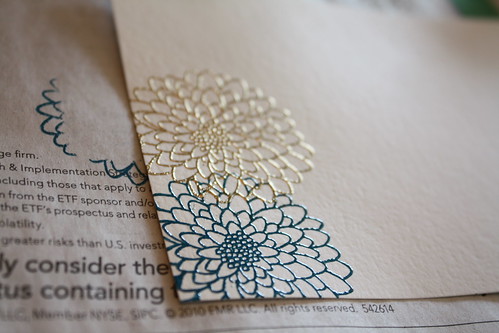
Look at that beautiful shiny gold! The blue hiding underneath is completely gone, and we're left with a glistening raised gold stamp.

Some examples of the different fun things you can do. The one on the far left is the example I did for you today. The one in the middle was cute for a Valentine's day note, or just a note for your honey. And finally, on the right is an example of the stationery I made for my mom for her birthday. Then on the bottom, I had some scrap paper lying around, and I did the gold stamps on that one. I thought it could look really cool for some scrapbooking projects, or whatever you want!