Monday, March 29, 2010

Sunday Dinner: Brisket

This weekend, when we were grocery shopping, we saw that our grocery store had some amazing-looking briskets. We had never made brisket before, but these were so pretty we just couldn't pass up the chance!

We came home, looked up a couple recipes online, and called Chris' grandma who is known to make one darn good brisket. We mixed all the recipes together, added some ingredients of our own, and the result was fantastic!

Brisket

3lbs Brisket

Dry Rub

2 T chili powder
1 T chipotle powder
1 T garlic powder
1 T dry mustard
1 T brown sugar
1 T cumin
2 t ground black pepper
1 t salt
2 t smoked sea salt
2 T smoked paprika

Completely cover the brisket with the dry rub and place on baking sheet. Put in the fridge for at least 1 hour, up to 6.

Brisket in fridge

Brisket dry rub close up

When you're ready to start cooking, preheat the oven to 400 degrees. Get a baking dish that is big enough for the brisket out, and put a tablespoon or two of canola oil in it. Then place the dish in the 400 degree oven (without the brisket) for about 15 min.
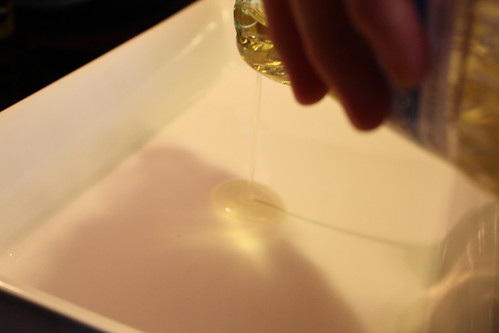
Oil in dish

Next, remove the dish and quickly lay the brisket down in it. The oil will be hot enough that it should sizzle to give a light sear to the meat. Then place dish, uncovered, in the oven for 10 min. After 10 min, flip the brisket and put back in for another 10 minutes.

Then remove the dish from the oven and pour 1 1/2 cups beef stock in the dish, and cover tightly with aluminum foil.

Adding beef stock to brisket

Put covered dish back in the oven, but turn the oven down to 300 degrees. Set the timer for 90 minutes.

Waiting...

Waiting...

Waiting...

Beep beep beep beep!

Now remove the dish, take off the foil, and flip the meat. Then re-cover, and stick back in for another loooong 90 minutes.

Now during this time, get your BBQ sauce ready. For this, we did a homemade BBQ sauce that was a mix of Chris' mom's BBQ sauce and his grandma's, but with a little of our own twist.

BBQ Sauce

1 cup Ketchup
1/2 cup Brown Sugar
4 T Rice Wine Vinegar
1 T Worchestire Sauce
2 T Tabasco brand Chipotle Sauce
1 T Soy Sauce
2 T Water
1/2 t Dry Mustard

Wisk it together in a small pot and bring to a light simmer.

The beauty of the sauce is the flexibility. Like a sweeter BBQ sauce? Add more brown sugar. Like a more tangy BBQ sauce? Add more rice wine vinegar. You get the drift.

Beep beep beep beep!

90 min is up!

Remove the dish from the oven, pull back the foil, and flip the meat again. Remove most of the liquid from the dish, leaving about a quarter inch in the bottom of the dish just to keep it from getting dry. Then slather the meat in BBQ sauce. You should be using less than half the sauce, there will be plenty believe me. But don't be too stingy with it! Now re-cover, and place back in oven, setting the timer for 30 minutes.

By now, your place should start to smell amazing.

After 30 min, remove the dish, take off the foil, flip the meat, and slather in BBQ sauce again. But this time, don't put the cover back on. Put it back in and let the delicious BBQ sauce get hot and slightly caramelized by leaving it uncovered for 30 minutes.

Now remove, and try not to drool.
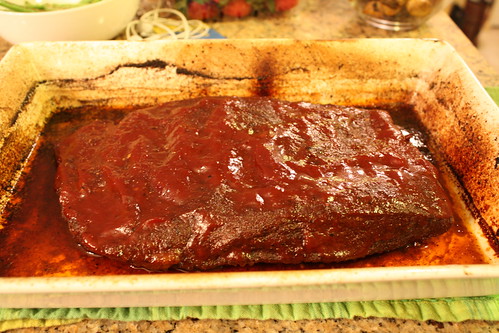
Brisket finished cooking

Let it sit for about 10 min. Perfect time to stir fry a few veggies!
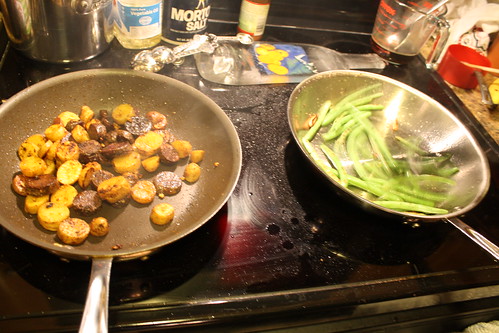
Sides cooking

Then slice against the grain. If you don't slice against the grain, it will just fall apart, and you will have to pretend you intended to make chopped brisket. Which is also pretty amazing.
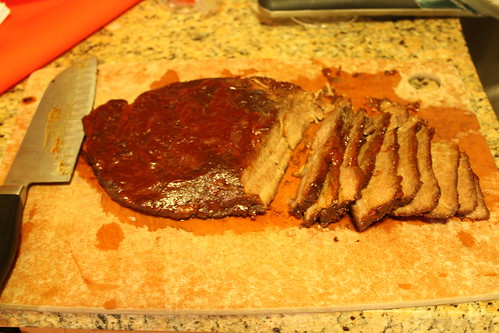
Brisket slices

Now pour a little extra BBQ sauce on top and...

Brisket

Amazing. Truly phenomenal. Absolutely falling apart, delicious, tangy, sweet, tender, crazy delicious.

Plate up!

Brisket dinner 2

Dig in!

Tuesday, March 16, 2010

Wine Diamonds

Wine is fascinating because it's so much more than fermented grapes. The science that goes into wine, and the subtleties of the different grapes and barrels and aging process can make a world of difference on the wine.

And then every once in a while, you come across something you've never experienced before.

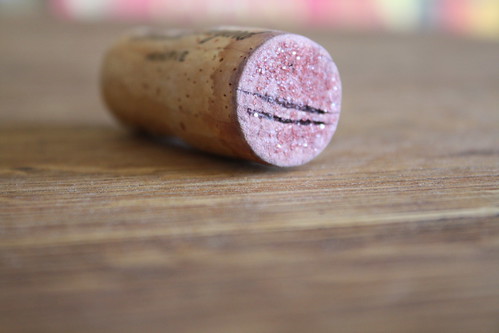
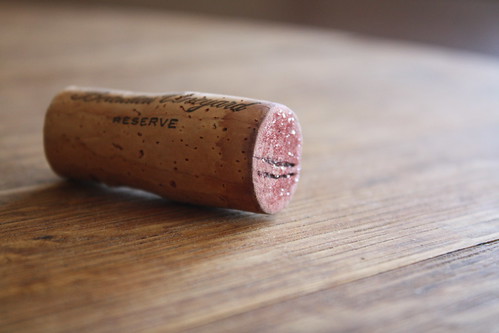
When we were in New Orleans, Chris' dad brought a bottle of wine to dinner. The waiter opened the bottle, and when she handed the cork to us, we saw it had little crystals on the bottom:

Crystallized wine cork 2

I was so curious since I'd never seen anything like it. That's why I kept the wine cork to take pictures of and research!

What this actually is is tartaric acid crystals. Commonly known as "wine diamonds" because they're sparkly and hard and occur frequently in wine, they're actually a deposit that grows on the cork as well as the inside of the wine barrels.

"However, tartaric acid plays an important role chemically, lowering the pH of fermenting "must" to a level where many undesirable spoilage bacteria cannot live, and acting as a preservative after fermentation. In the mouth, tartaric acid provides some of the tartness in the wine, although citric and malic acids also play a role." (Wikipedia)

Crystallized wine cork 1

So if you're lucky enough to find some wine diamonds of your own, still feel free to enjoy the wine! And maybe save the cork :)

Sunday, March 14, 2010

These are a few of my favorite things...

I'd like to start sharing some of my favorite things from time to time. I have plenty of things that I love for many reasons, and it seems fitting to show some of them here.

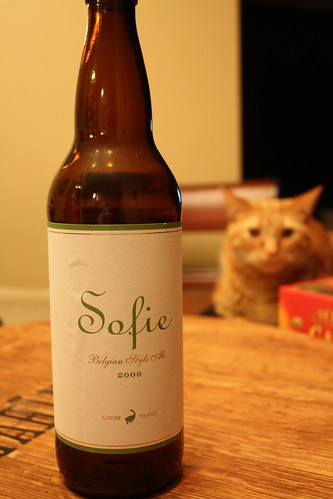
First off, since I'm in Chicago and the weather is starting to become lovely, I'd like to share one of my favorite Chicago items: Sofie Belgian Style Ale.

Sofie is made by Goose Island Brewery, a local Chicago brewery started in 1988. The distinctive craft beers became very popular, and by 1995 they had to expand production to a much larger facility.

Goose Island is now a staple in Chicago -- many of its beers can be found in just about every bar that has beer on tap. Some of the more popular beers include 312 Urban Wheat and Honker's Ale.

In addition to the usual beers, Goose Island produces 4 "fancier" Belgian style ales, one of which is Sofie. Sofie is not offered on tap at the Goose Island Brewpub or at any bars. It is only sold in single 22oz bottles. Now, I'm sure you're asking why I'm going on and on about a beer? I mean, I'm not really a beer connoisseur. But any beer that has directions like this is worth a try:

Serving Suggestions:
Preferred Glass: Wide Mouth Glass
Preferred Serving Temperature: 40ยบ
Food Pairings: Sofie pairs with a wide variety of foods, its light and refreshing qualities complement lighter flavors like fresh oysters and contrast rich shellfish like lobster.

Yes, I think any beer that suggests I have some lobster is a good beer for me! Not that I've ever tried it with lobster, but just to know that it's recommended is a good feeling.

Sofie Belgian Style

This truly is one of my favorite drinks, beyond just beers. It even ranks up there with some very good wines. This is why I decided to add it to my wine label wall art I made last year. The piece is supposed to be all wine labels, but I couldn't help but add my beloved Sofie among the other labels, because that is where it belongs.

Sofie wall art

If you ever get the chance, try it!


Ok, now on to favorite thing #2...

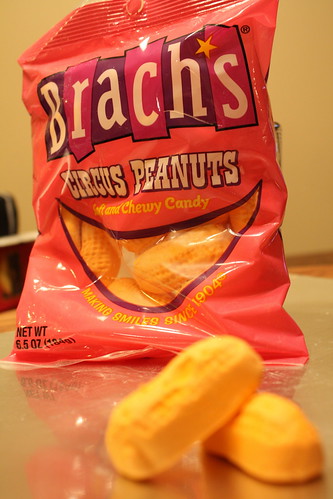
Brach's circus peanuts bag

Brach's circus peanuts!

Let me emphasize that...

Brach's circus peanuts.

You heard me.

None of this knockoff brand stuff. You want the real, good, delicious experience that is fresh Brach's circus peanuts.

My mom sent these to me for my birthday because she knows I love them. She loves them too. So did my grandma. My grandma's love of good, fresh circus peanuts was passed down to my mom, and to me. And I will pass it down to my children someday.

Circus peanuts

The key is to get the really fresh ones. Unlike most candies, circus peanuts do have a shelf life of sorts. Since they're a type of marshmallow (sort of), they will get hard after a while. And since they're a fairly under-appreciated candy, they've often been sitting on shelves for a while. Fresh circus peanuts are so soft, and melt in your mouth as the fluffy sugar dissolves quickly. It's kind of like the best parts of marshmallows and cotton candy, combined. But old circus peanuts are chewy and not as pleasant. Oddly enough, the best, freshest circus peanuts can be found at the JC Penney outlet. Don't ask me why, but we seem to consistently be able to find them there! So next time you're there, if you see them at the checkout, give them a little squeeze to see if they're soft. And if they are, buy some and enjoy!

Saturday, March 6, 2010

The wonders of embossing

I was at my birthday dinner last night, and I got called out by a friend:

"So Katie, I've been reading your blog lately, and I've got to say, you've had a lot of food and wine lately, not so much Mod Podge. What's with that?"

I confess, you're right. My Mod Podge love has been a little absent lately, and it should be a bigger part of this blog. However, Mod Podge is not the only crafty medium I use, so I think the MP part of this blog will have to include all crafty projects.

So here's what I've been up to lately!

Heat Embossing

Those who know me know that I have an obsession with stationery. A couple months ago (January?) I was wandering around Paper Source, and saw them doing a heat embossing demo. I was amazed at how easy it was! The options were endless, and could be applied to so many different applications.

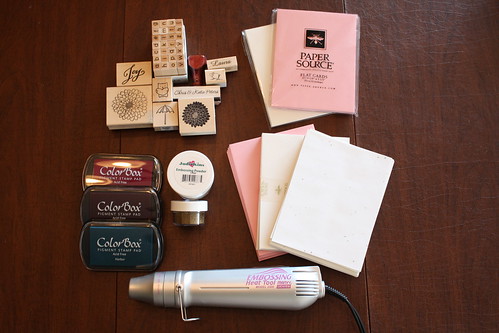
Here are the items you will need:

Notecards

Notecards and envelopes. Of course this is an embossing overview for stationery, but really you can emboss any paper project.

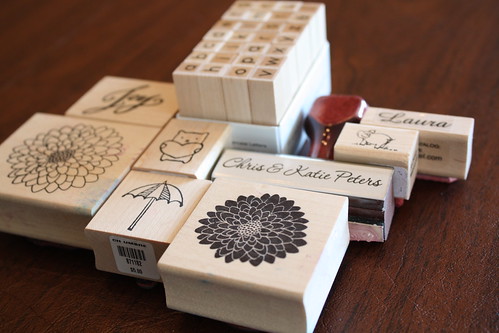
Stamps 2

Rubber stamps. Any stamps that tickle your fancy. They're not too expensive, in the $5-$10 range. Also, through Etsy there are plenty of sellers that will happily make you a custom stamp if you're looking for something particular.

Stamp pad 2

Stamp pads. I prefer Color Box pads because the ink stays moist a little longer than others, and for embossing that's a good thing.

Embossing powder 1

Embossing powder. You'll need clear powder for sure to get the color through from the stamp. However, you'll see that I have another smaller container hiding back there, I'll explain what that is later.

Heat tool

And finally, the embossing heat tool. This is essentially a really high heat, low speed, small hair dryer. It blows very, very hot air gently to melt the embossing powder.

Full set 2

That's it!

Ok, now let's get started. I promise, this is so easy!

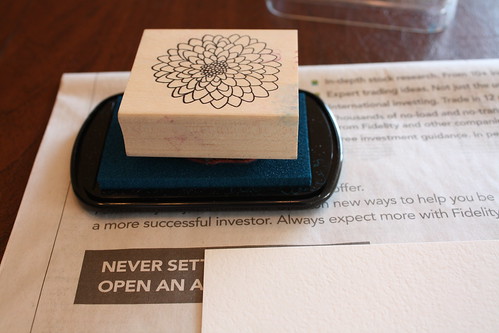
Stamp on pad

Get the stamp nice and covered in ink. Really make sure it's completely covered.

Stamping

Press down firmly where you want the stamp to go. You see I'm going off the edge of the card (on purpose) which is where the newspaper underneath is a good choice. Press firmly, but don't wiggle it. It will be blurry if you do that.

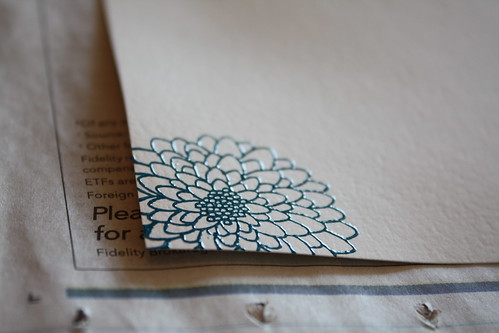
Stamped

Stamped.

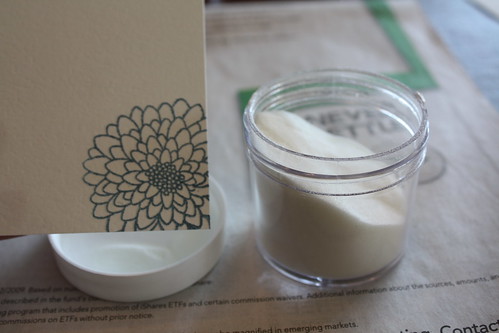
Powdering

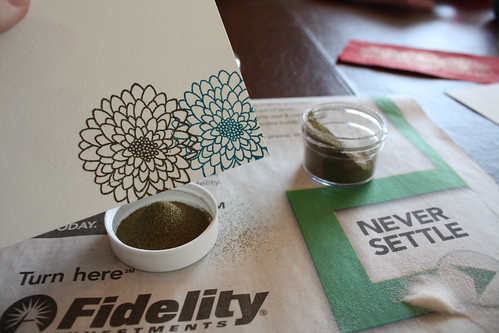
Pour the clear embossing powder onto the stamped area. Since I'm going off the edge, I do it over the cap of the powder container, so I don't lose too much. Then tap it all off to it looks like this:

Powdered

Now, it's time for the embossing heat tool. Turn it on, and wave it back and forth, pointed at the stamp, about 2 inches from the paper. As it warms up, you'll start to see the powdered stamp transform into a glossy, vibrant stamp.

Completed - shiny!

See that shine? And it's beautifully raised as well. You'll be amazed at how professional these look!

That's it! You're done! Well, of course, if you only wanted one stamp. Though I'm now going to show you that other embossing powder, the one that was hiding behind the clear powder. This is a gold powder. The transformation of this one is so cool.

Stamp 2

Stamp another fresh stamp down on your paper. You'll notice I used blue again. Believe me, it will only be blue for a few more seconds. You can stamp right over your already embossed stamp, it won't mess it up.

Gold powder

Pour the gold powder on your new stamp, and shake off excess. Then use your magic heat tool and....

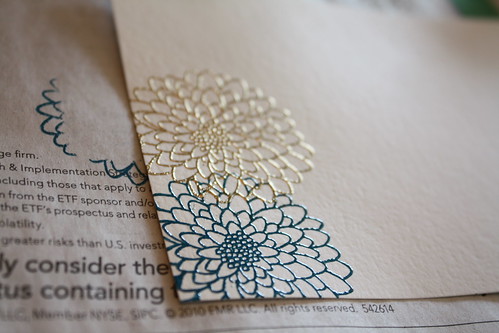
Gold finished

Look at that beautiful shiny gold! The blue hiding underneath is completely gone, and we're left with a glistening raised gold stamp.

Projects

Some examples of the different fun things you can do. The one on the far left is the example I did for you today. The one in the middle was cute for a Valentine's day note, or just a note for your honey. And finally, on the right is an example of the stationery I made for my mom for her birthday. Then on the bottom, I had some scrap paper lying around, and I did the gold stamps on that one. I thought it could look really cool for some scrapbooking projects, or whatever you want!

Wednesday, March 3, 2010

Cafe du Monde and Cooking Class

This past weekend we took a little vacation to New Orleans. Chris and I had never been there, and his parents invited us to go with them, so we jumped at the chance. We walked all around, ate delicious food, and drank just a tish. But two of my favorite parts of the whole trip were our breakfast at Cafe du Monde and the cooking class we took.

Now, I know Cafe du Monde is full of tourists just like us, but it really was every bit as good as everyone said it was!

When you get to Cafe du Monde, all the seating is under a big awning. You walk under it and just wait for someone to get up from their table. There are so many tables and the turnover is pretty quick, so you really only have to wait a minute or two. When you sit down, the simple menu is pasted to the side of the napkin dispenser on the table:

Cafe du Monde menu


Chris and I ordered a serving of beignets each, because we figured we wouldn't have been able to split just 3 easily :) Also, Chris ordered their famous cafe au lait, which is made with chicory. I'm not much of a coffee person, so I chose to get the hot chocolate. Once ordering, you wait, impatiently. When I'm impatient, I take pictures of Chris. And he puts up with it, for a little while...

Happy Chris


But then he gets sick of my antics...

Annoyed Chris


But just in time, the beignets come!

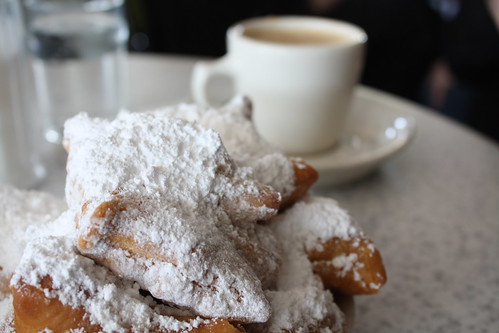
Beignets and cafe au lait


Beignets 2


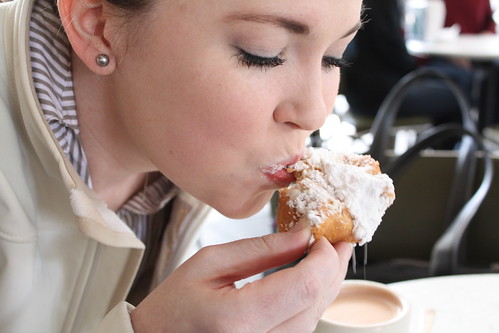
I'd like to point out the powdered sugar falling down as he bites in. Oh delicious.

Enjoying beignets 2


Chris actually took about 12 photos of me taking just this one bite, but I don't think you all need to see the play-by-play of my beignet-munching.

Enjoying beignets 1


Powdered sugar kiss


Beignets 1


No more!

No more beignets


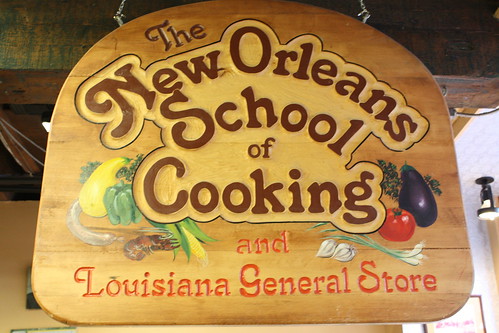
The next morning, we took a demonstration cooking class at the New Orleans School of Cooking.

Cooking class sign 2


Cooking class sign 1


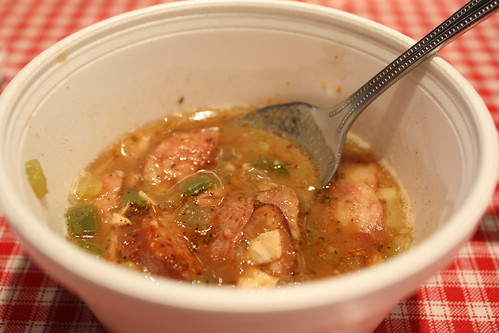
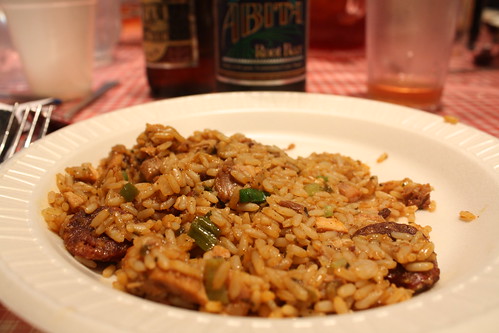
The fun thing about this class was that it was about 60% history of the different people who influenced food in New Orleans, and 40% actually cooking it. The history part was so interesting, and the instructor was such an engaging and hilarious teacher. It really helped to learn how the food and flavors came to be, in addition to just how to make it. For the actual cooking portion, he made gumbo, jambalaya, bread pudding, and pralines. And then, of course, we got to eat it!

Gumbo


Jambalaya


And of course, we washed it all down with a beer/root beer from Abita, a local brewery.

Abita beer


New Orleans is known for its amazing food, and I'm so happy to say that we got to experience and learn more about some of it! It was a great trip, and these two meals were particularly unforgettable!