Sunday, May 4, 2014

Spring Wreath

I think with the mid-80's temperature today, I can safely say (knock on wood) that we are officially into spring and done with the snow.  We planted some flowers and a few herbs in the front and back of the house, but today I decided it was time to brighten up the front door a bit too.

I had this wreath hanging there since we took down the Christmas decorations, and it is still a beautiful late winter wreath that I love to hang up every year.  But with the sun shining and the temperature rising, I wanted to make a new wreath that would better complement the beautiful flowers and budding trees everywhere.

One thing I love doing is going into a craft store with only an idea of what I want to make, but no prior expectations of what materials to use.  The beautiful thing about craft stores is you can walk around and just get inspired.  Walking through the flower section, I saw these spectacular big spring flowers that just jumped out at me.


I wandered around until I found some nice cream burlap to wrap around the wreath mold, and I was going to just leave it at that.  Nice and clean and pretty.  But then on the way up to the register, I ran into the perfect pink twine that I knew would make a great finishing touch, haphazardly wrapped around the wreath on top of the cream burlap.

A little bit of hot glue and a couple of straight pins later, and I have a beautiful front door addition to my little house for the spring.  Quick and easy, and I love it!


Saturday, February 1, 2014

Salt Block Sliders

A couple weekends ago, my sister-in-law and soon-to-be brother-in-law came to visit us in Denver, and we had a blast.  Since they love to cook as much as we do, we spent one whole day staying in, playing games, and experimenting in the kitchen.  They had given us a salt block and the book Salt Block Cooking by Mark Bitterman for Christmas, so we knew that was definitely something we had to try out!

We opted for sliders cooked on the salt block on the grill, topped with aged cheddar and sweet caramelized beer onions.  They were absolutely incredible!  The salt block definitely did impart some deep flavor in the patties, but by no means were they salty.  If you have a salt block at your disposal, definitely give them a try!
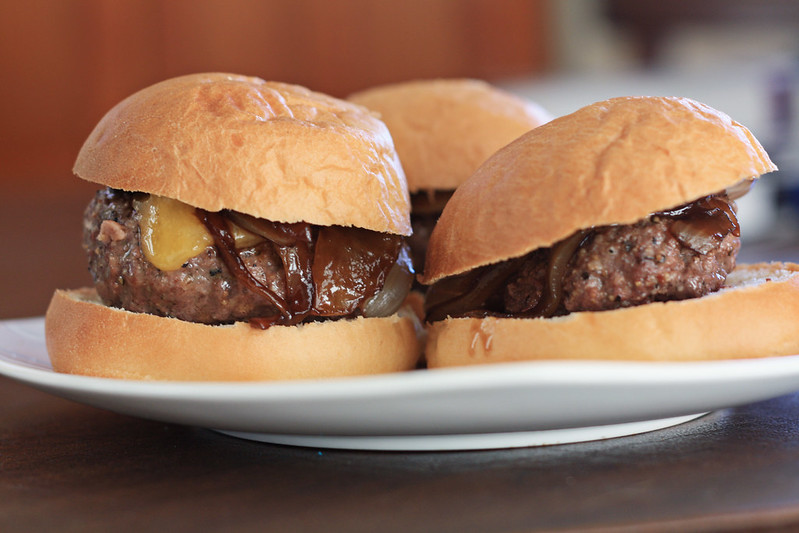

Salt block sliders

Salt Block Sliders

Burgers (recipe adapted from Salt Block Cooking):
   - 2 pounds fresh ground beef, preferably from a butcher, 80-85% fat
   - 1/4 cup milk, 2% or whole
   - 3 tablespoons ketchup
   - 1 1/2 tablespoon dijon mustard
   - 1 teaspoon black pepper
   - Vegetable or avocado oil for the salt block
   - Aged cheddar, or cheese of choice
   - Slider buns, preferably fresh from a bakery

Caramelized beer onions:
   - 2 sweet onions (Vidalia or Spanish)
   - 1 brown or amber ale
   - 2 tablespoons butter
   - Pinch of salt

Slowly heat your salt block on the grill by bumping up the temperature in 10 minute increments at low, medium, medium-high, and high temperatures, in order to heat the block to 500 degrees.
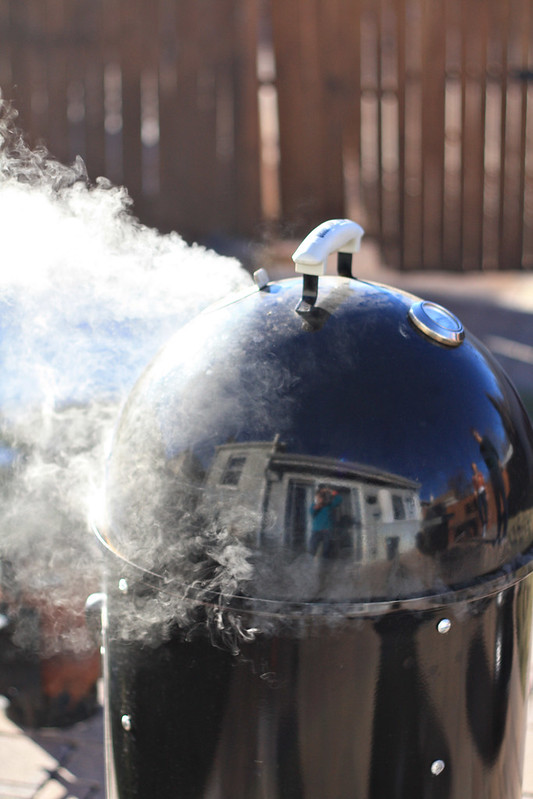

Salt block sliders

While the salt block is warming, begin preparing the onions.  Cut the onions in half, and slice it very thinly.  Warm your butter in a non-stick pan, and when it's hot, put the onions in the pan.  Stir to coat the onions with butter, and sprinkle a pinch of salt.  After about 2-3 minutes of sauteeing the onions, add the full beer to the pan.  Settle the onions, get the beer to a simmer, and cover.  Cook at medium to medium-low heat for 10 minutes.  Remove the lid after 10 minutes, stir, and keep covering and stirring them every 5 minutes until the onions get a deep brown color and all the liquid is gone.

Just before the salt block is up to temperature, mix the ground beef, milk, ketchup, mustard, and black pepper.  Form into 12 patties, pinching the center of each patty to create a small divot to keep the burgers from rounding in the middle while they cook.

Carefully brush the hot salt block with oil.  Grill the burgers on both sides, about 3 minutes per side.
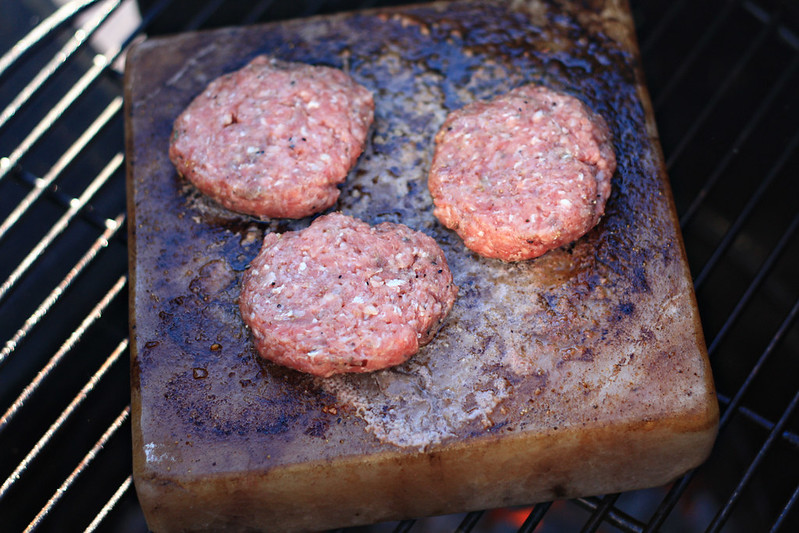
Salt block sliders

Sprinkle with a little pepper as they cook.  Add the cheese to each burger, and let melt for about 30 seconds.
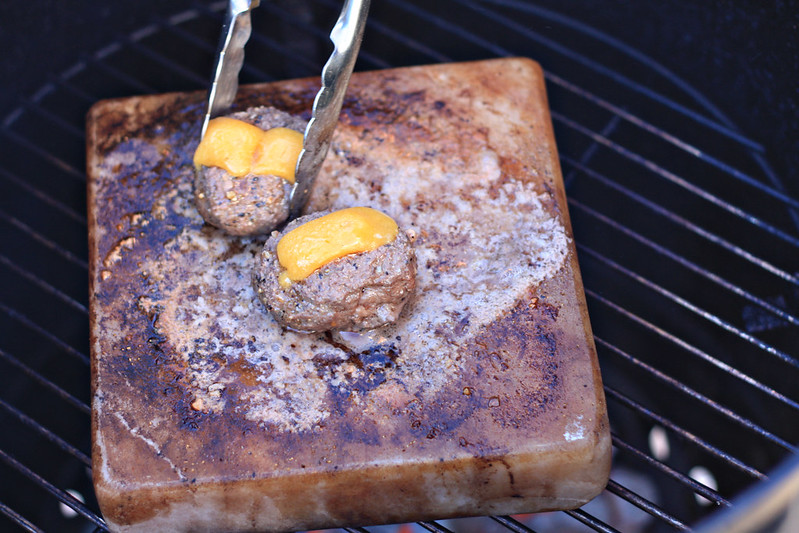

Salt block sliders

Warm the buns briefly cut-side down on the grill to lightly toast them, approximately 1 minute.  Put the burger on the bun and top with the caramelized onions.  Enjoy!
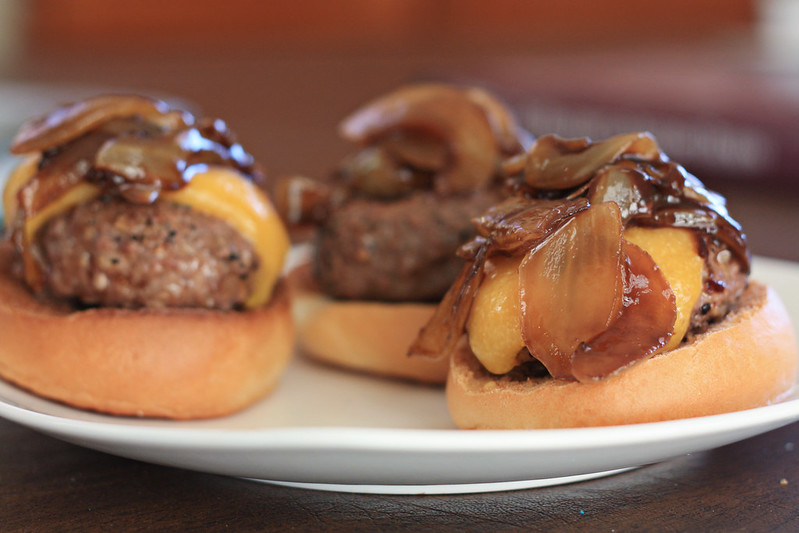
Salt block sliders

Monday, January 6, 2014

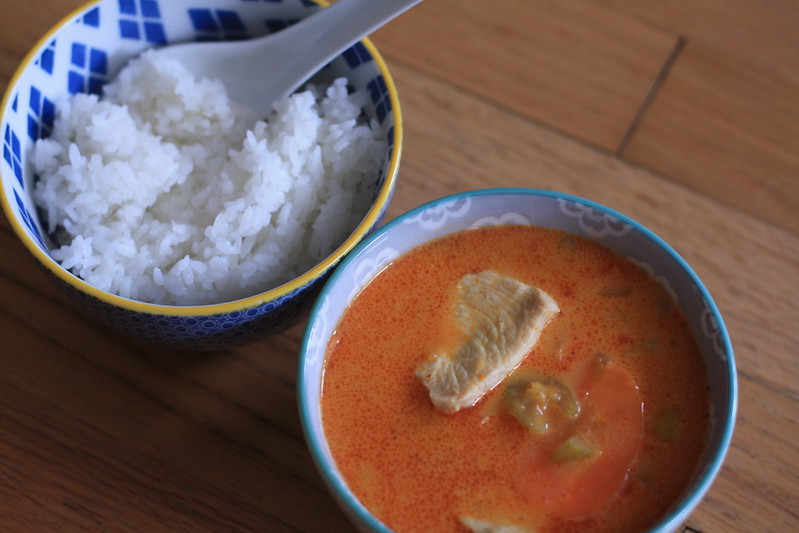
Thai Red Curry

Hands down, my favorite Thai dish is red curry.  Salty, sweet, with just enough heat, I think it's a great way to spice up the average weeknight.  After a lot of tweaking and plenty of mediocre curries, we've finally got the recipe just right that yields a great curry time after time.  And best of all, it ends up being pretty quick!

You'll notice that I use prepared red curry paste as part of this recipe.  Though I'm very much a from-scratch type of girl, I did some research and quickly learned that making my own curry paste was not an easy thing to tackle.  

Thai Red Curry

Thai Red Curry
serves 4-6

Ingredients:
1 tablespoon avocado oil or olive oil
1 small chopped onion
1 teaspoon fresh finely chopped ginger
2 cloves garlic, diced
2.5 tablespoons jarred red curry paste (Thai Kitchen brand is the most accessible)
1 can regular coconut milk
1 can light coconut milk
1 cup chicken stock
2 tablespoons brown sugar
2 tablespoons fish sauce
2 tablespoons red chile-garlic paste (adjust to your heat preference)
1-2 pounds raw meat of choice, cubed or sliced (optional - omit for a vegetarian or Meatless Monday meal)
1-2 tablespoons cornstarch
Assorted vegetables, cut to your preference, such as bell peppers, carrots, snap peas, etc
1/2 cup rough chopped basil (Thai basil, if available)

Directions:
Heat oil in a large wok or skillet.  When hot, add chopped onion and ginger, and stir until onions soften, about 2-3 minutes.  Add the diced garlic and the red curry paste.  If you're using heartier vegetables that need time to soften, such as carrots, add them now.  Stir fry 1-2 minutes.

Add the light and regular coconut milks to the wok.  Stir to incorporate the red curry paste.  Add chicken stock, and bring to a very light simmer (do not boil).

Stir in the brown sugar, fish sauce, and chile-garlic paste.  Keeping the mixture at a low simmer, add the raw meat and cook for 6-8 minutes, or until meat is fully cooked.

Sift the cornstarch lightly into the curry, stirring constantly to ensure the cornstarch gets fully incorporated into the sauce without clumping.

Add any remaining vegetables that have a quick cook time or should remain slightly crunchy ("tender-crisp"), such as bell peppers or pea pods.  Also add the basil.  Simmer for another 3-5 minutes.

Serve with freshly cooked rice, and enjoy!